On Demand Citrix Nerds consulting services 24 hours a day!
Phone: 1-800-905-0005
Home > Documentation > Citrix Access Gateway
Installation Documentation
Citrix Access Gateway VPX Setup, Installation and Configuration
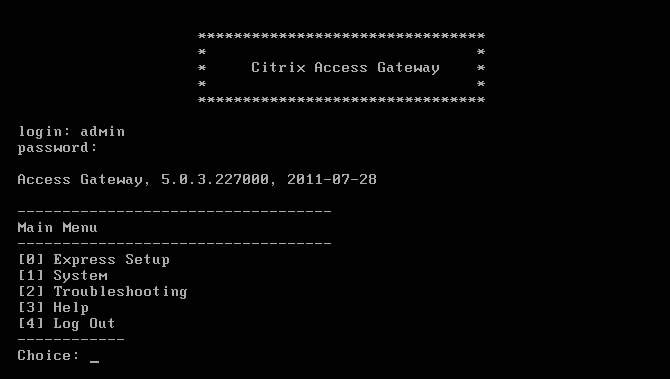
2. Type 0 and press Enter to start Express Setup
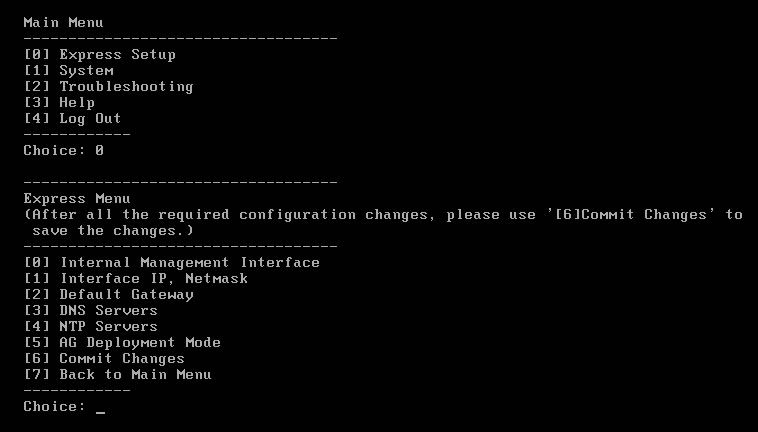
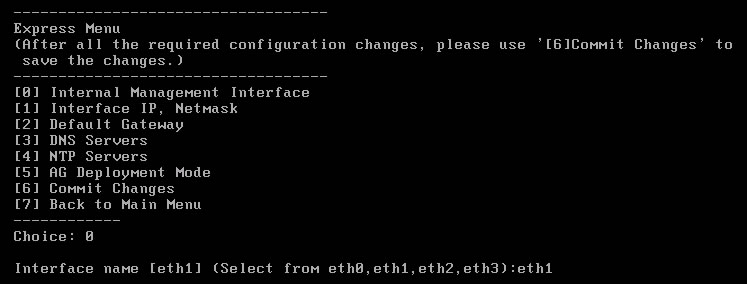
3. Type 0 and press Enter to configure the Internal Management Interface and type eth1 to make ethernet adapter #1 the adapter which will be used.
4. Type 1 and press Enter to configure ethernet adapters. In this example, eth0 is in the DMZ and eth1 on the internal LAN.
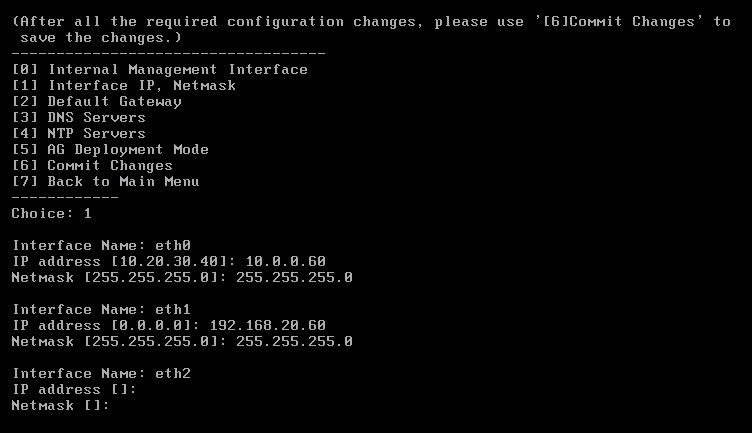
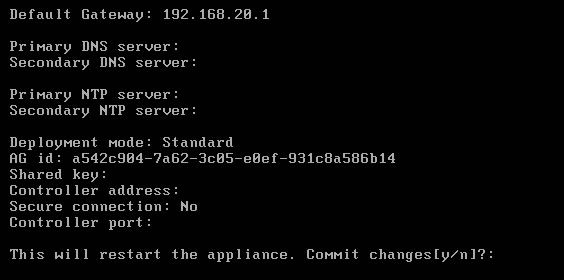
5. Type 2 and press Enter to configure the default gateway.

6. Type 6 and press Enter to commit changes and restart the appliance.
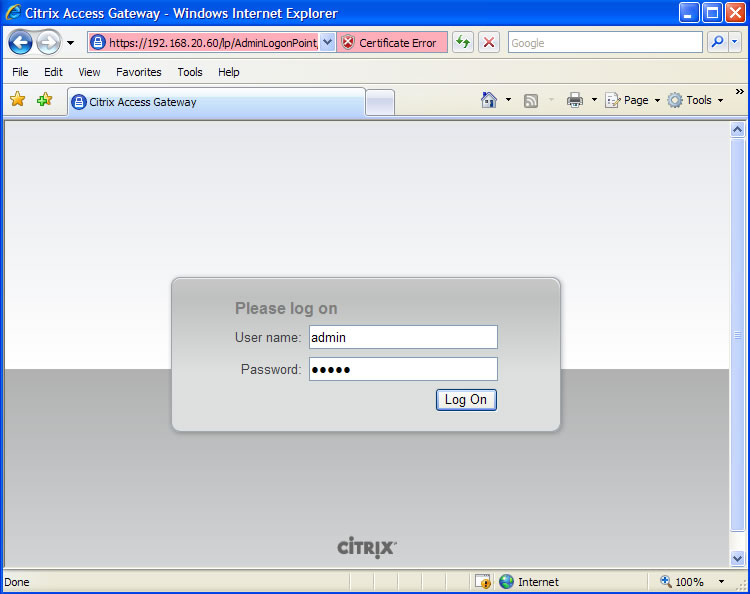
7. After the appliance has restarted, open a web browser and enter https:// followed by the IP address of the Internal network adapter and /lp/adminlogonpoint
Ignore the certificate error and continue, then login using the default User Name of admin and default Password of admin.
An example would be: https://192.168.20.60/lp/adminlogonpoint
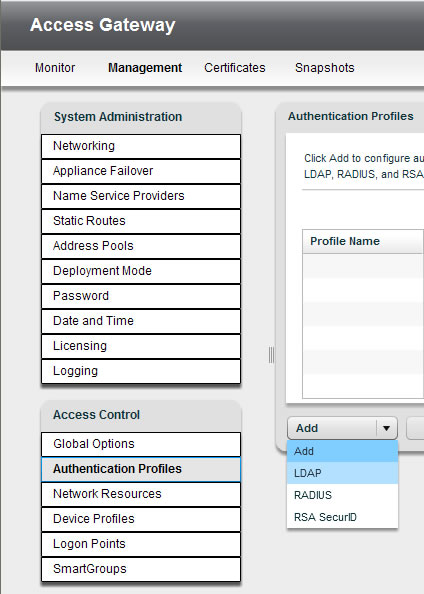
8. Click the management tab and then click Networking. Change the hostname to whatever the SSL certificate will be, check the box to redirect HTTP to HTTPS and click Save.

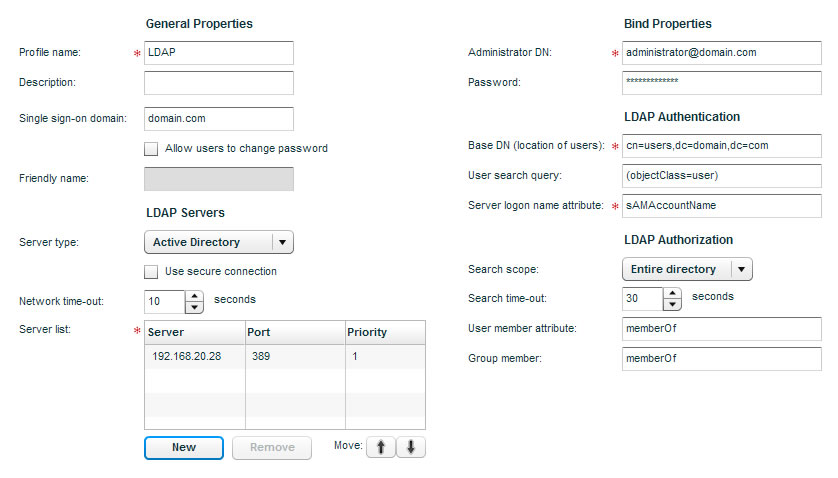
9. Click Authentication Profiles and click Add and select LDAP from the drop down menu.
10. Enter a profile name, enter the single sign-on domain (typically the Active Directory domain name), enter the FQDN or IP address of at least one Active Directory domain controller by clicking New in the server list section, enter an Administrator DN (administrator username or administraor service account in the format of username@domain), enter the password for that account, and enter the base DN typically cn=users,dc=domain,dc=com and click Save.
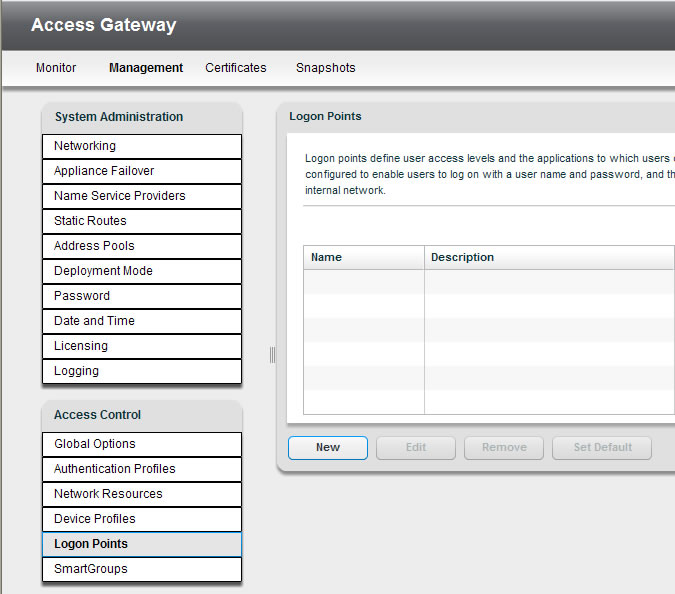
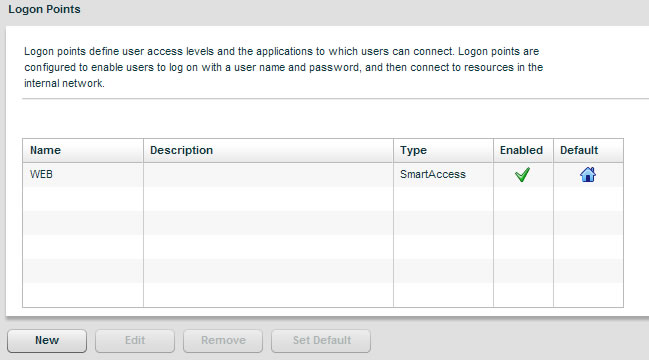
11. Click Logon Points and click New.
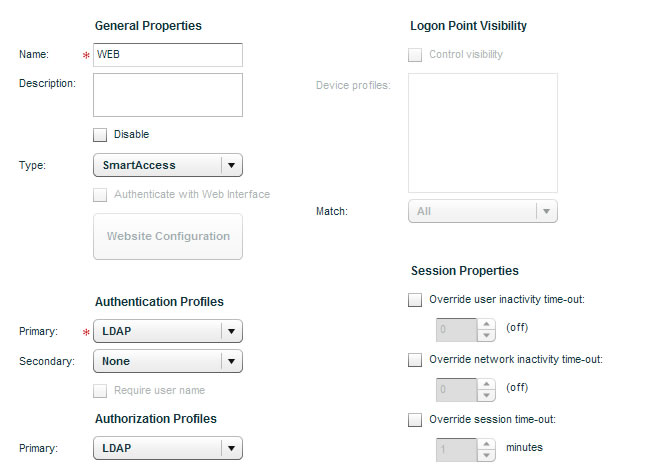
12. Enter a logon point name, select the just created authentication profile and select the matching authorization profile and click Save.
13. Select the logon point and click Set Default to make this the default logon point for the Access Gateway
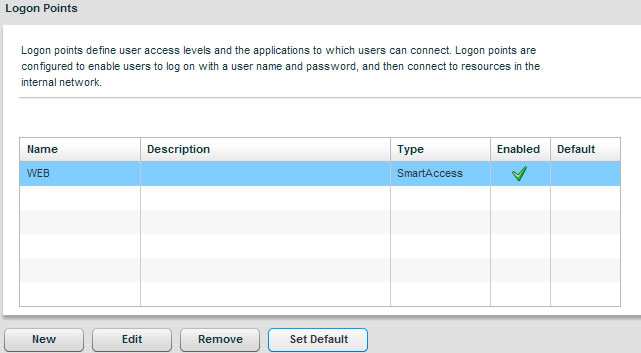
14. An icon looking like a house will appear when the logon point is made the default logon point for the Access Gateway
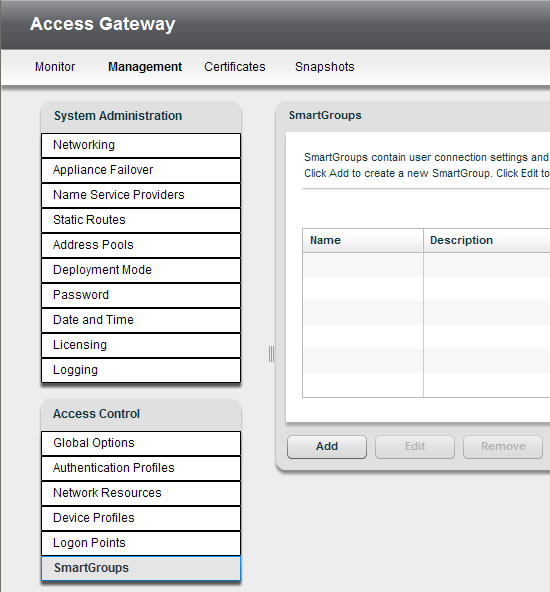
15. Click SmartGroups and click Add.
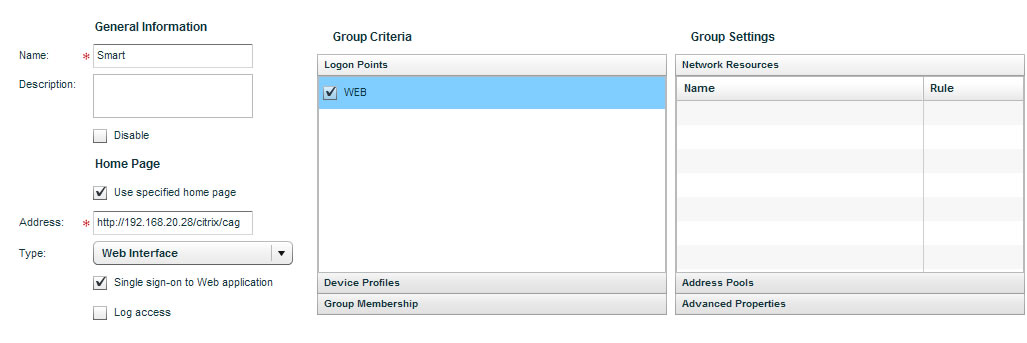
16. Enter a SmartGroup name, check Use specified home page, enter the URL for the Citrix Web Interface which is or will be configured for "At Access Gateway" authentication, check single sign-on to web application and select the appropriate logon point.
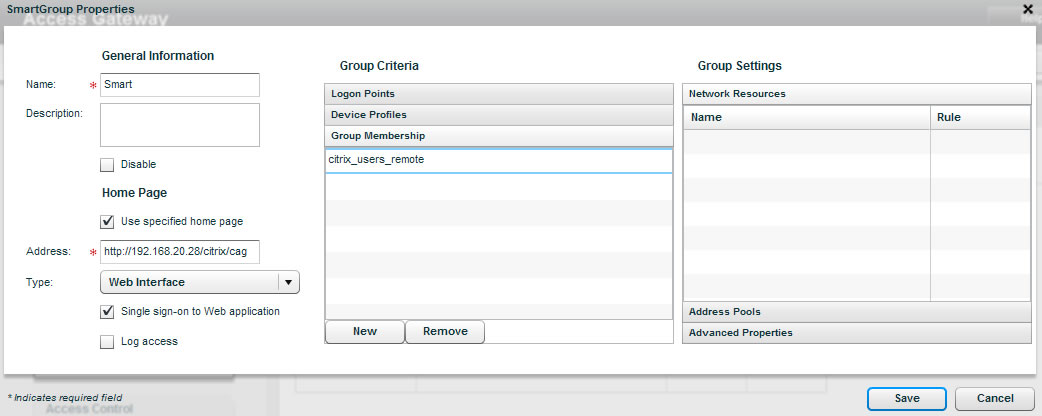
17. Click group membership, click New and type in an Active Directory group name which if a user is a member of will be permitted to authenticate and then click Save. If prompted about no network resources ignore it and continue.
18. In the lower portion of the left navigation pane click XenApp or XenDesktop, click New and enter an IP range where XenApp or XenDesktop servers would reside on your network.

19. In the lower portion of the left navigation pane click Secure Ticket Authority, click New and enter IP addresses or FQDN's of XenApp / Presentation Servers running the XML service and the appropriate port.

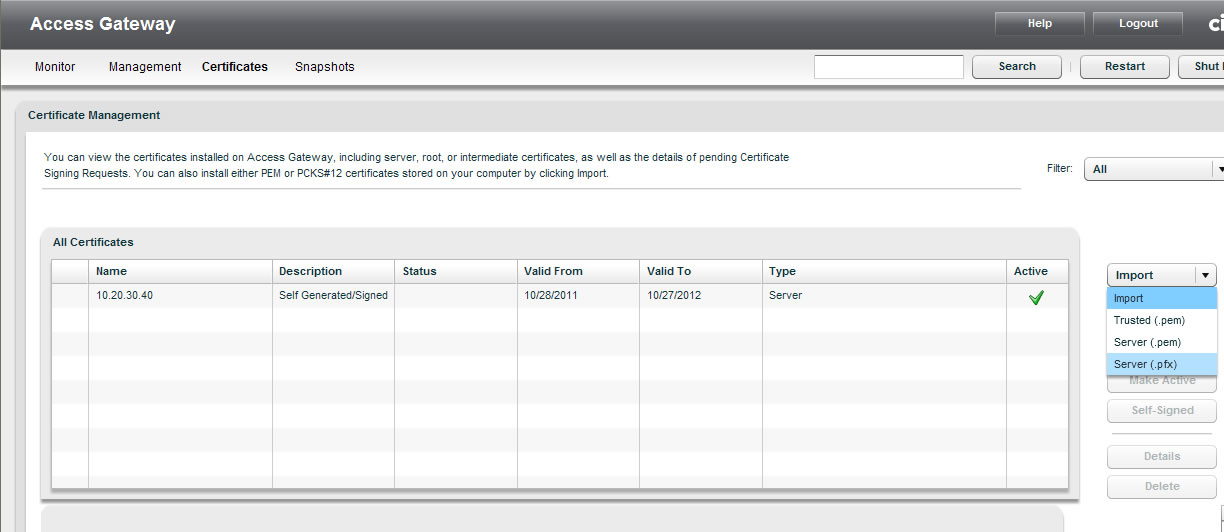
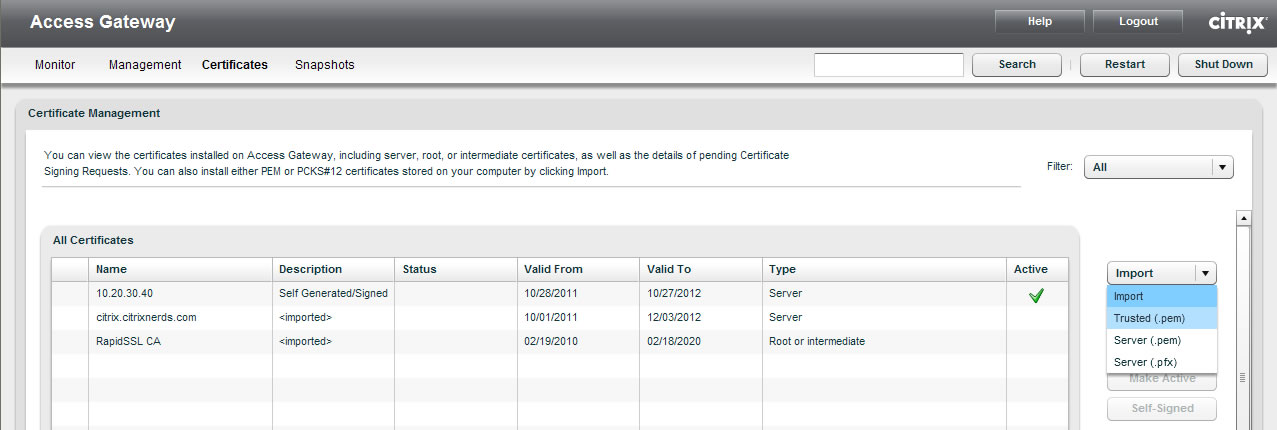
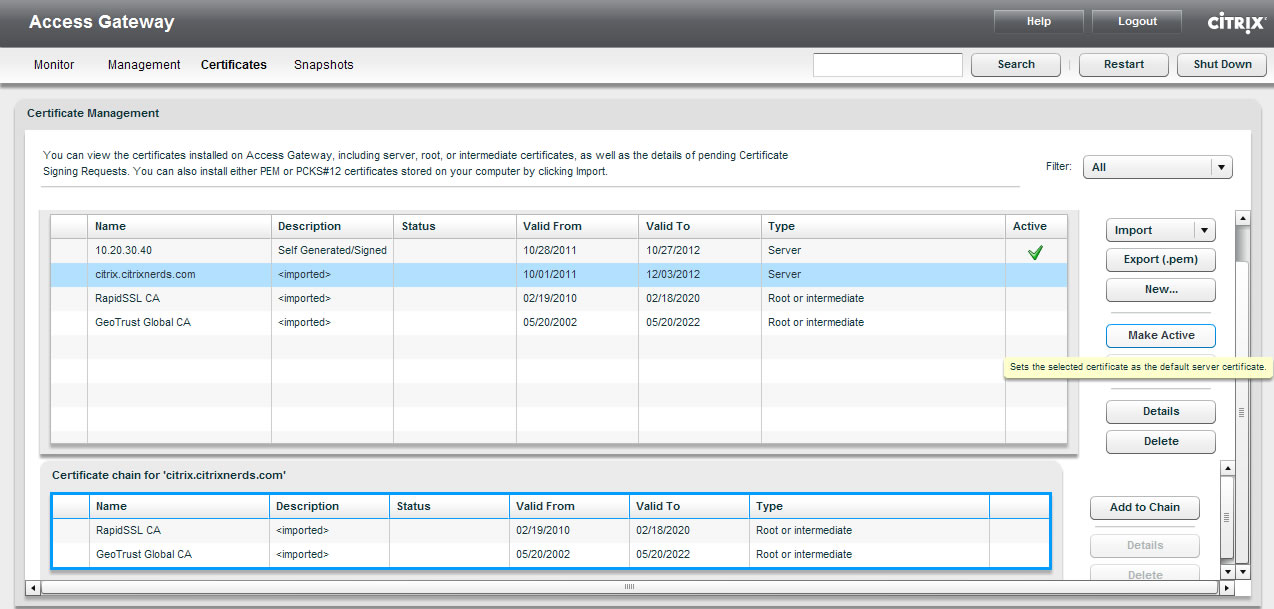
20. Click the Certificates tab and then click the Import drop down and select Server PFX.
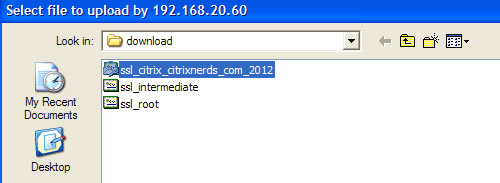
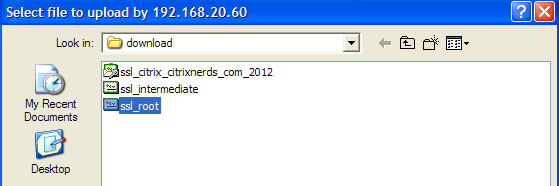
21. Browse to the appropriate location on your hard drive to import a PFX file.
22. Enter the PFX backup file password, confirm and click OK

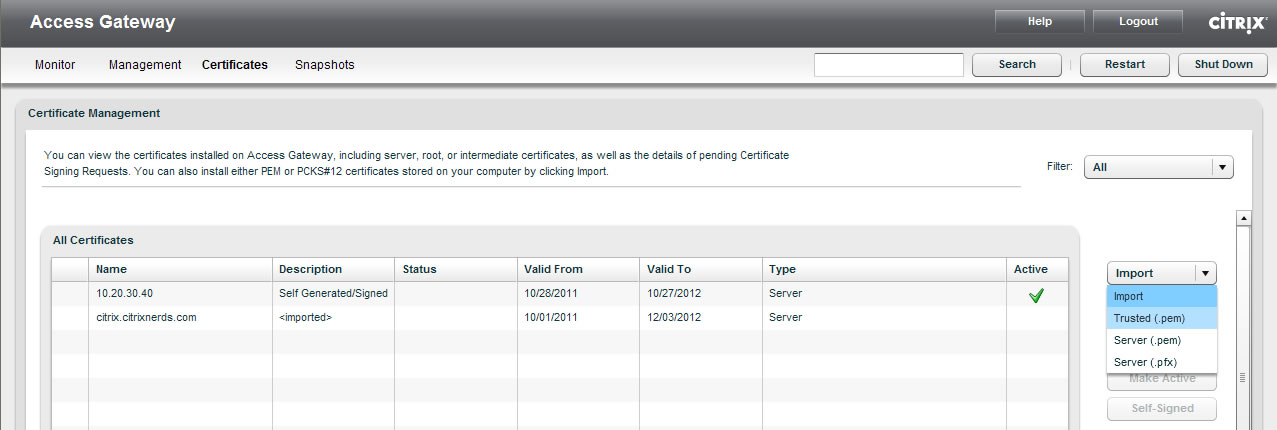
23. Click the Import drop down and select Trusted PEM to import an Intermediate SSL certificate.
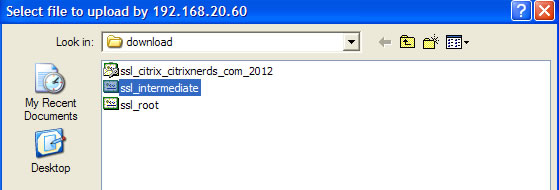
24. Browse to the appropriate location on your hard drive to import an Intermediate SSL certificate file.
25. Click the Import drop down and select Trusted PEM to import and Root SSL certificate.
26. Browse to the appropriate location on your hard drive to import a Root SSL certificate file.
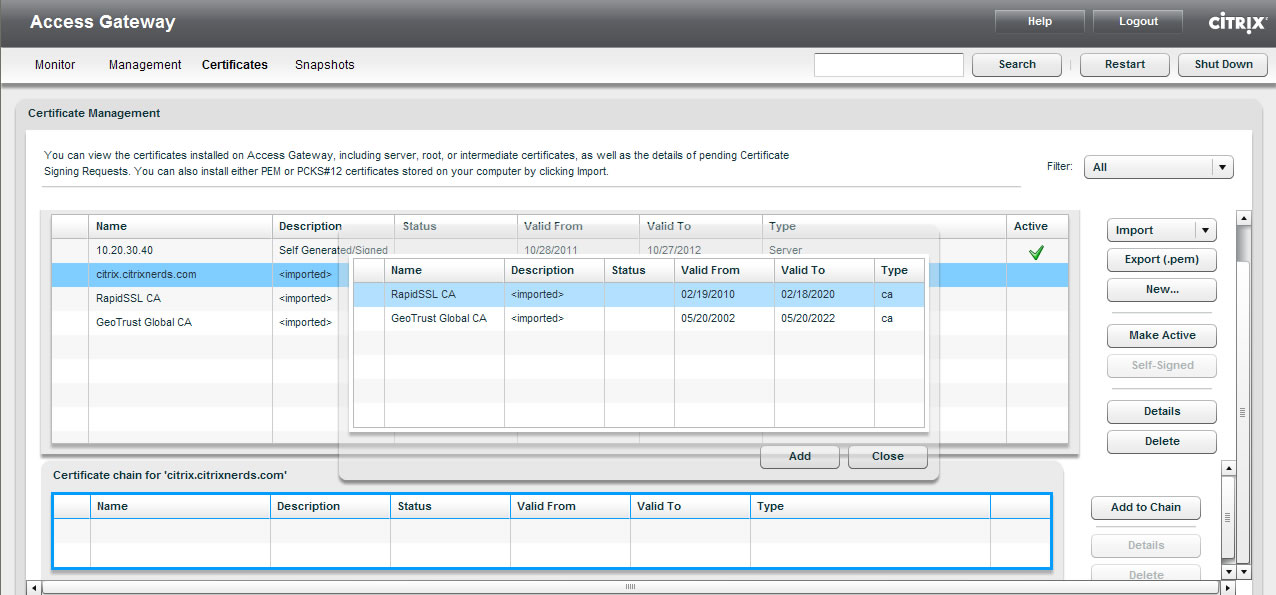
27. Select the SSL certificate for your FQDN, click add to chain, select the Intermediate SSL certificate and click Add.
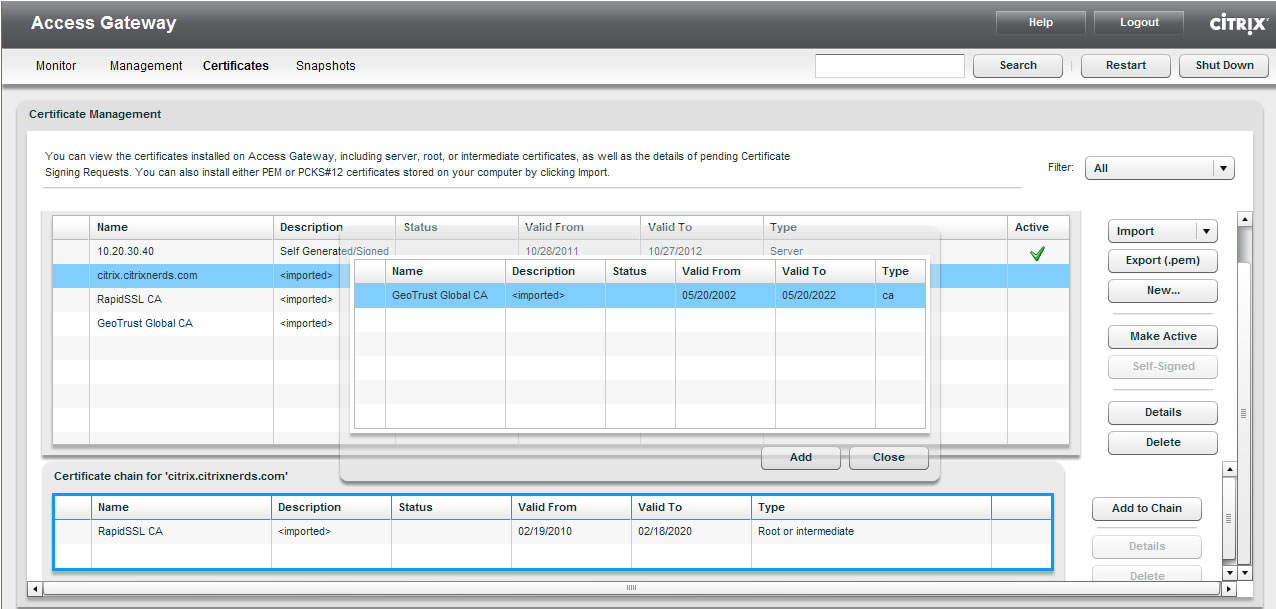
28. Select the Root SSL certificate, click Add and click Close.
29. Select the SSL certificate for your FQDN and click Make Active to use it as the default SSL certificate for the Access Gateway.
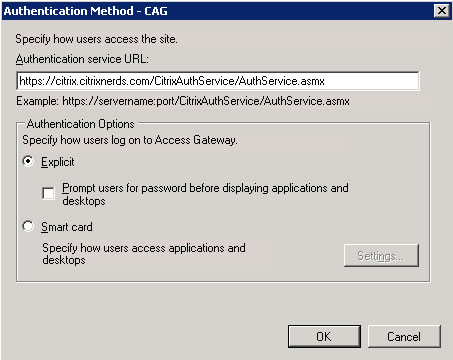
30. On the Citrix Web Interface, create a new site and Specify Point of Authentication as "At Access Gateway" and enter the Authentication Service URL as: https://domain.com/CitrixAuthService/AuthService.asmx where domain.com is the FQDN of the Citrix Access Gateway.
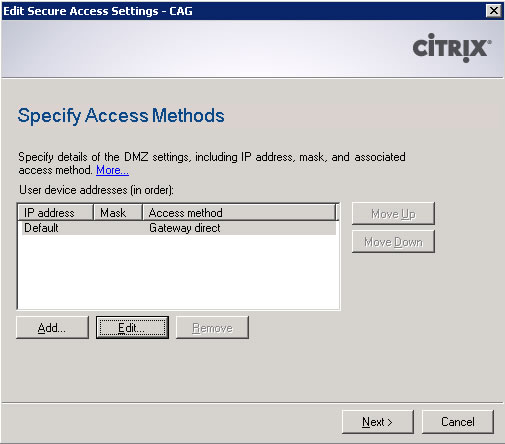
31. Select Gateway Direct for Secure Access method.
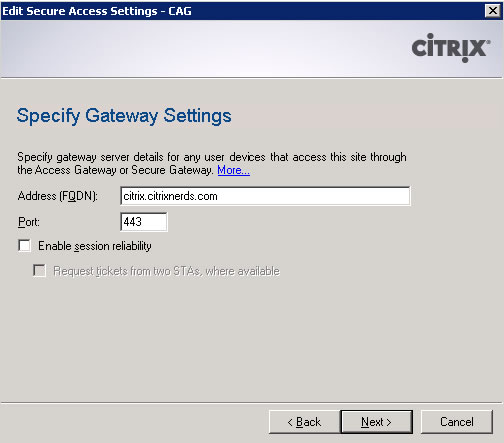
32. Enter the FQDN of the Citrix Access Gateway and uncheck session reliability.
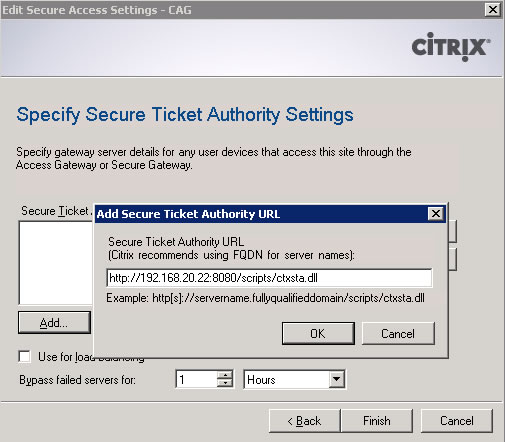
33. Enter IP addresses or FQDN's of XenApp / Presentation Servers running the XML service and the appropriate port.
An example would be: http://192.168.20.22:8080/scripts/ctxsta.dll where the server IP is 192.168.20.22 and the XML service runs on port 8080
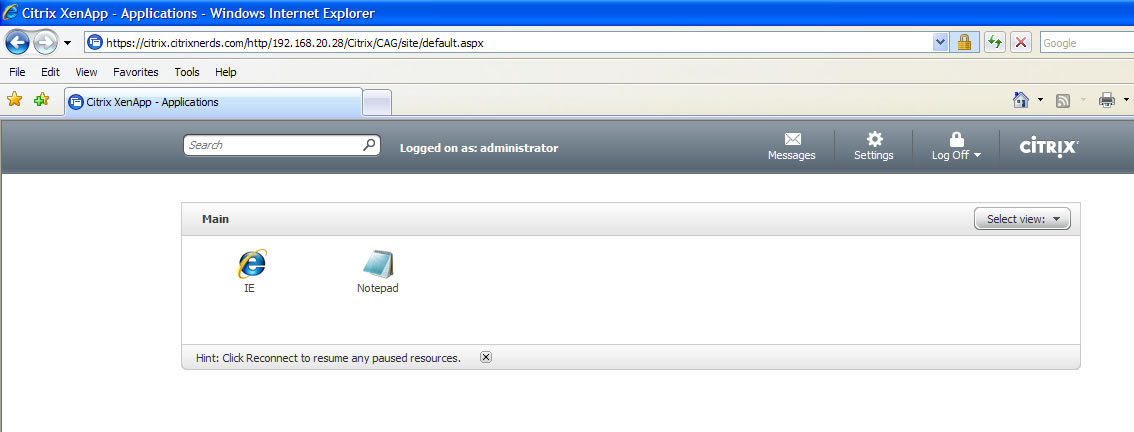
34. Test by opening a new browser window and entering the FQDN of the Access Gateway SSL certificate without HTTPS as it will automatically redirect to HTTPS and then enter credentials of a user in Active Directory.
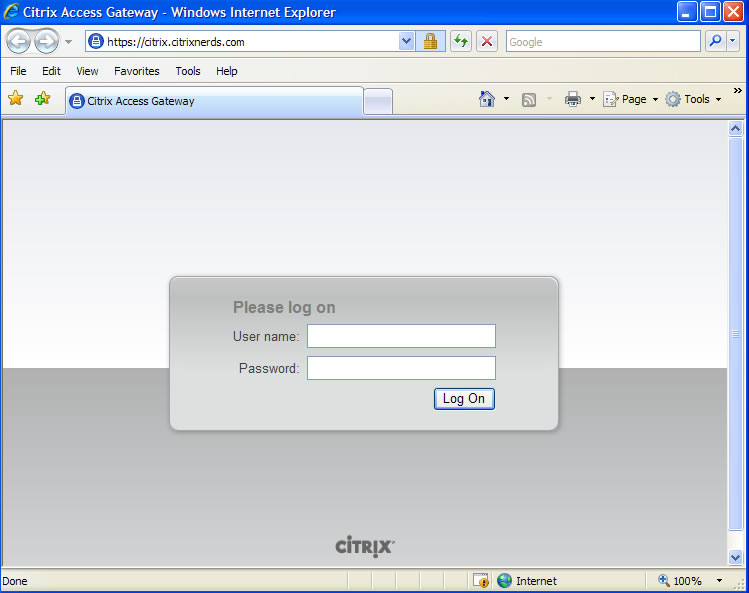
35. If the user is a member of the appropriate group, then the Web Interface will launch and display icons of published applications the user has access to launch. If the user is not a member of the appropriate group in Active Directory then the system will display You are not allowed to access any network.