| |
Installation Documentation
Creating a backup SSL certificate
1. Click Start, Run, type MMC and click OK
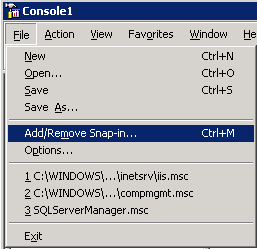
2. Click File, select Add/Remove snap-in
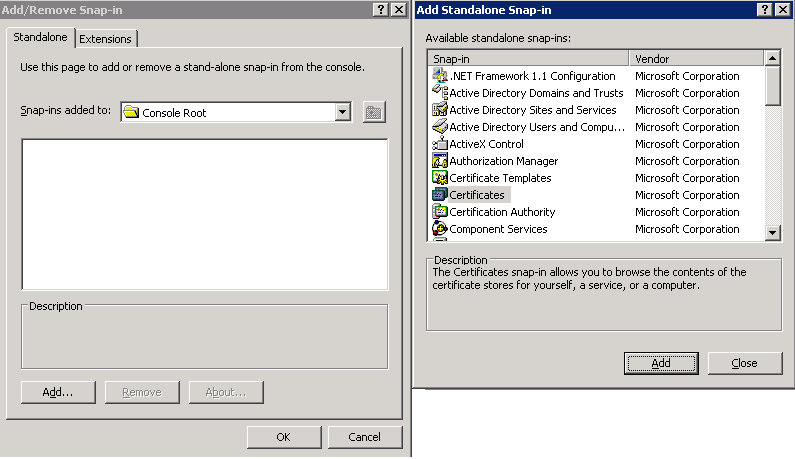
3. Click Add, select certificates and click Add
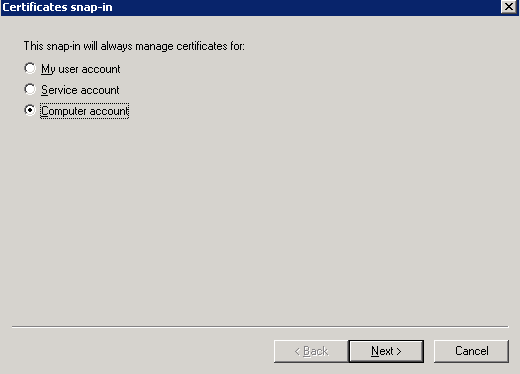
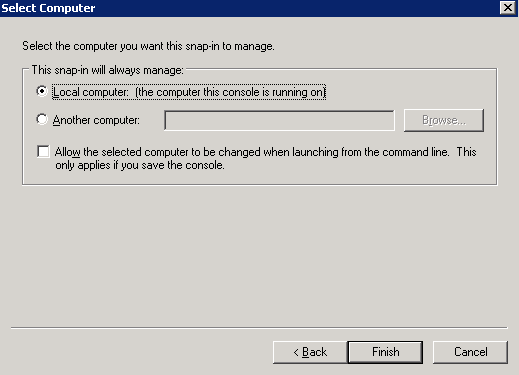
4. Select computer account and click Next
5. Select the local computer to manage with this snap-in and click Finish
6. Click close on the add standalone snap-in and click OK on Add/Remove snap-in
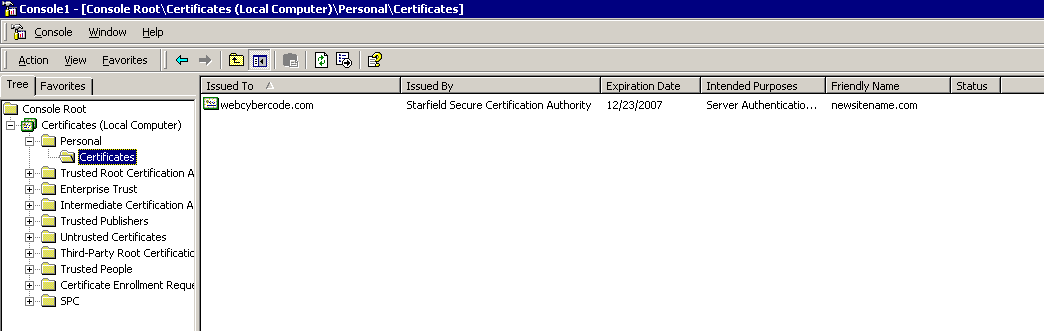
7. Expand certificates, personal and certicates to see a list of installed certificates
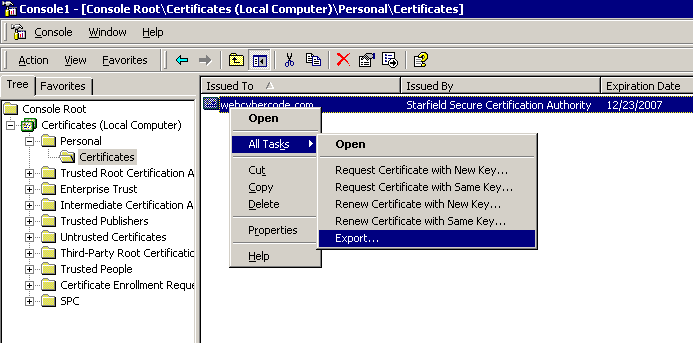
8. Right click on a certificate, select all tasks and export
9. Click Next at the initial certificate export wizard
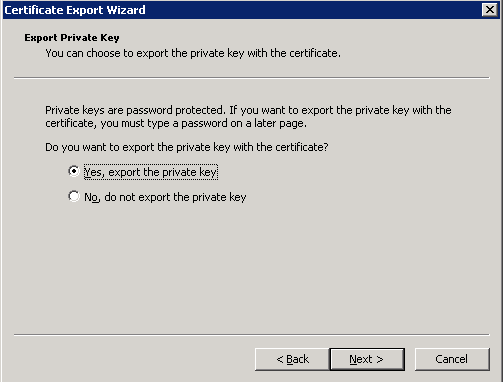
10. Select Yes, export private key and click Next
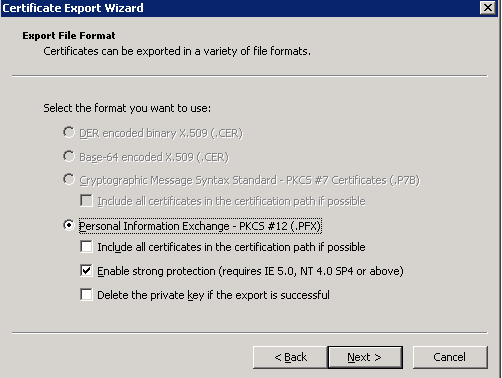
11. Select PFX and enable strong protection and click Next
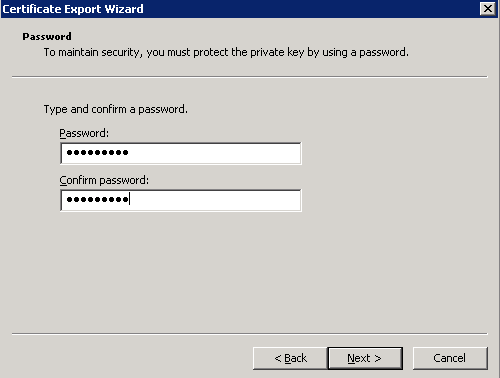
12. Enter a password and click Next
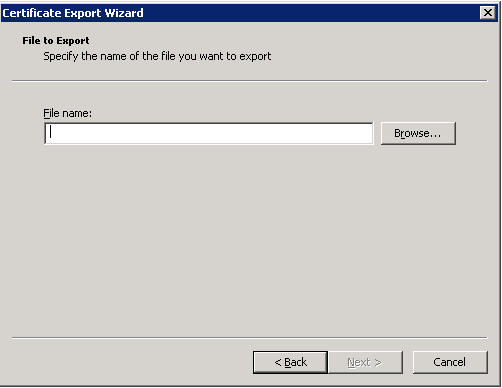
13. Specify a file and location to export to and click Next
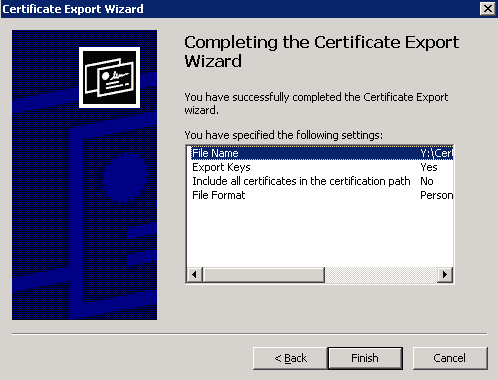
14. Click finish to complete the wizard and shortly you will see that the export was successful
|
|