| |
Installation Documentation
Creating a new web site in IIS
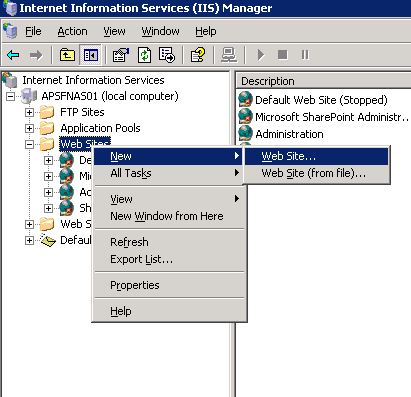
1. Click Start Programs, Administrative Tools, Internet Information Services (IIS) Manager, right click on websites, new and select web site
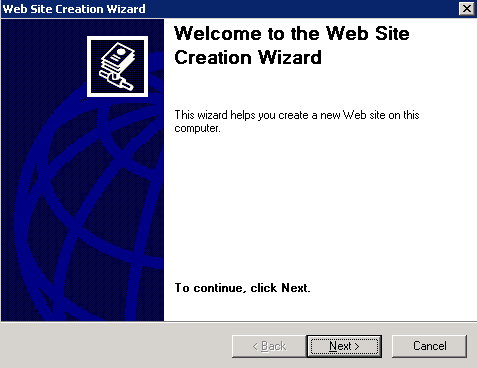
2. Click Next at the initial web site creation wizard
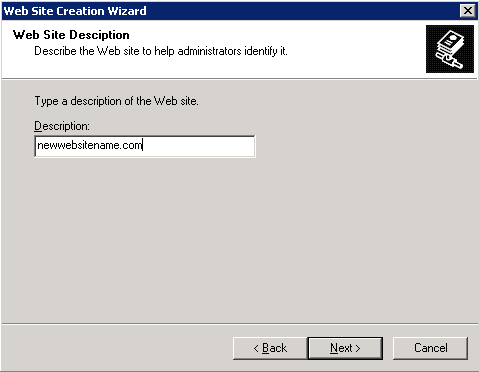
3. Type a description of the website and click Next
4. Enter a host header for the website and click Next. Note, usually the domain name

5. Enter the path to your home directory and click Next. Note, this can be changed later if it's on a network share
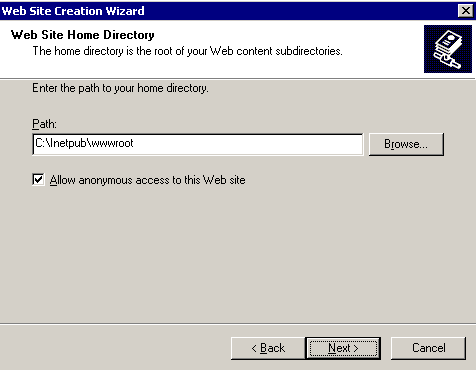
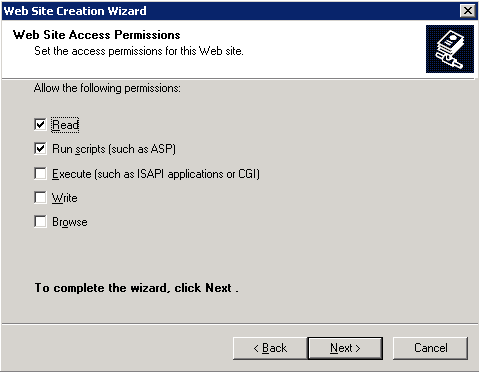
6. Set the access permissions for the web site and click Next
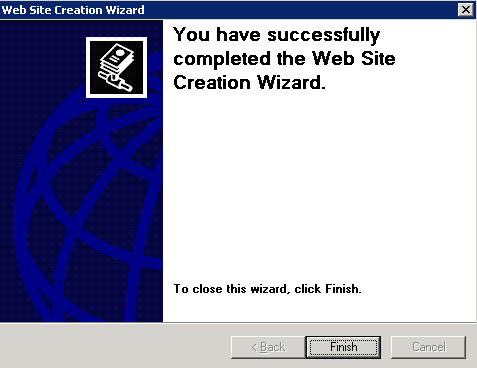
7. Click finish to complete the wizard
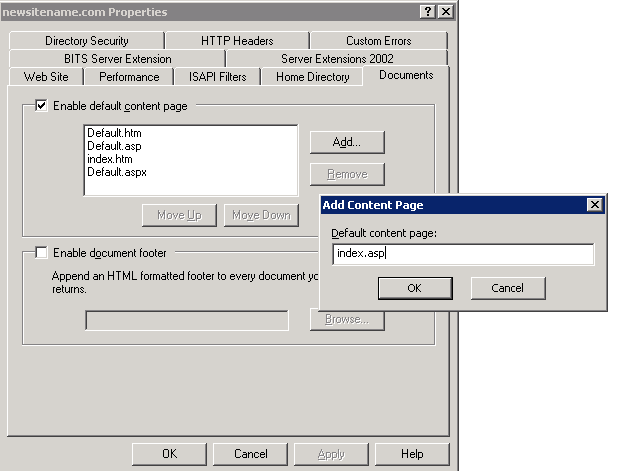
8. To modify the web site properties to support a new default page, right click on the web site, properties, select the documents tab and add a content page
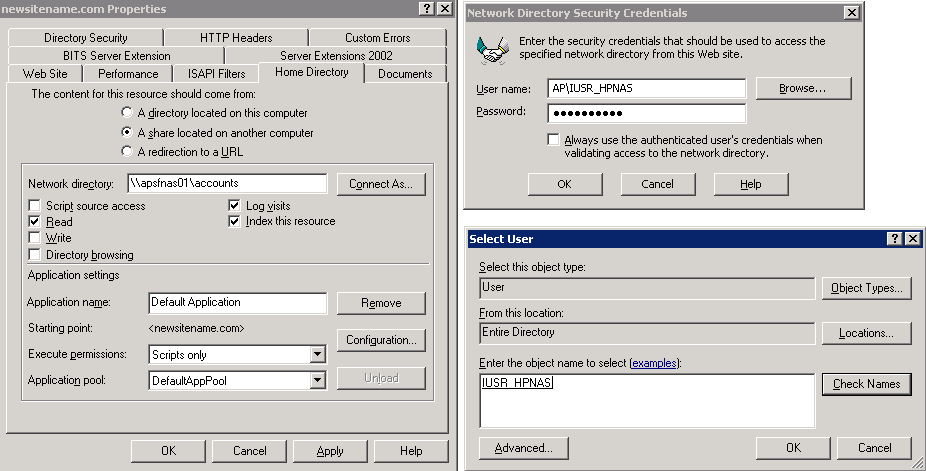
9. To modify the web site properties to support a network share, right click on the web site, properties, select the homepage tab, select a share located on another computer, enter a network share name and click connect as to enter the approriate credentials
|
|