| |
Installation Documentation
Citrix XenApp 6.0 Server Installation Windows 2008 R2
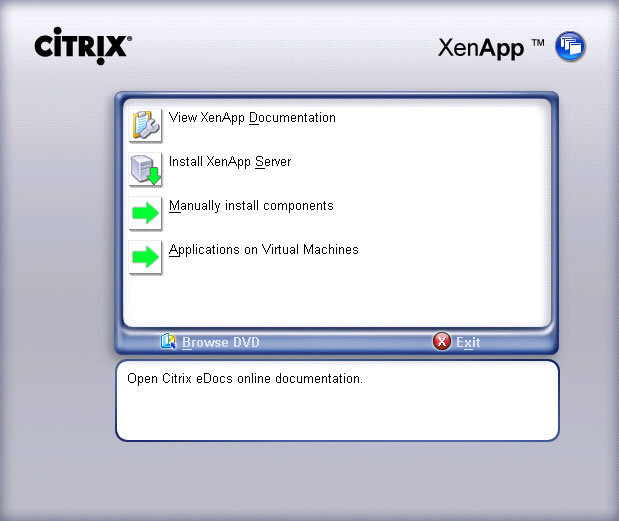
1. Start the Citrix installation by double clicking on the autorun.exe and select Install XenApp Server
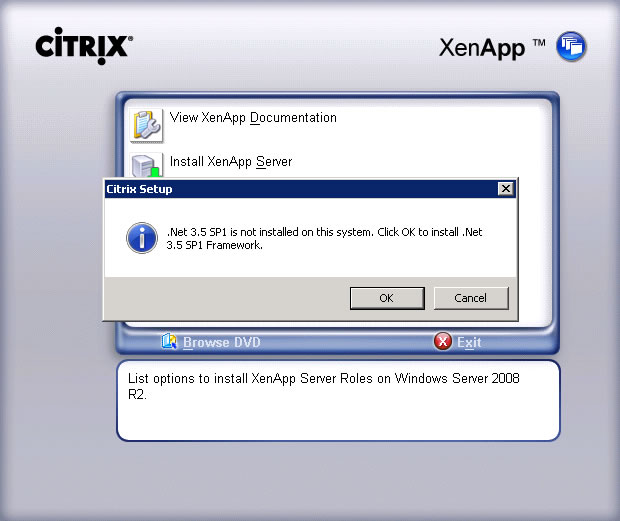
2. Click OK if prompted to install .Net 3.5 SP1 Framework
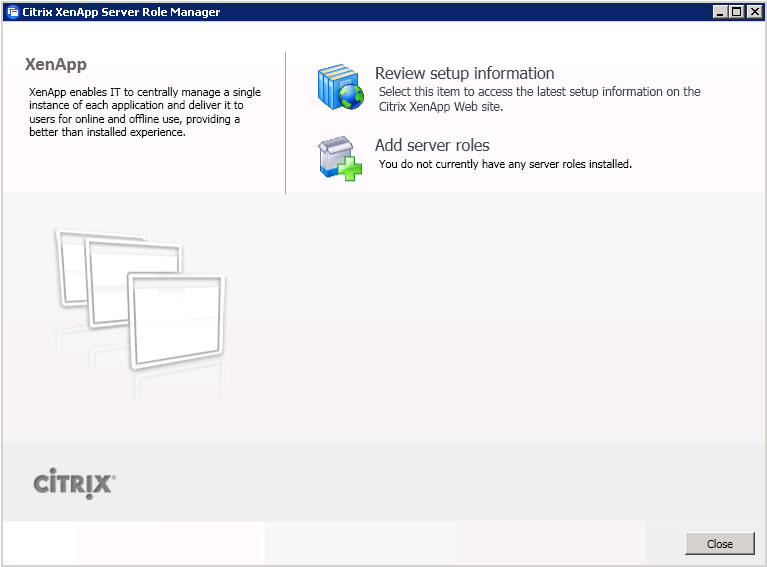
3. Click Add server roles
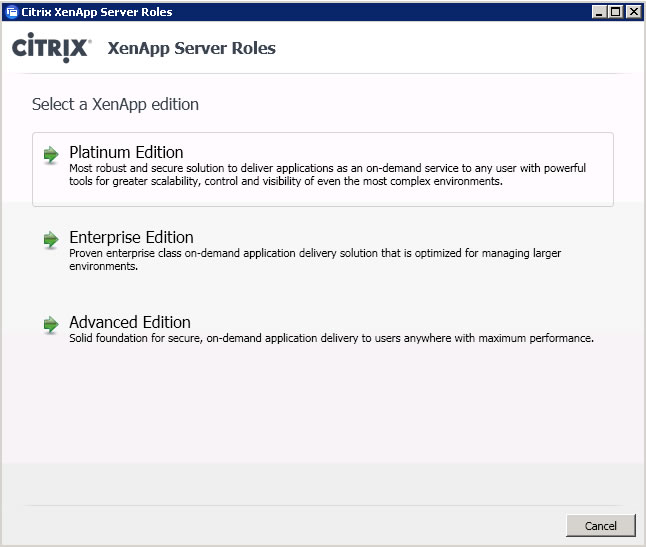
4. Select the correct edition
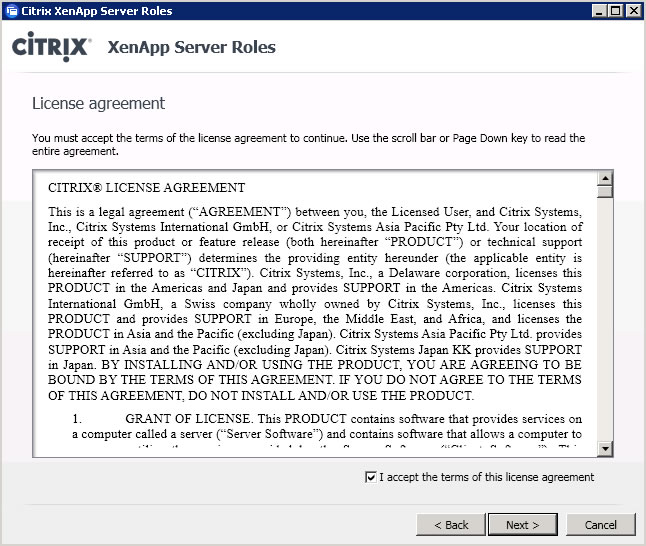
5. Click the radio button to accept the license agreement and click Next
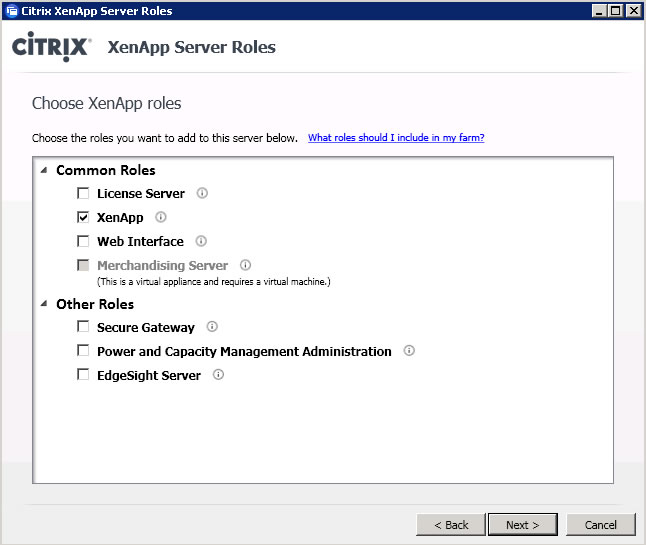
6. Select the XenApp role and click Next
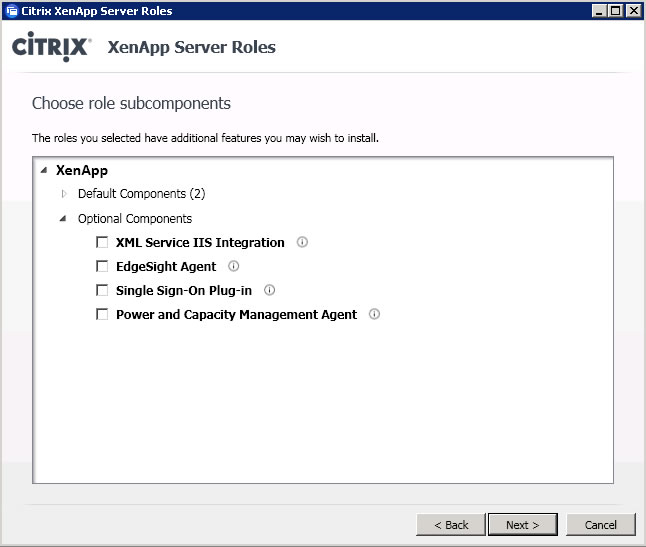
7. Leave default settings and click Next
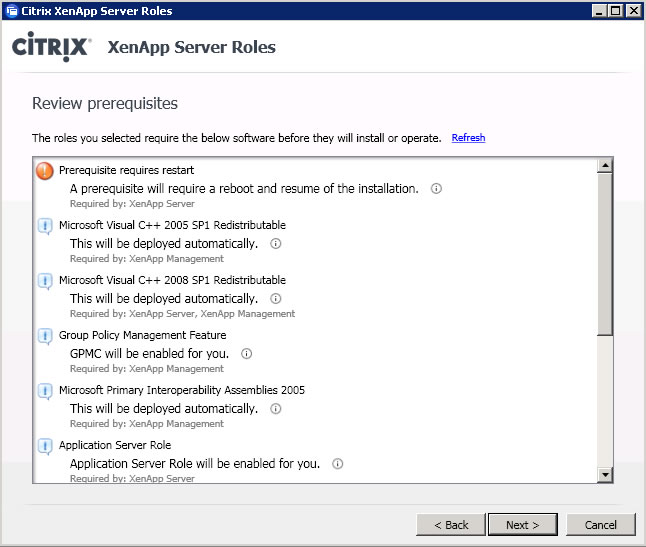
8. Review prerequisites and click Next
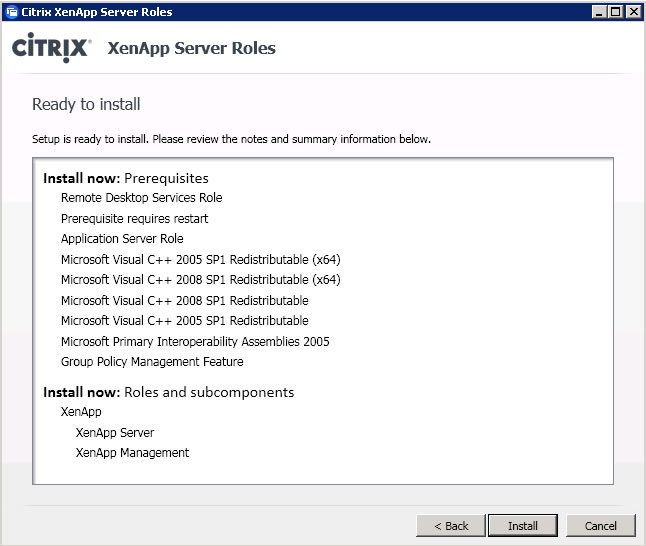
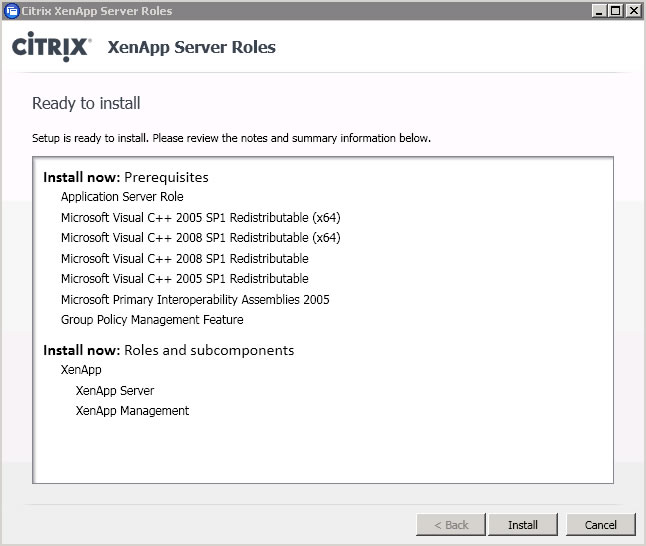
9. Review installation summary and click Install
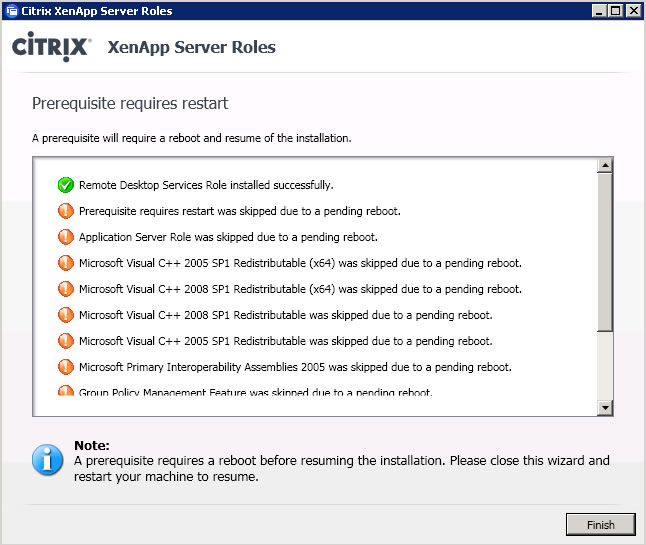
10. Review prerequisite reboot summary and click Finish
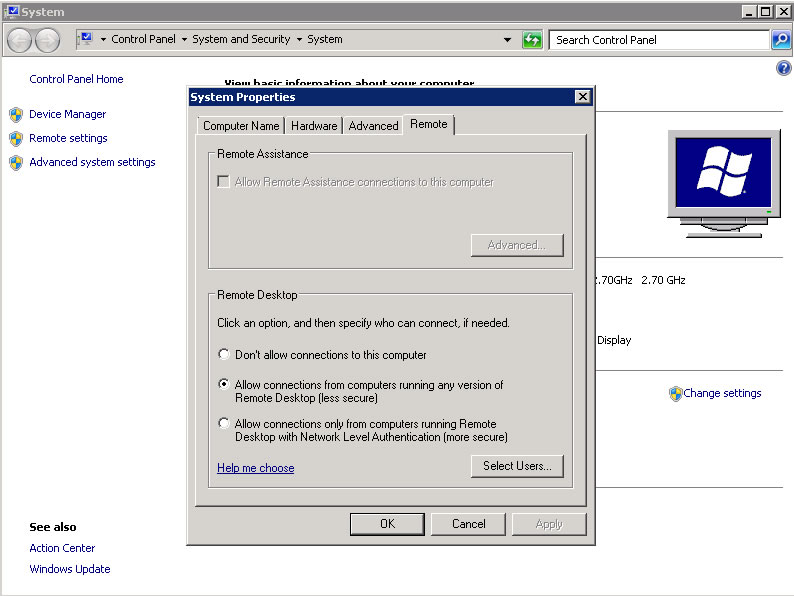
11. Prior to rebooting the server, change Remote Desktop connection settings to allow connections from any version of Remote Desktop, then reboot the server
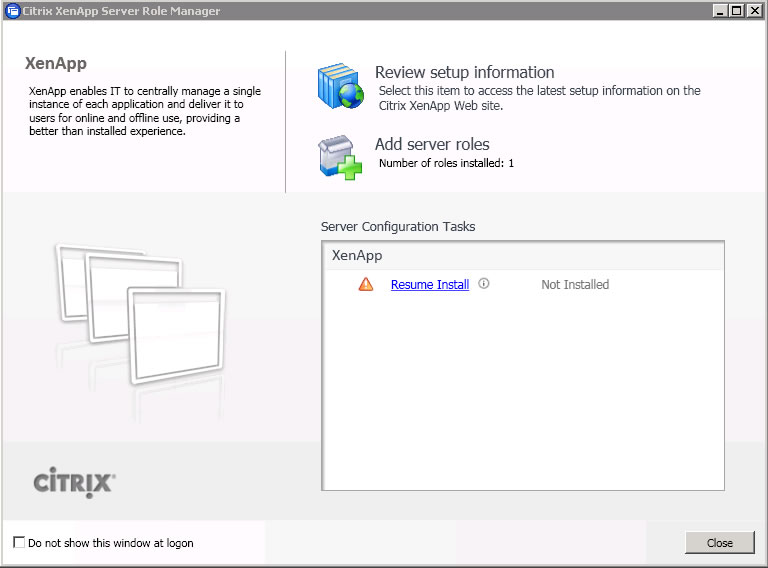
12. After performing a reboot and logging in Click Resume Install
13. Review installation summary and click Install
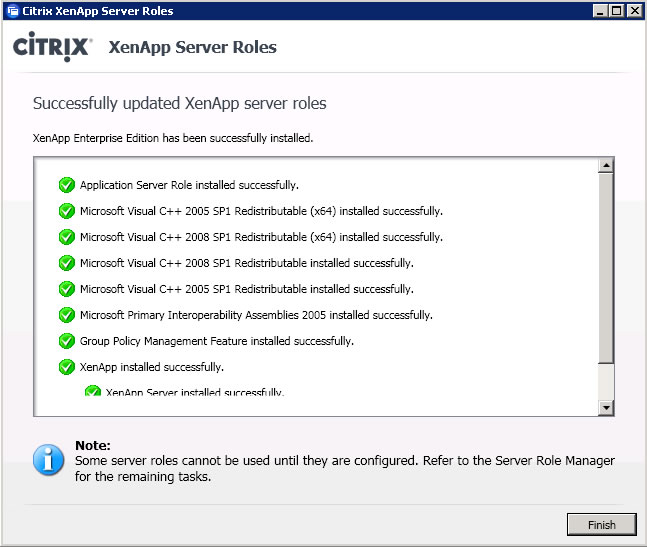
14. After XenApp server roles have been successfully installed click Finish
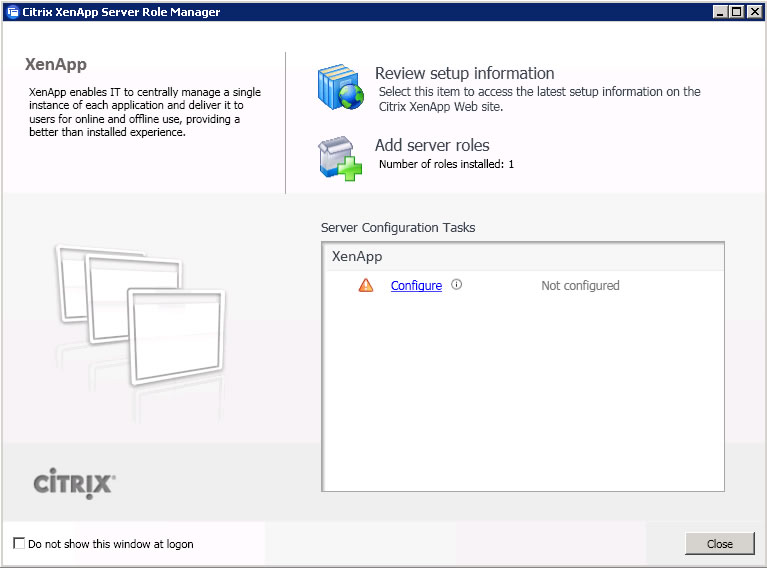
15. Click Configure to setup the XenApp Server
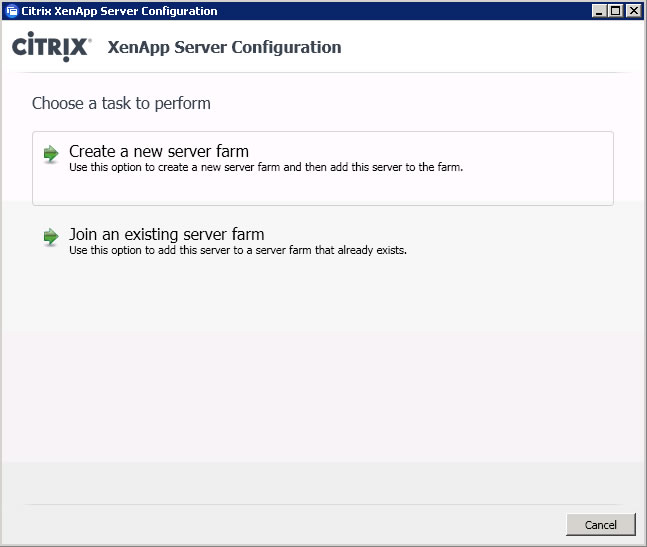
16. Select create a new server farm
17. Enter farm administrator credentials and click Next

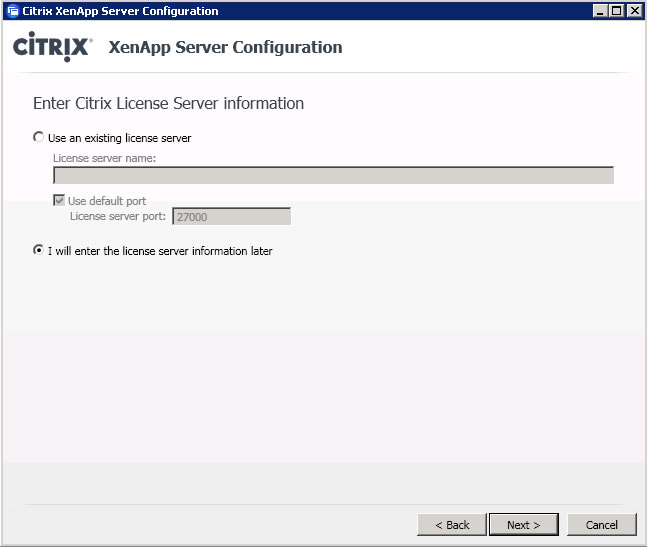
18. Enter the license server name and click Next (this is highly recommended as it will entail creating a policy later if it's not done now)
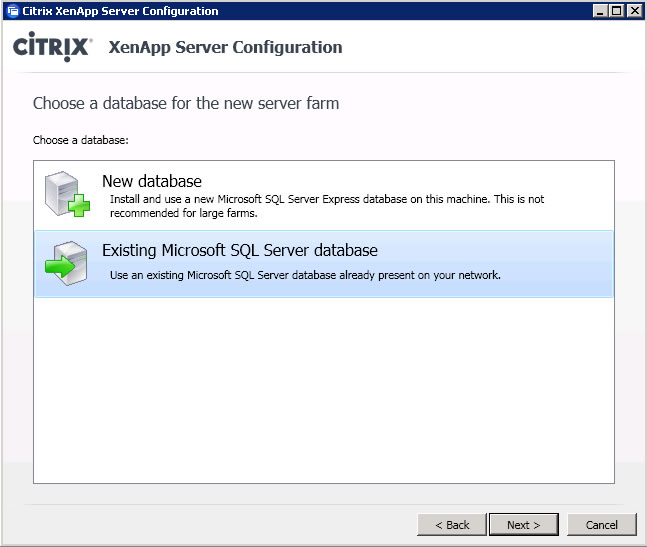
19. Select Existing Microsoft SQL server database and click Next
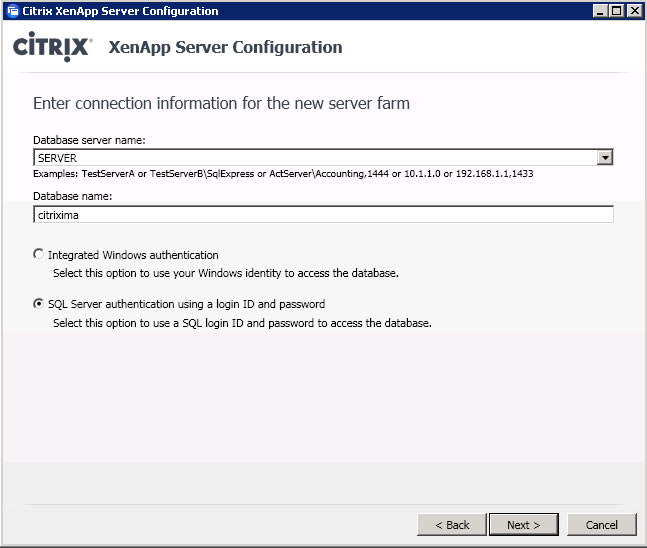
20. Enter the SQL server name, database name, select SQL server authentication and click Next
21. Enter the SQL login ID and Password and click OK
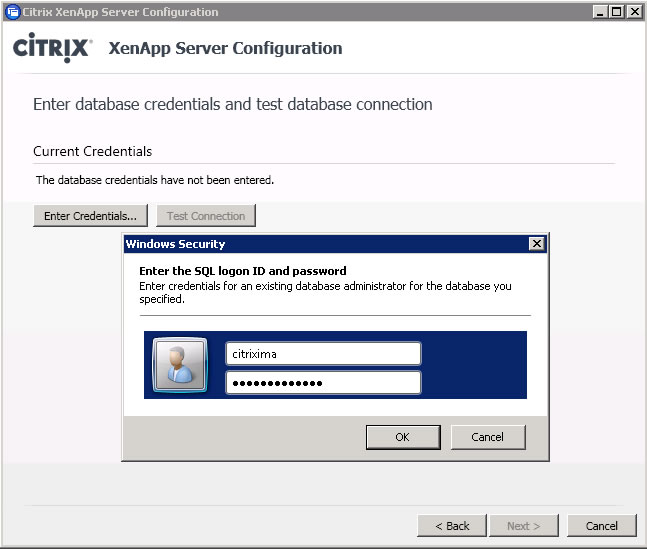
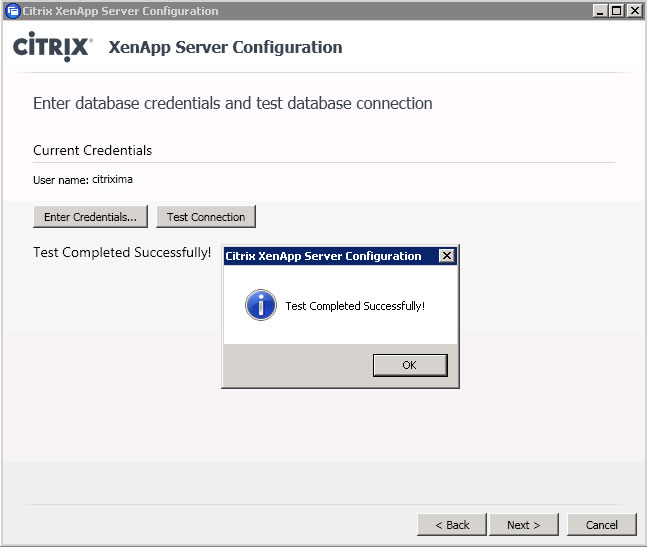
22. Test the connection
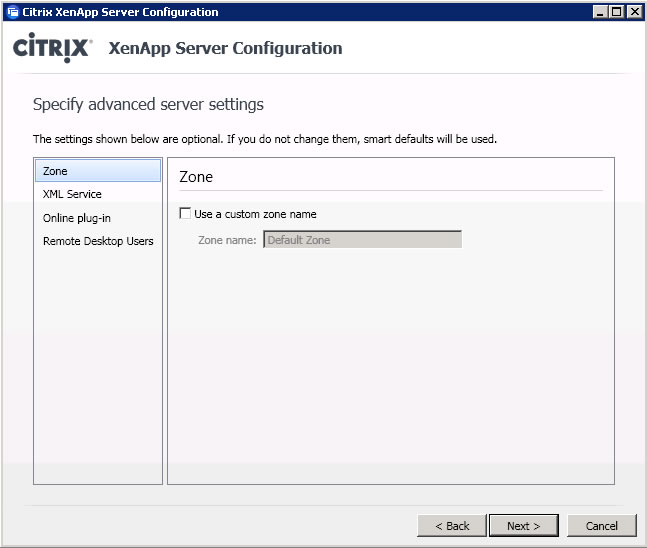
23. Leave default settings and click Next

24. Modify the Zone settings if required as part of the standard build process
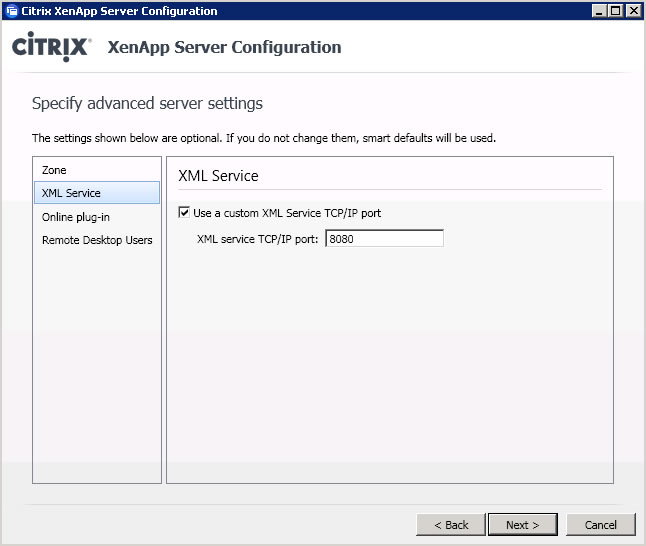
25. Change the XML Service port to 8080
26. Leave default settings for online plug-in
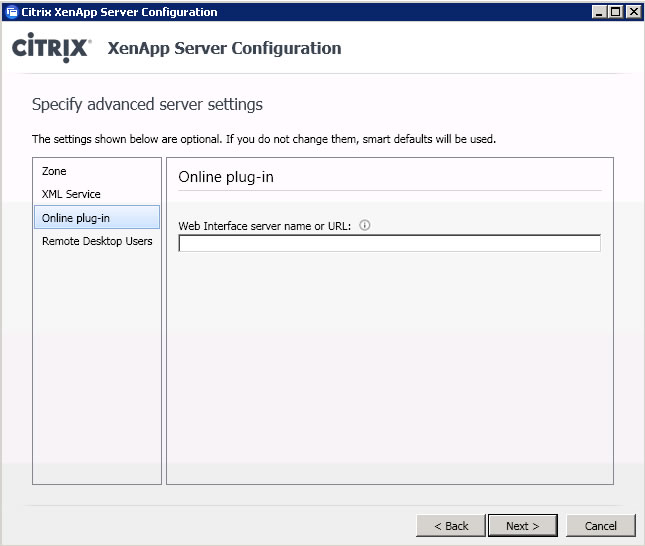
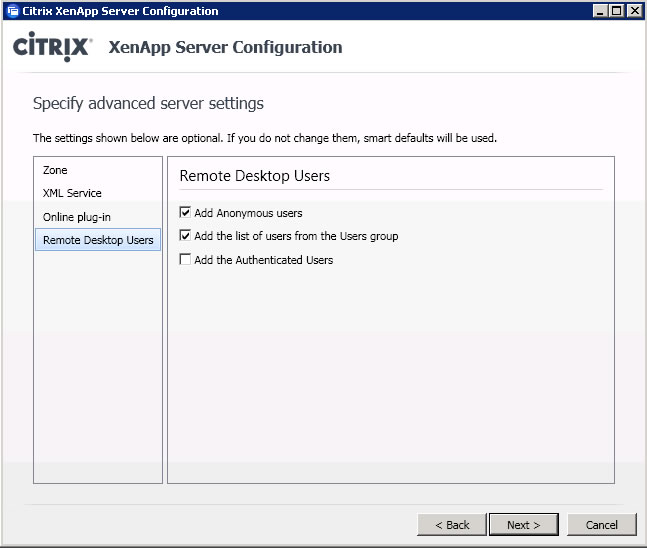
27. Leave default settings for remote desktop users and click Next
28. When ready to configure click Apply

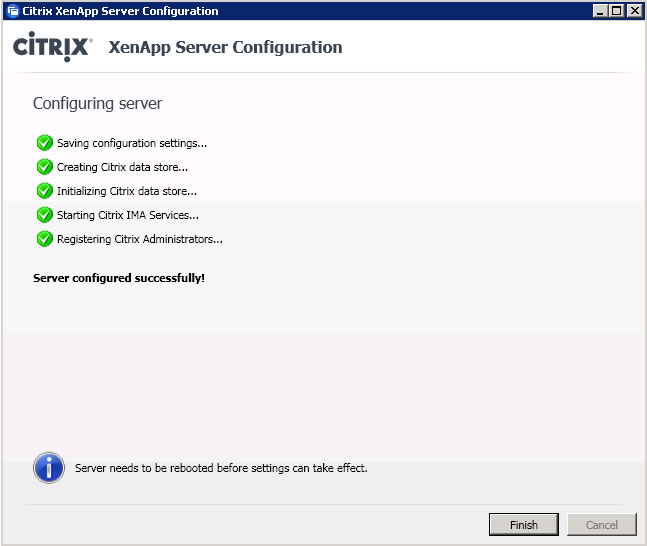
29. When XenApp Server Configuration has been completed sucessfully click Finish
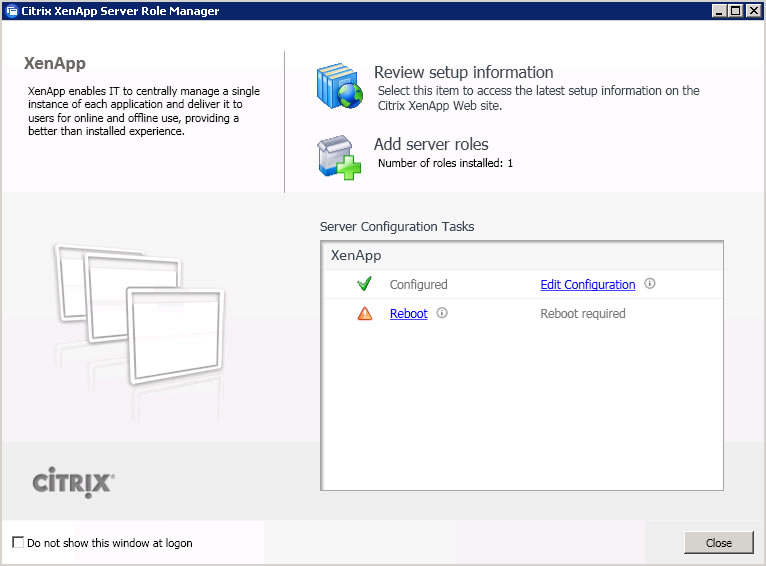
30. Click Reboot
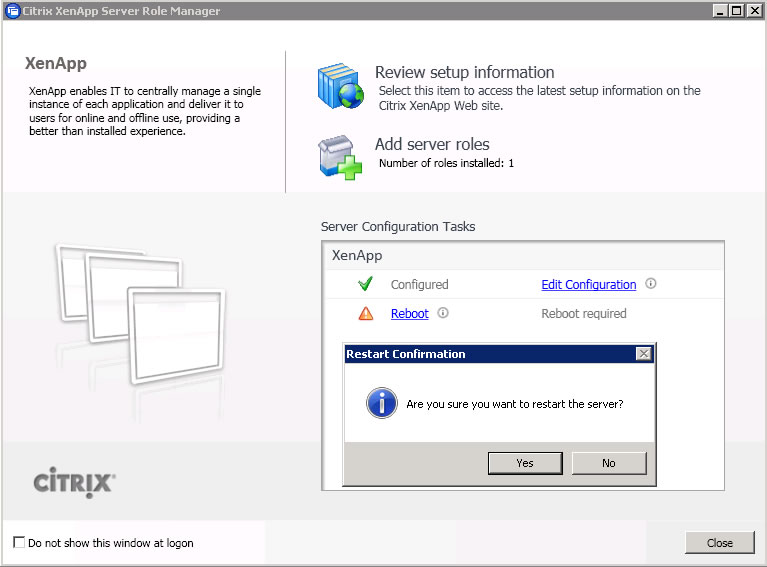
31. Click Yes to confirm server reboot
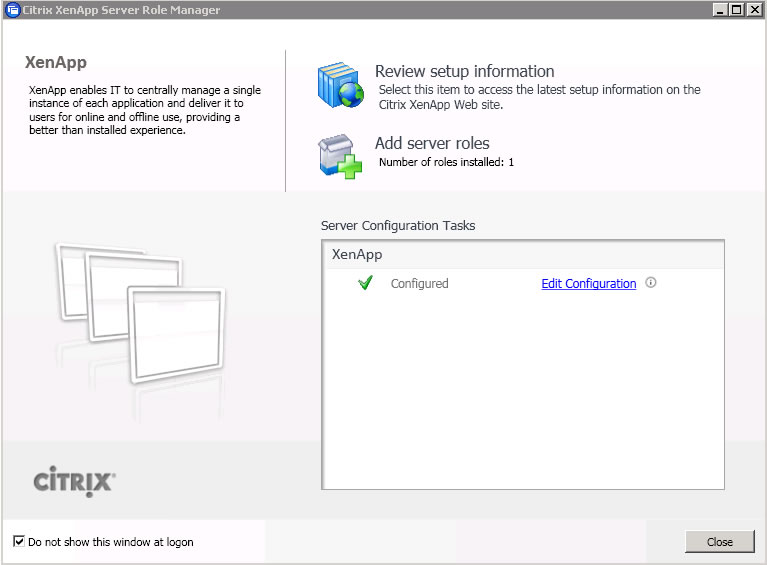
32. Click the radio button by do not show this window at logon and click Close
|
|