| |
Installation Documentation
Citrix XenApp 5.0 Fundamentals / Access Essentials Installation
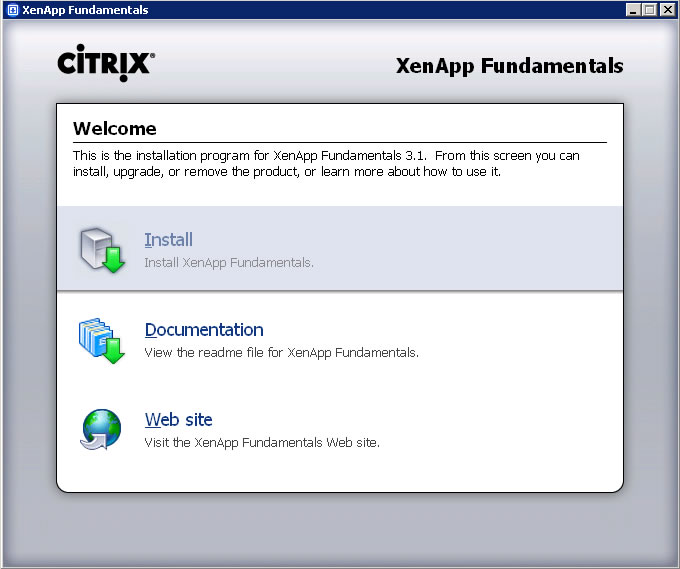
1. Start the Citrix installation by double clicking on the autorun.exe and click Install XenApp Fundamentals
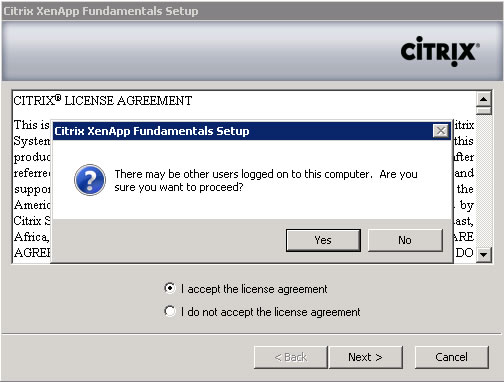
2. Accept the license agreement and click Next. When prompted that other users may be logged on, click Yes to proceed
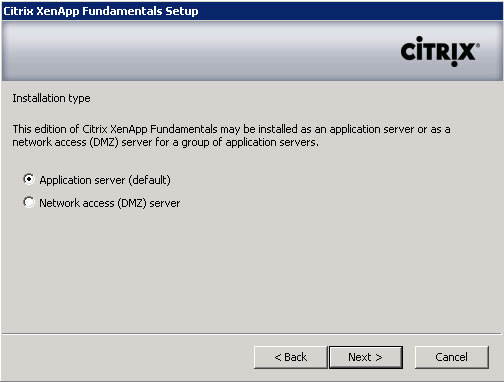
3. Select Application server as the installation type and click Next
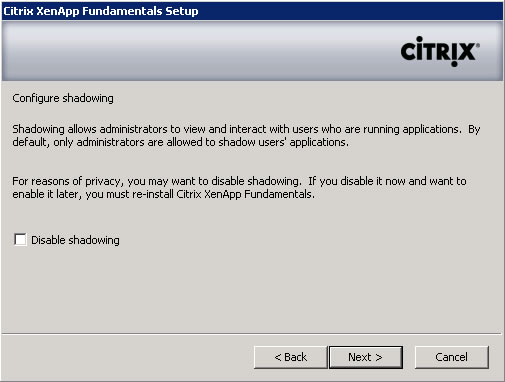
4. Configure shadowing and click Next
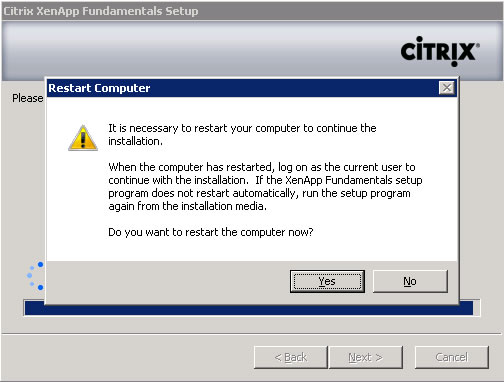
5. The installation will run for 5-20 minutes and then prompt to restart the computer for the installation to continue. Permit the computer to restart and login again for the installation to resume
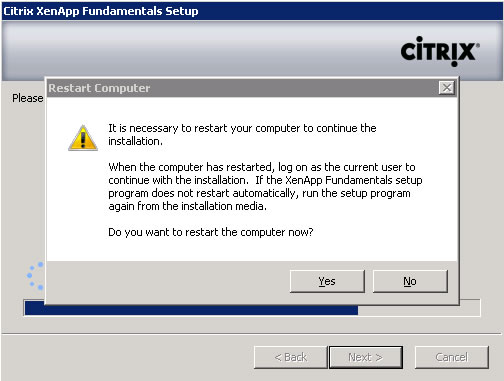
6. Near completion of the installation the system will prompt to restart the computer for the installation to continue. Permit the computer to restart and login again for the installation to complete
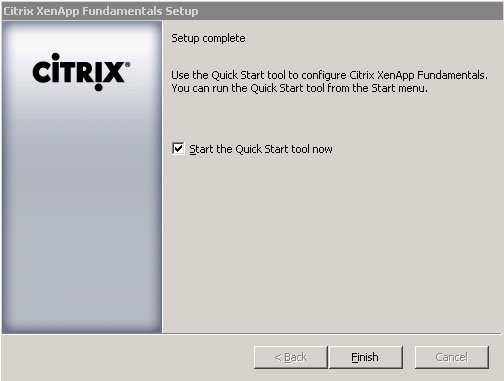
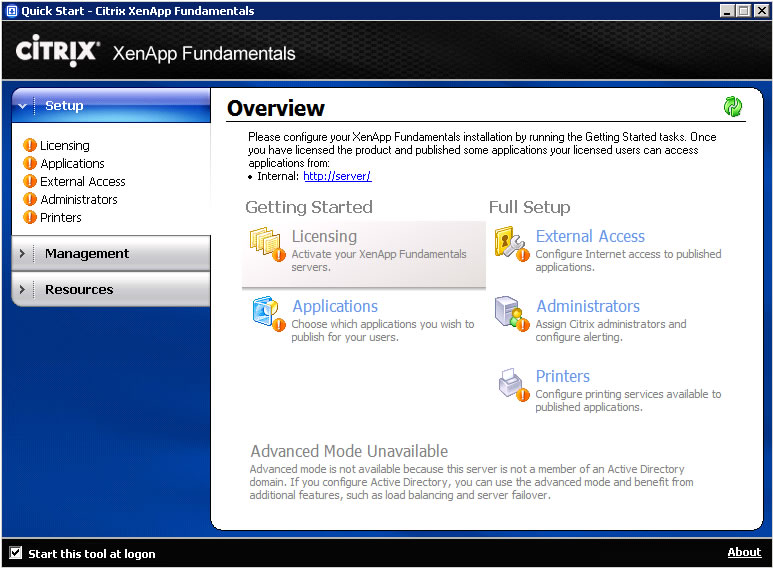
7. Click Finish upon setup completion and Start the Quick Start tool
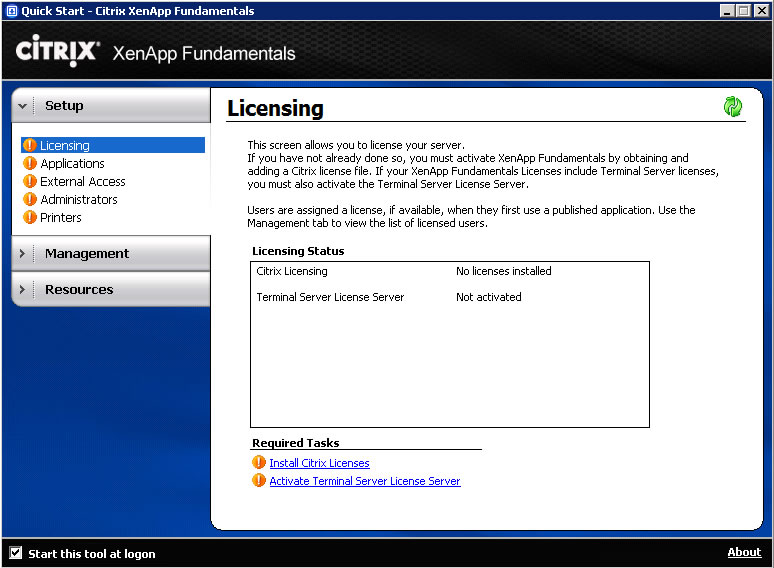
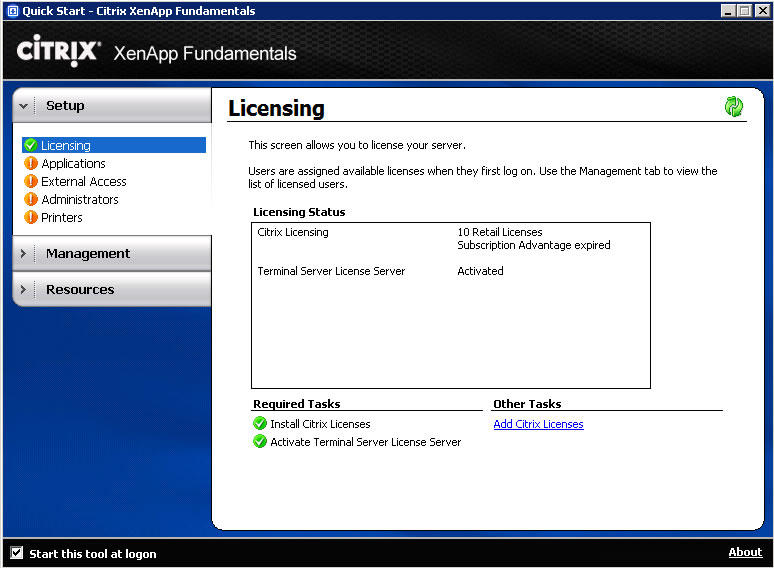
8. Click Licensing from Quick Start
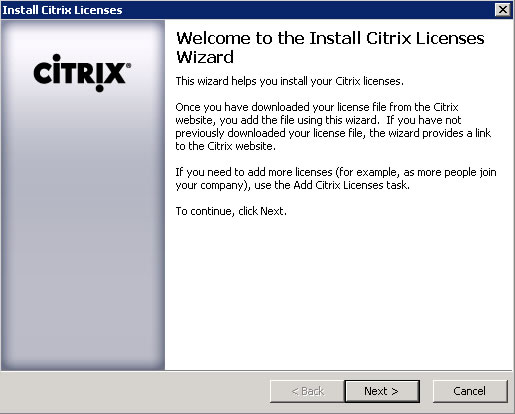
9. Click Install Citrix Licenses
10. Click Next to start the License installation wizard
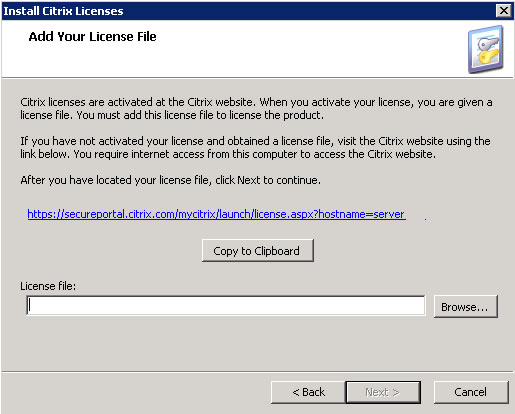
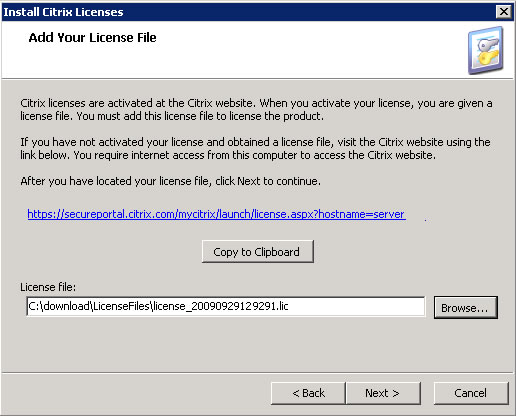
11. If licenses have been previously downloaded from the MyCitrix portal then click Browse to locate them
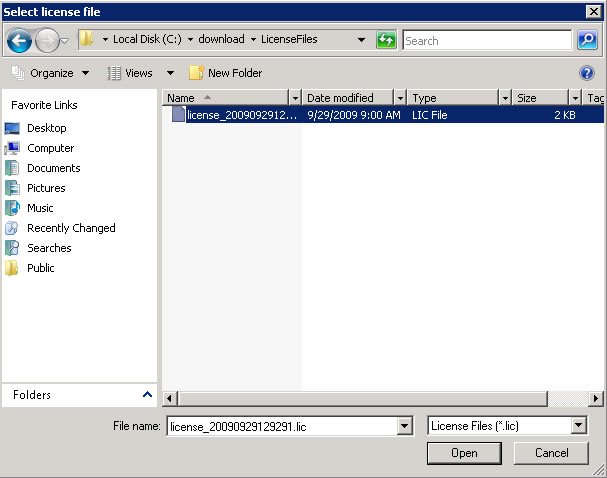
12. Select a license file and click Open
13. Click Next to install the license file and repeat this process if there are several license files
14. Click Finish to install licenses
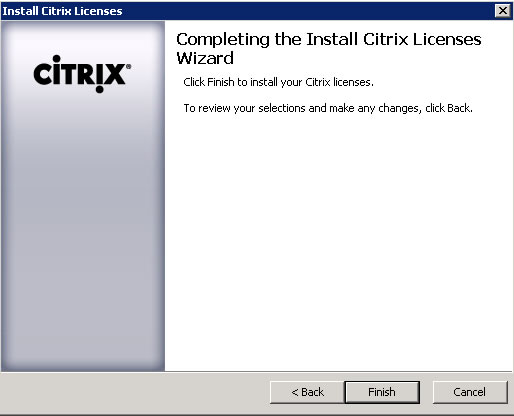
15. Click Finish to complete license installation

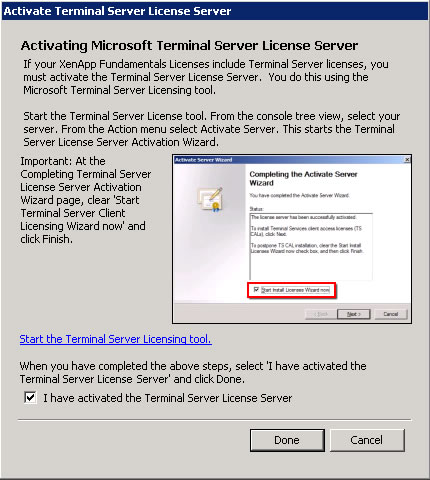
16. Click Activate Terminal Server License Server

17. Check I have activated the Terminal Server License Server and click Done
18. Review Citrix and Terminal Server license information
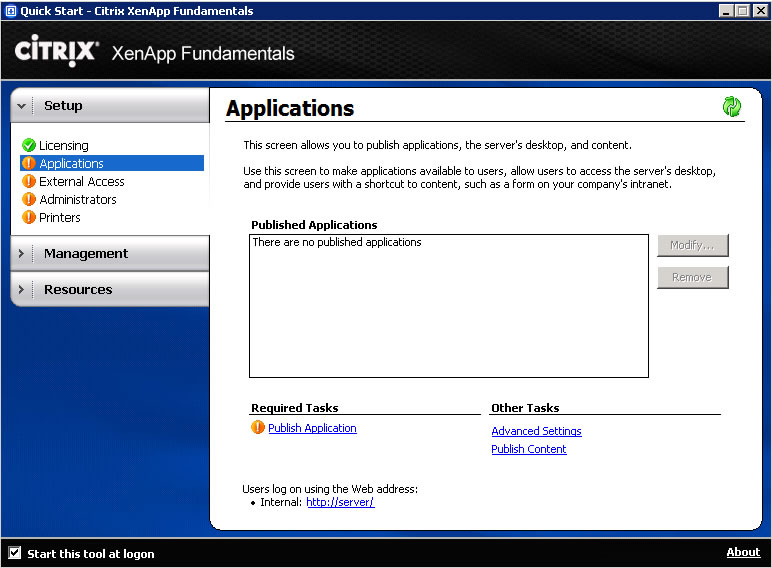
19. Select Applications and click Publish Application
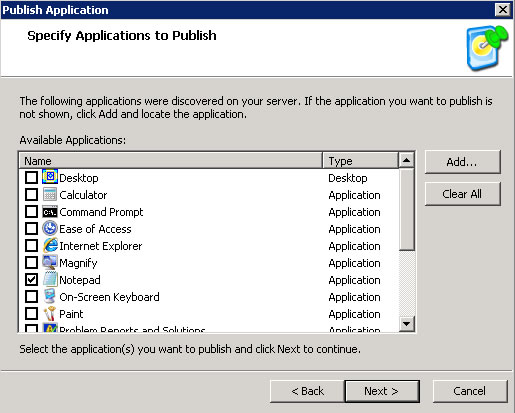
20. Click Next to start the Publish Application wizard

21. Check an application to install then click Add and click Next
22. Add users that are permitted application access and click Next

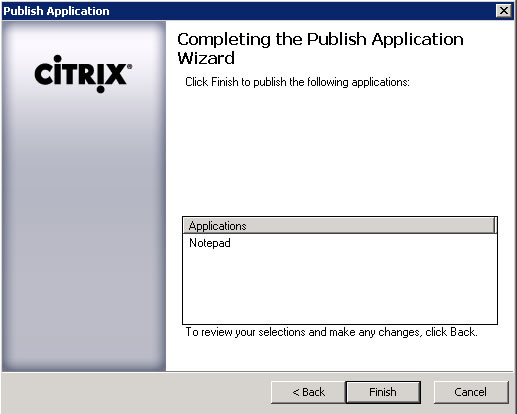
23. Click Finish to complete the Publish Application wizard
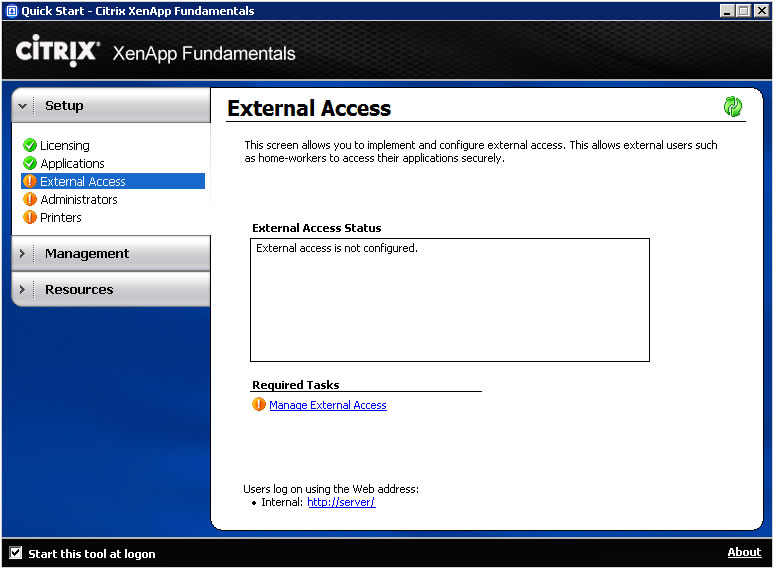
24. Select External Access and click Manage External Access
25. Click Next to start the Manage External Access wizard
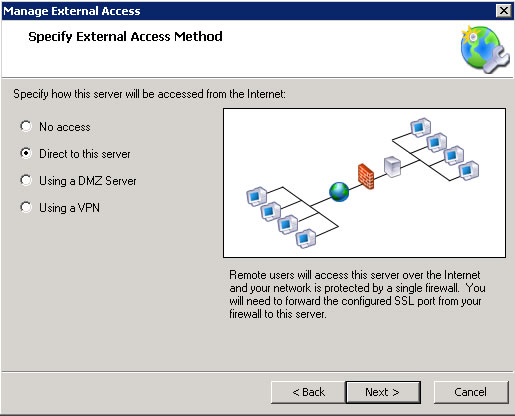
26. Select Direct Access to this server and click Next
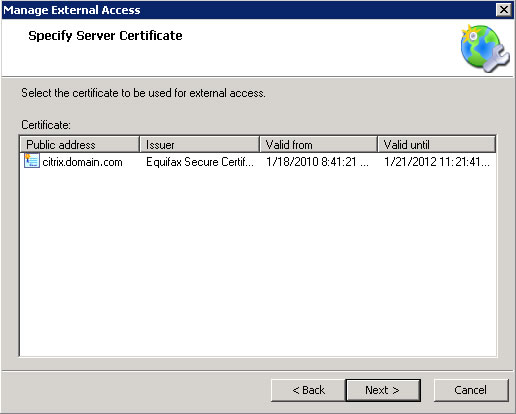
27. Specify a Server Certificate and click Next
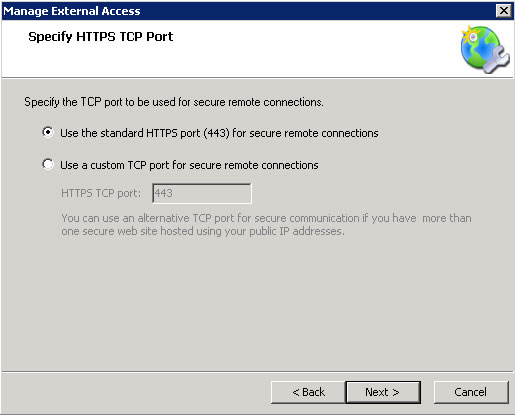
28. Specify the HTTPS TCP Port to be used for remote secure communications and make sure Firewall traffic is permitted and a FQDN is configured on a public DNS server
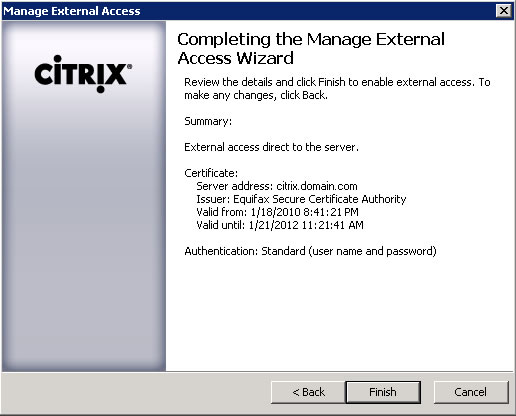
29. Review the details and click Finish to enable external access
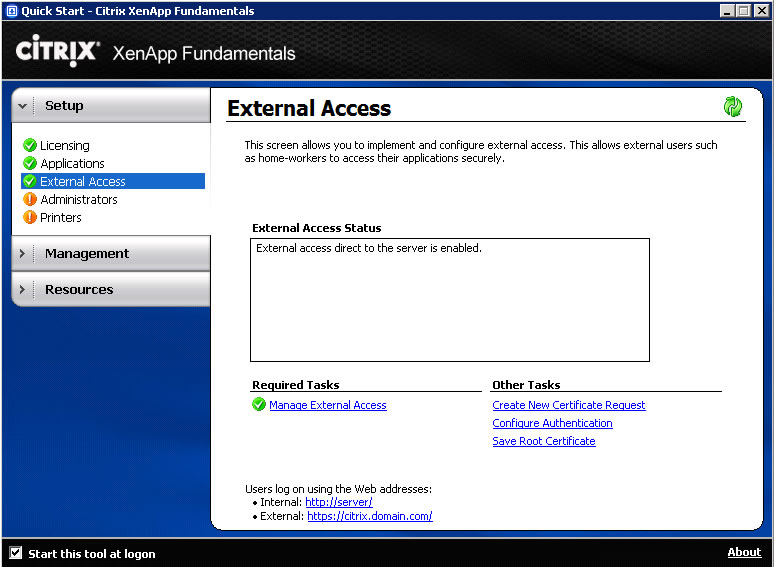
30. Quick Start will show that External access is enabled
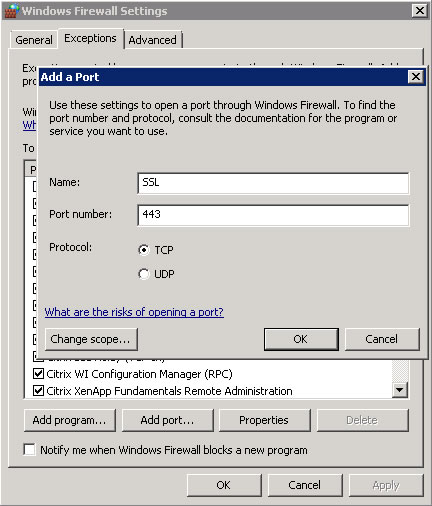
31. Modify Windows Firewall settings and add an exemption for SSL on Port 443
|
|