| |
Installation Documentation
Citrix XenApp 5.0 Server Installation
1. Start the Citrix installation by double clicking on the autorun.exe and select the correct edition

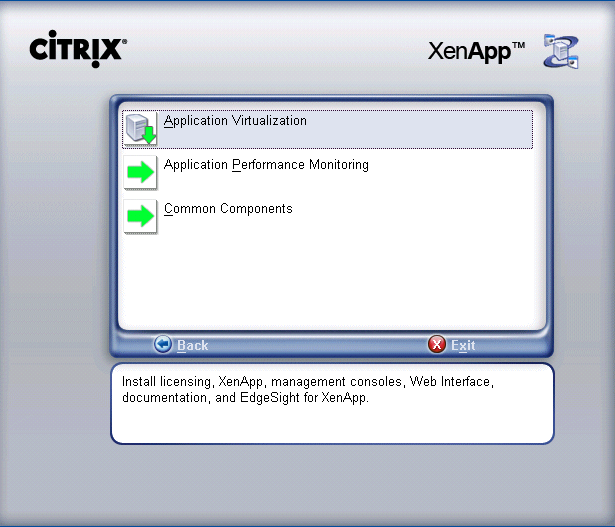
2. Select application virtualization
3. Click the radio button to accept the license agreement and click Next

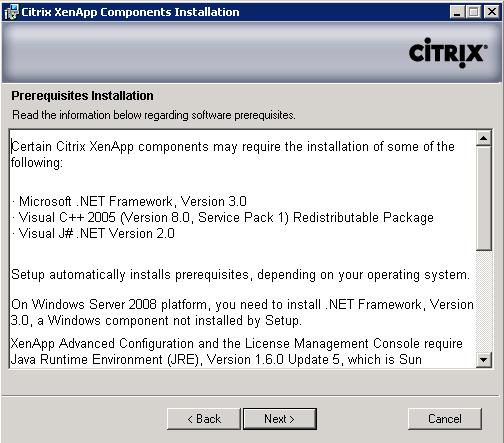
4. Review prerequisite component installation information and click Next
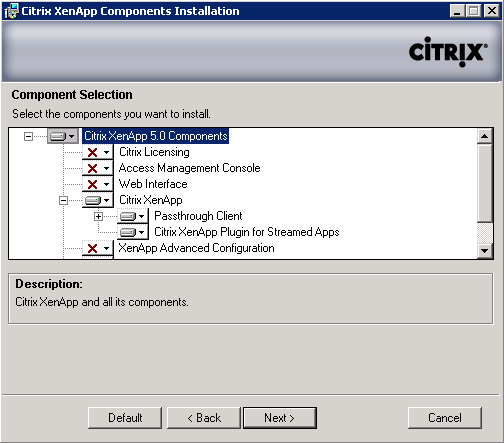
5. Select Citrix XenApp components and click Next
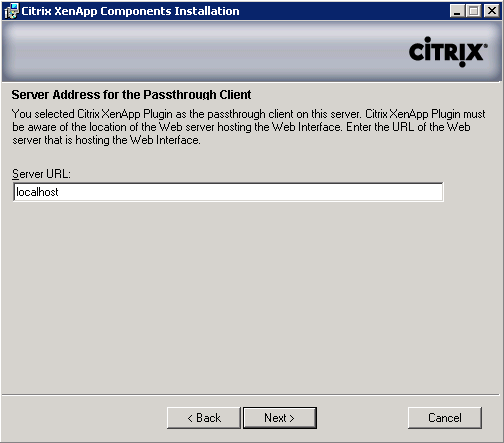
6. Enter the server address for the pass-through client and click Next
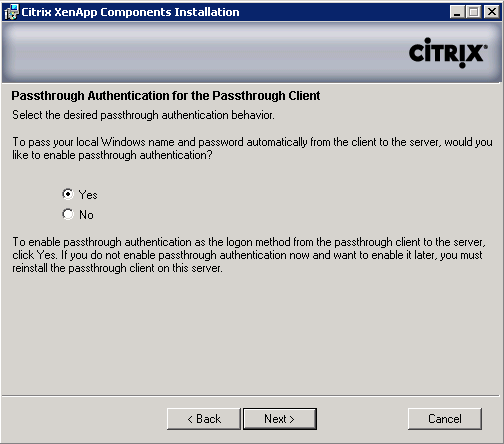
7. Enable pass-through authentication and click Next
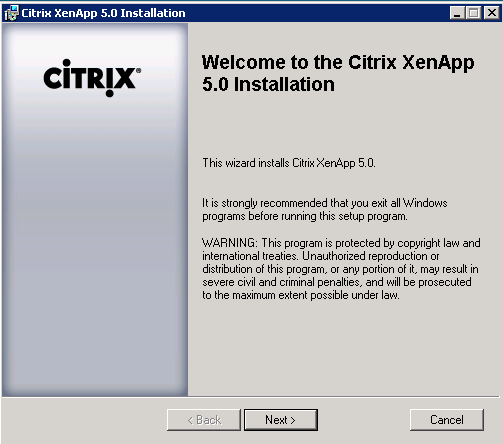
8. Click Next at the initial Citrix XenApp installation wizard
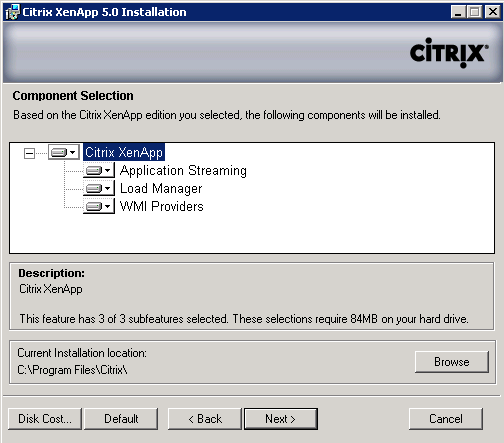
9. Select all components and click Next
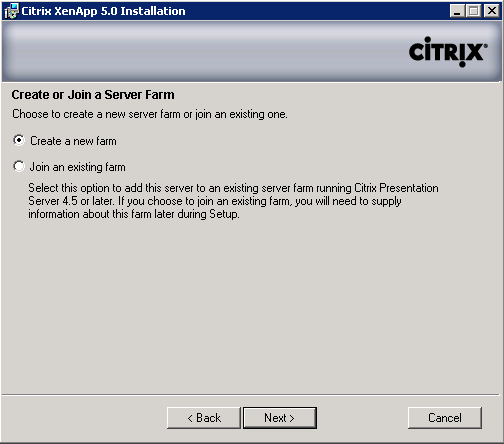
10. Create a new farm and click Next
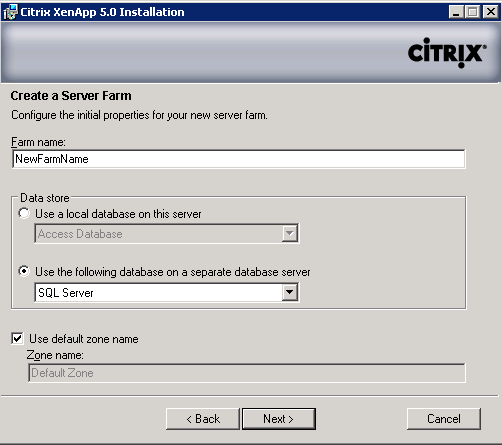
11. Enter the farm name, select SQL Server as the database, leave the zone name as it's default and click Next
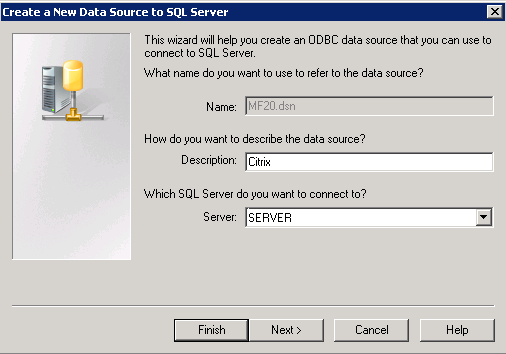
12. Datasource description is Citrix and SQL Server is server. Click Next
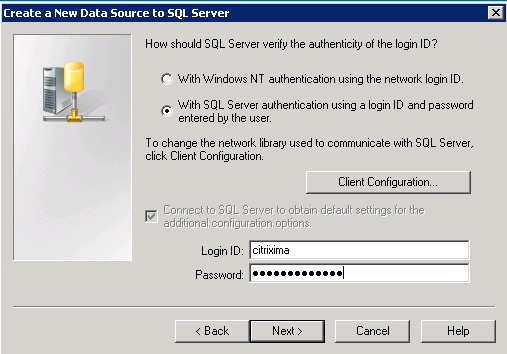
13. Select SQL Server authentication, enter citrixima as the login id and it's password. Click Next
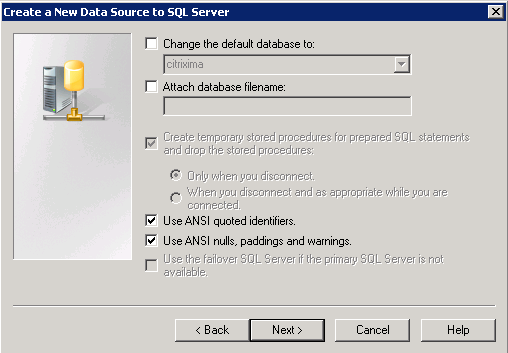
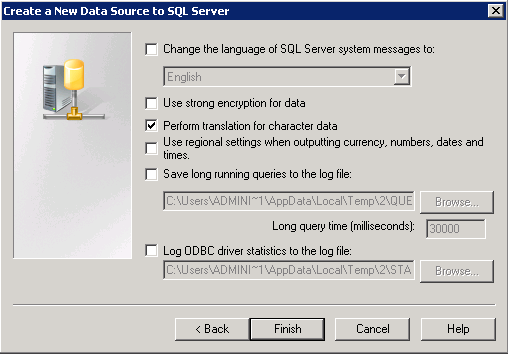
14. Leave default settings and click Next
15. Leave default settings and click Finish
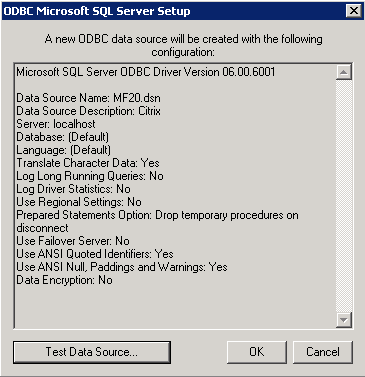
16. Verify the datasource is good by clicking Test Data Source
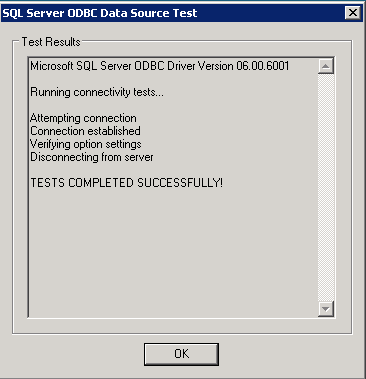
17. Click OK if TESTS COMPLETED SUCCESSFULLY is displayed
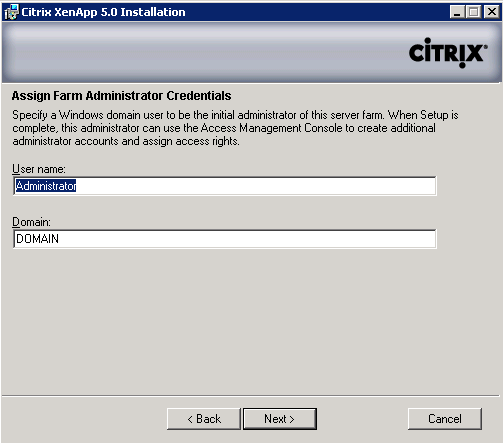
18. Enter farm administrator credentials and click Next
19. Leave default settings and click Next
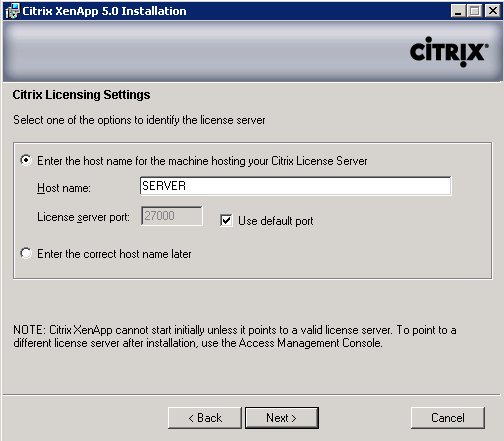
20. Enter the license server name and click Next
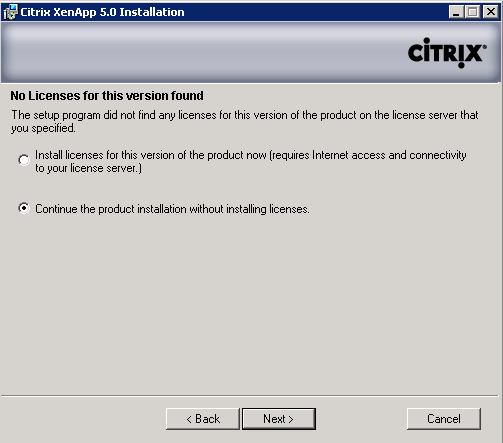
21. If prompted that no licenses are available, select continue the product installation without licenses and click Next
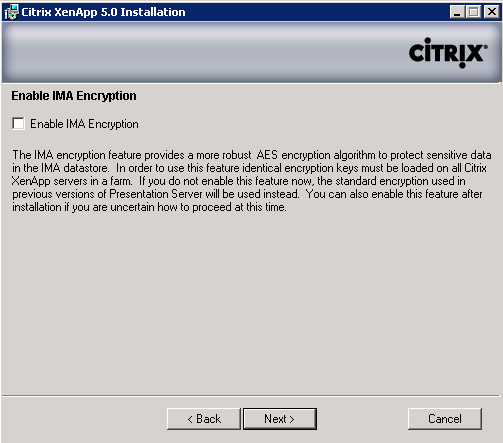
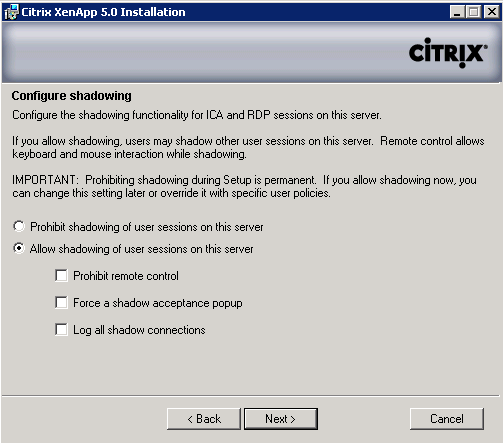
22. Leave default settings and click Next
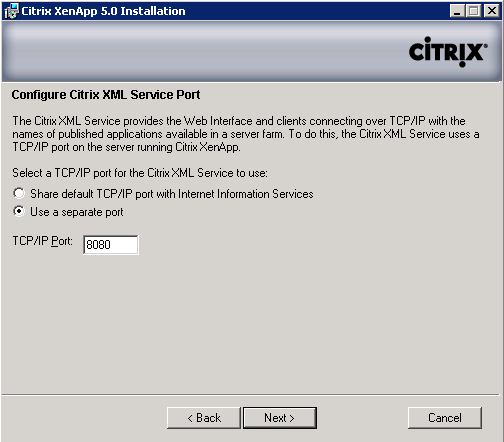
23. If IIS is running on the server and/or the server will be used as a webinterface use a separate port for the XML Service and click Next
24. Leave default settings and click Next
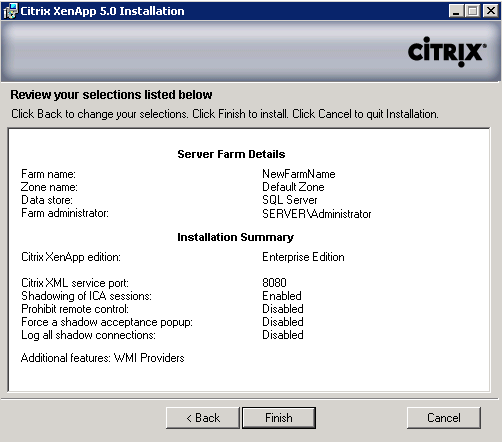
25. Review the Server Farm Details and Installation Summary and click Finish to start the installation
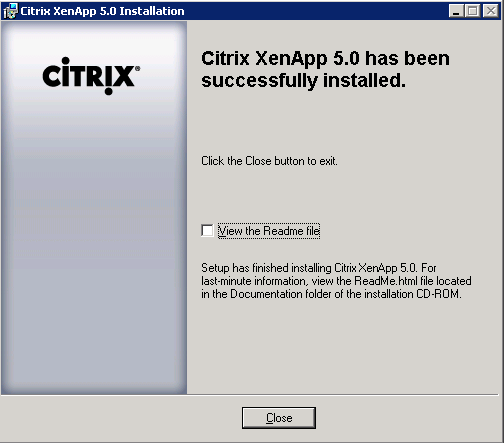
26. When Presenation Server has been installed sucessfully, deselect view the readme and click Close
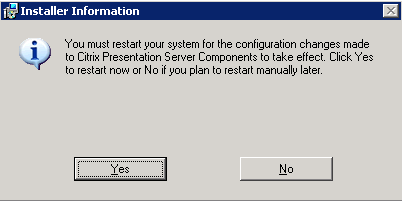
27. Allow the server to restart by clicking Yes
|
|