| |
Installation Documentation
Citrix Server 5.0 - License Server Installation
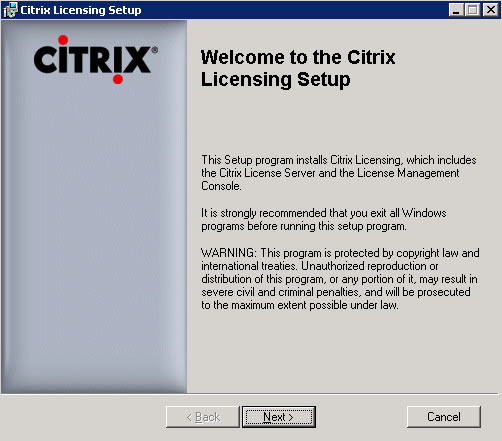
1. Install the Citrix License Server by double clicking on CTX_Licensing.msi in the license installation directory, at the welcome screen click Next
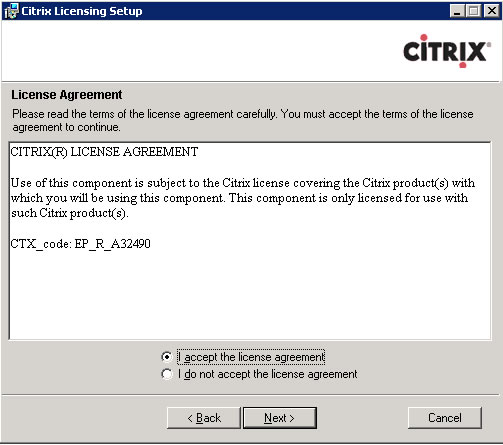
2. Accept the license agreement and click Next
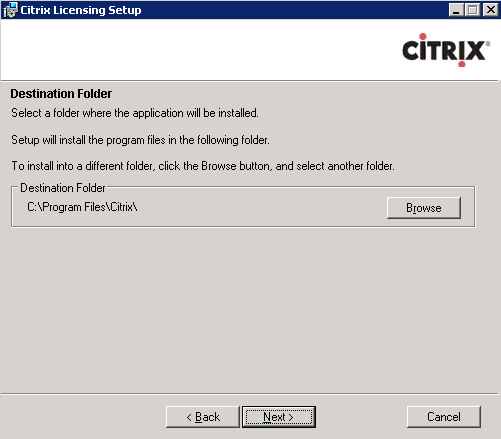
3. Select the default installation folder and click Next
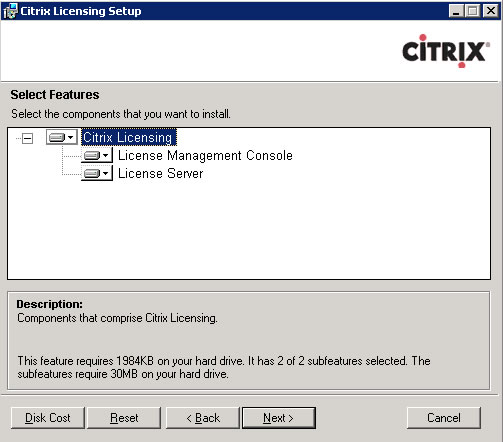
4. Select to install the license management console and licensing server features and click Next
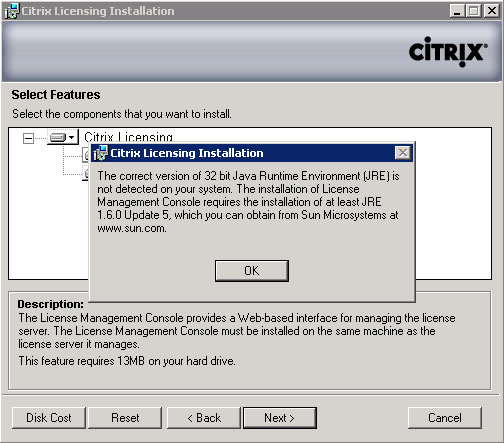
5. Install the Java Runtime Environment (JRE) if prompted and restart the License Server installation process
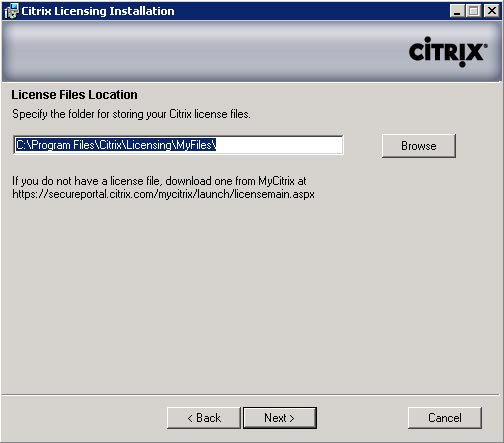
6. Select the default license files location and click Next
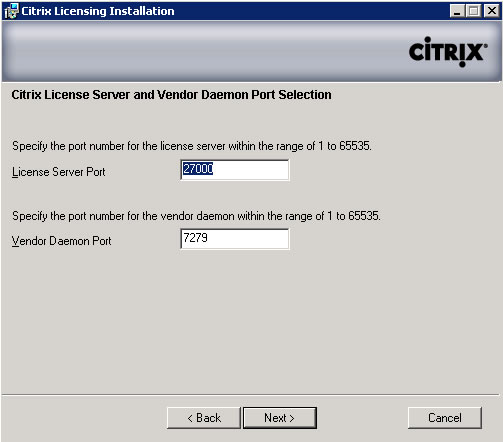
7. Select the default license server and vendor daemon server ports and click Next
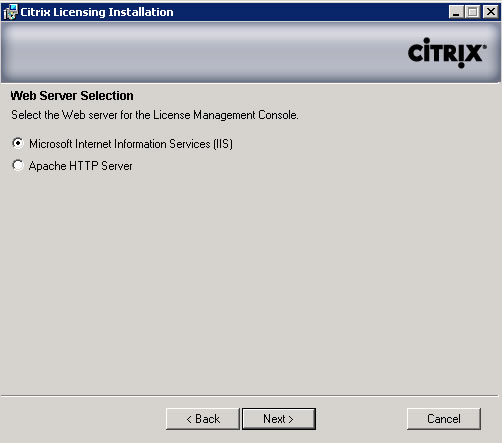
8. Select Microsoft Internet information services (IIS) and click Next
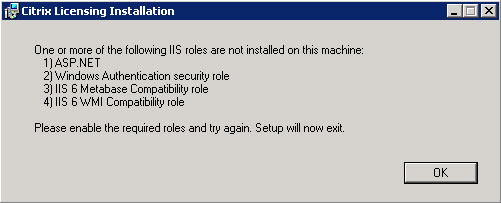
9. Install the IIS roles for Windows Server 2008 if prompted and restart the License Server installation process. If not prompted, skip to step 14
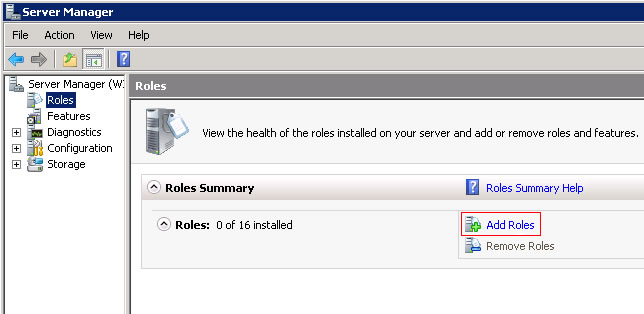
10. Run Server Manager and click Add Roles
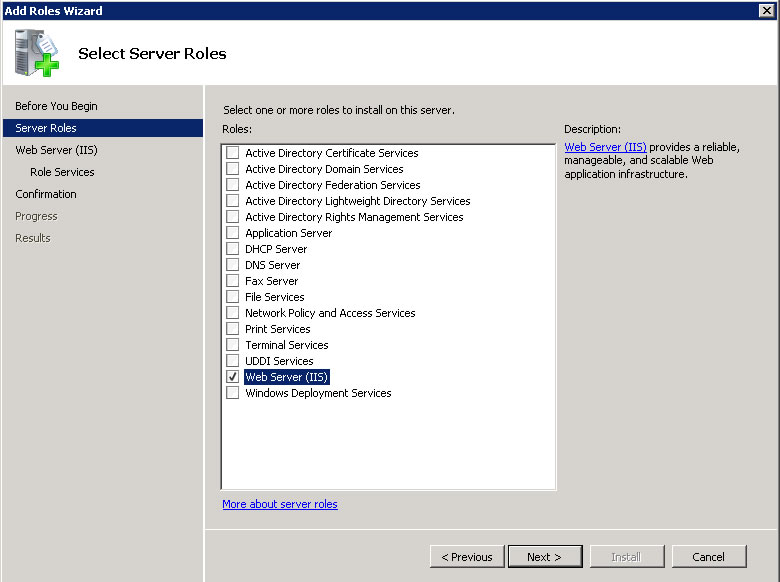
11. Select Web Server (IIS) and if prompted to configure additional services do so and click Next
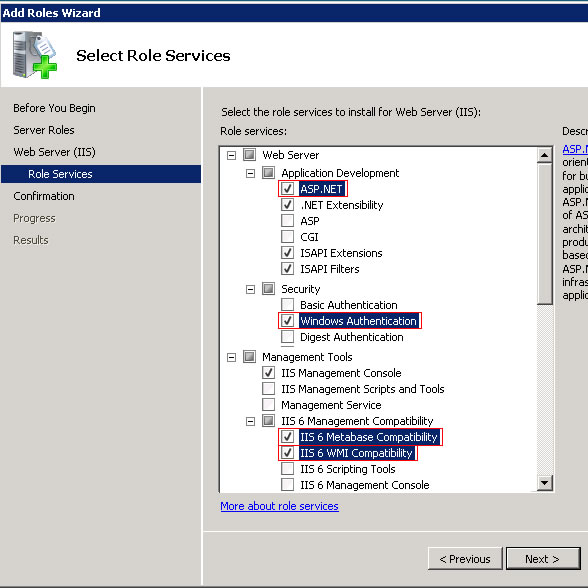
12. Select ASP.NET, Windows Authentication, IIS 6 Metabase Compatibility and IIS 6 WMI Compatibility and click Next
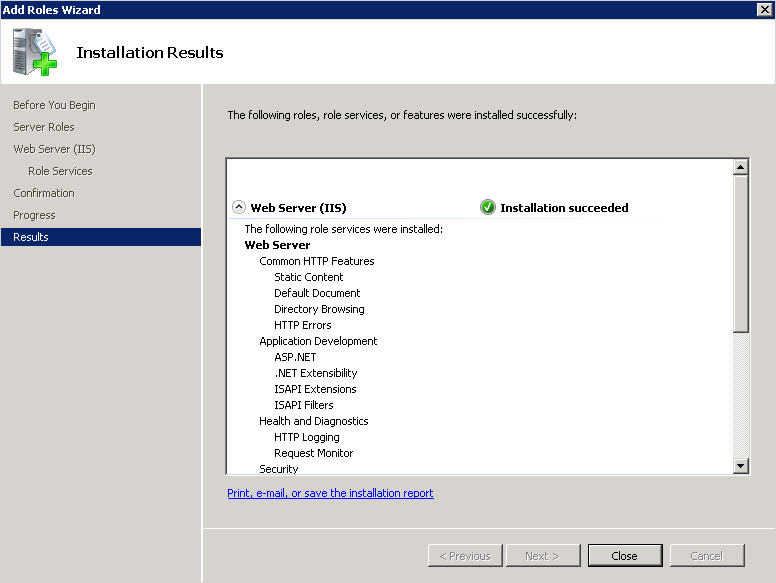
13. Click Close when the Role has successfully been installed
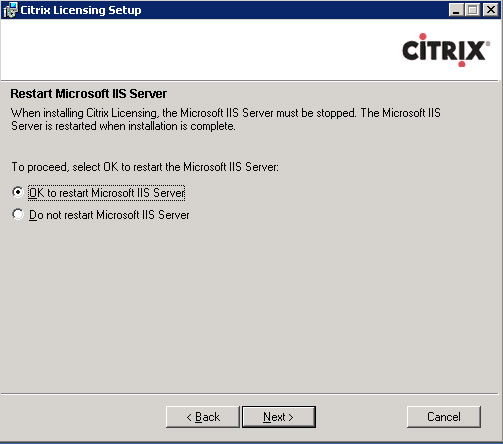
14 Select OK to restart Microsoft IIS server and click Next
15. Click Next to begin license server application installation

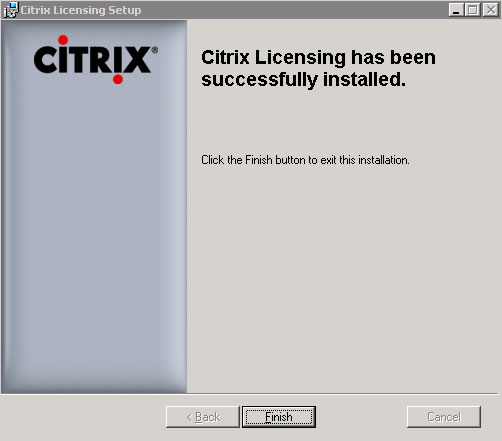
16. Click Finish when Citrix licensing installation has successfully installed
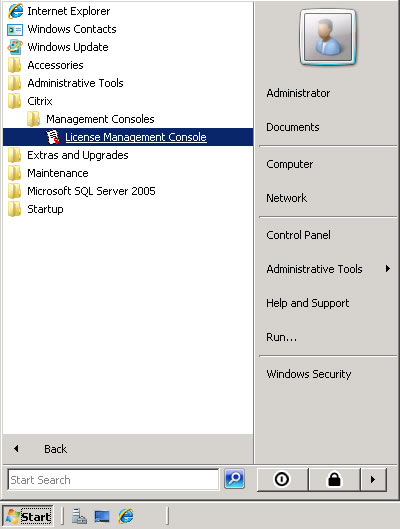
17. Start the Citrix License Management Console and install the necessary licenses
18. View current Citrix License usage in License Management Console

|
|