| |
Installation Documentation
Citrix Server 4.5 - Advanced Access Control Installation
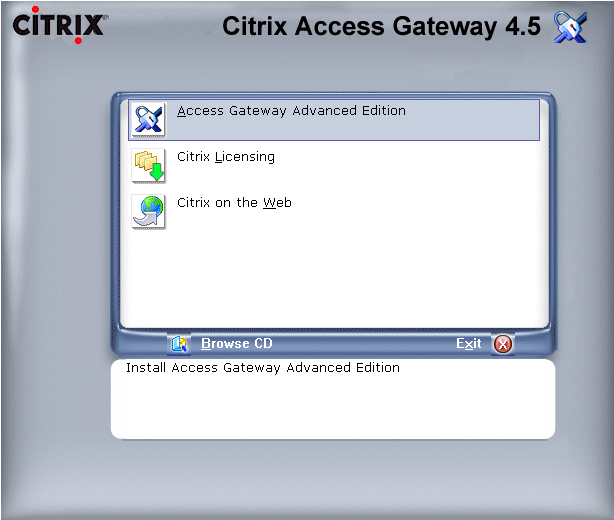
1. Install the Citrix Advanced Access Control server by double clicking on autorun.exe in the installation directory and select
Access Gateway Advanced Edition
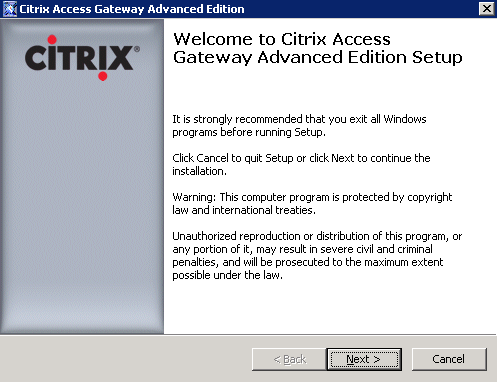
2. At the welcome screen click Next
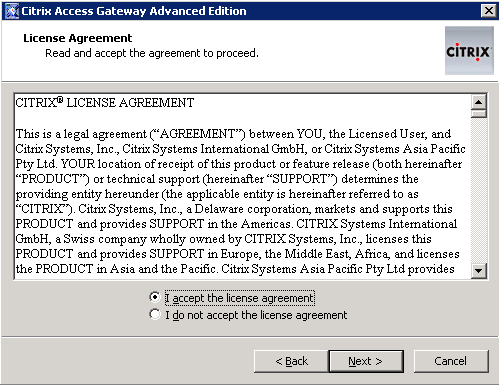
3. Accept the license agreement and click Next
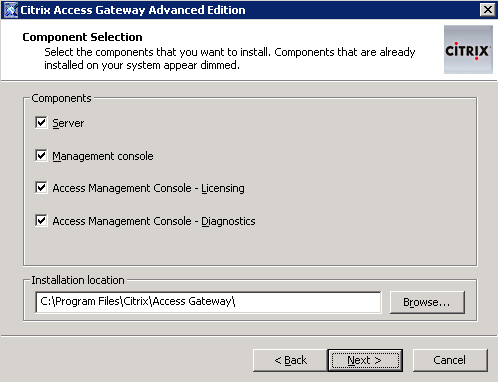
4. Select to install all components to the default installation location and click Next
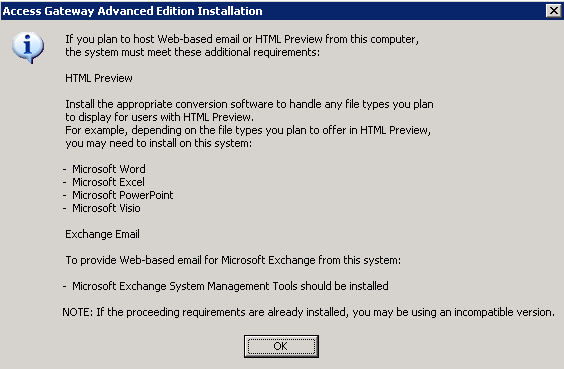
5. If prompted about HTML preview and MS-Office requirements click Ok
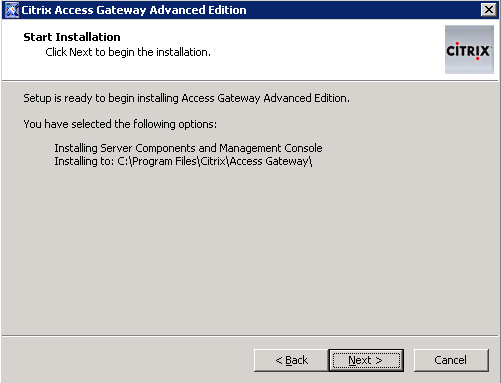
6. Click Next to begin Advanced Access Control server installation
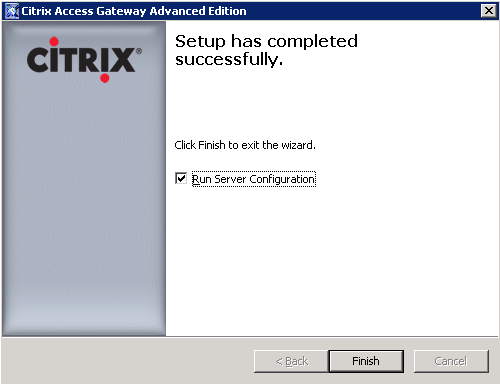
7. Click Finish when setup has completed successfully and run Server Configuration
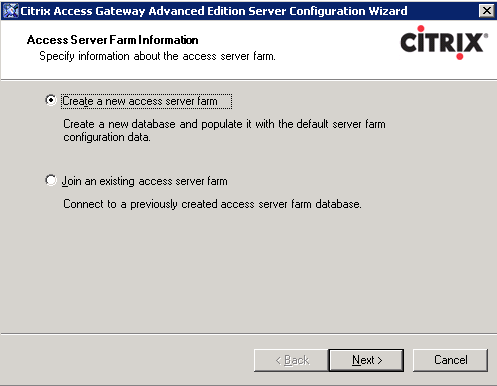
8. Create a new access server farm and click Next
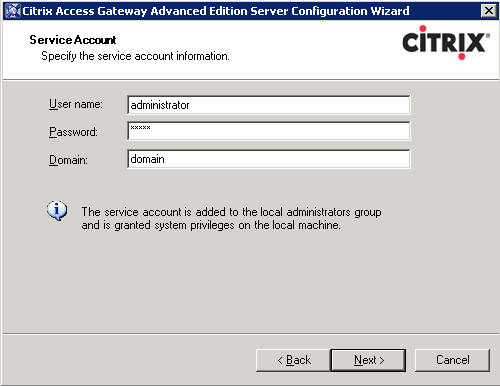
9. Enter the service account credentials and click Next
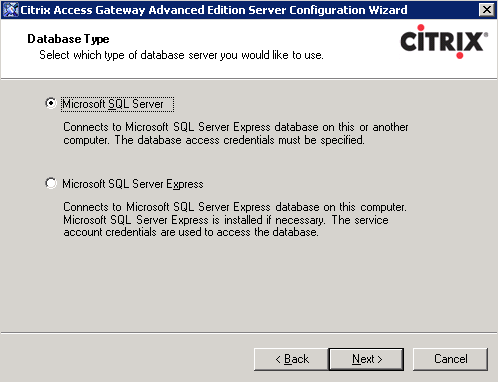
10. Select Microsoft SQL Server as the database type and click Next
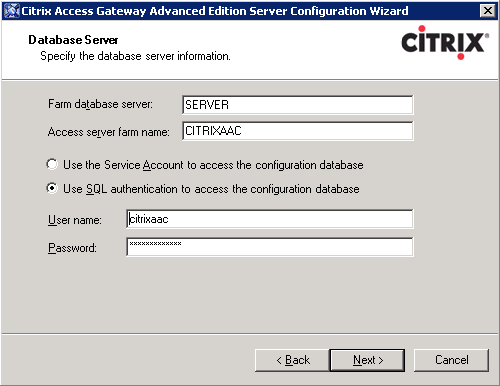
11. Enter the name of the SQL Server, SQL Server database name, select SQL authentication, enter SQL username, enter SQL password and click Next
12. If prompted that the database already exists, click Yes to overwrite it

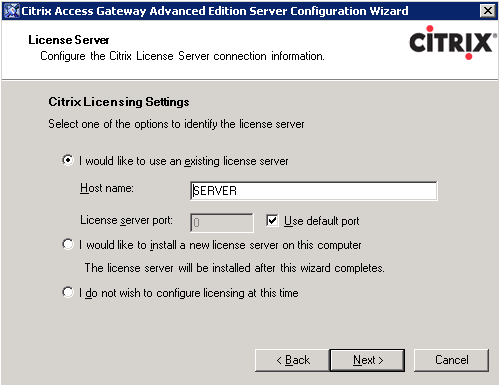
13. Enter the name of the license server and click Next
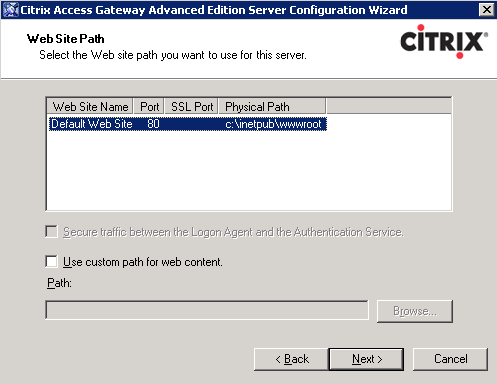
14. Select the default web site path and click Next
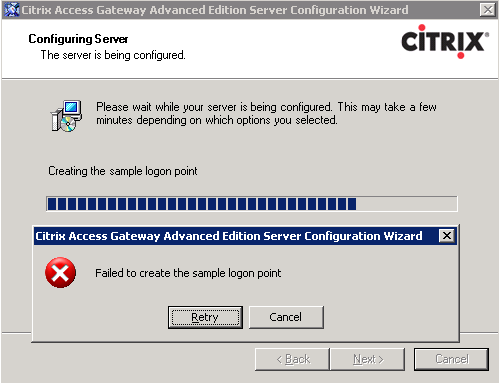
15. Review the settings and click Next to configure the server

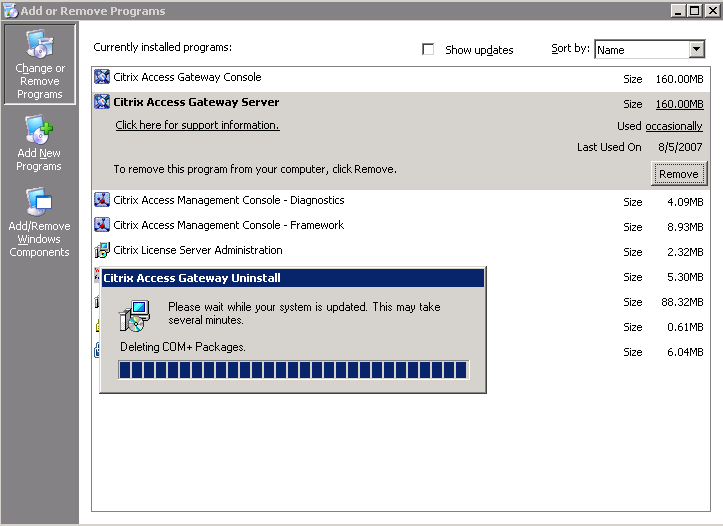
16. If configuration fails while creating the sample logon point, un-install all Advanced Access Control server products,
un-install Microsoft .NET Framework 2.0, uninstall IIS and reboot the server
17. Re-install IIS, Microsoft .NET Framework 2.0 and Advanced Access Control server
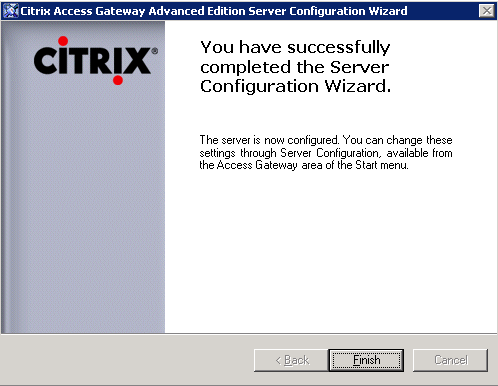
18. Click Finish when the server configuration has successfully completed
|
|