| |
Installation Documentation
Citrix 4.0 Web Interface Configuration
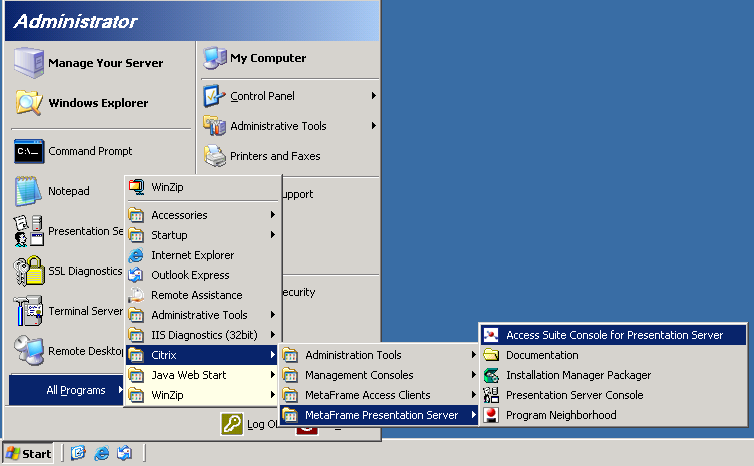
1. Start the Citrix Access Suite Console for Presentation Server by clicking Start, All Programs, Citrix, Management Consoles, Access Suite Consolt for Presentation Server
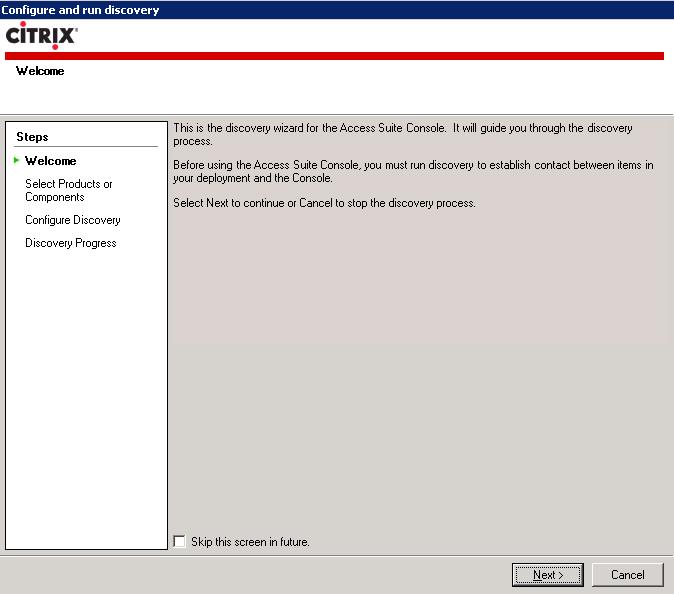
2. Allow the discovery process to run by clicking Next
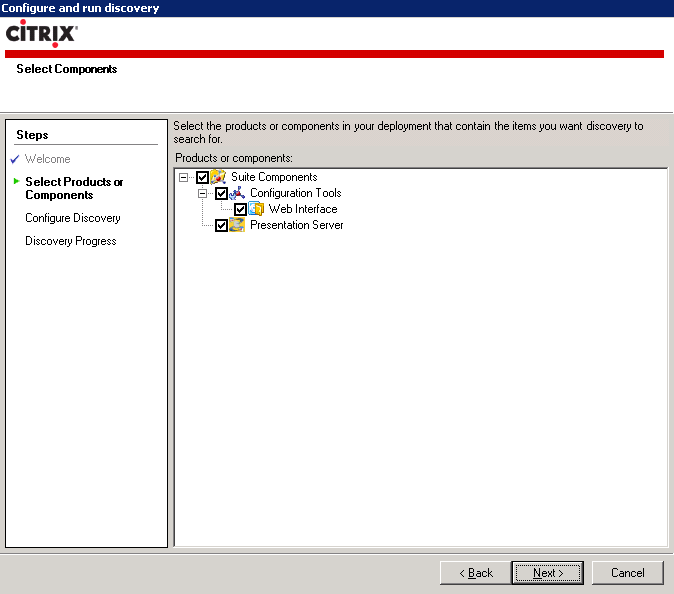
3. Select the default components to be included in the discovery process and click Next
4. Add LOCALHOST as the computer to use for configuration information and click Next

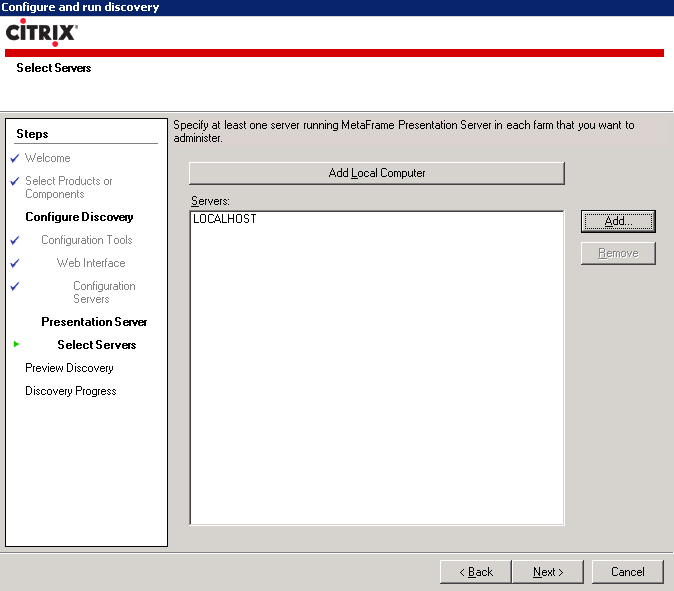
5. Add LOCALHOST as a computer running Presentation Server and click Next
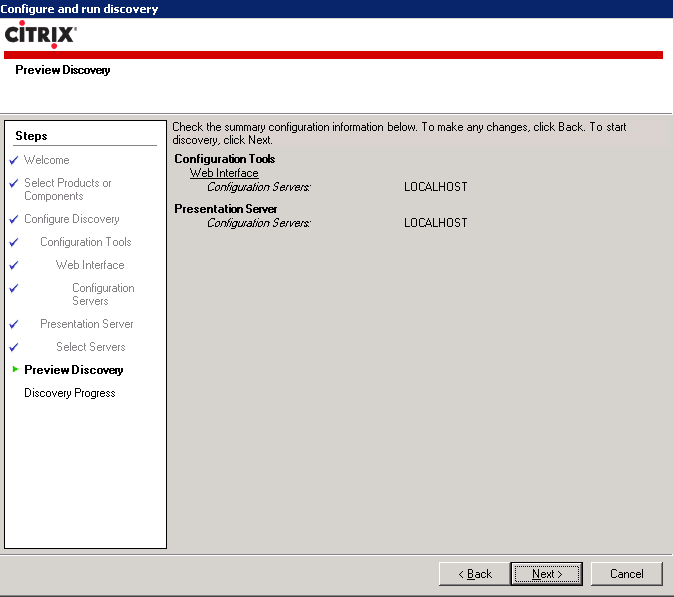
6. Review the summary and click Next
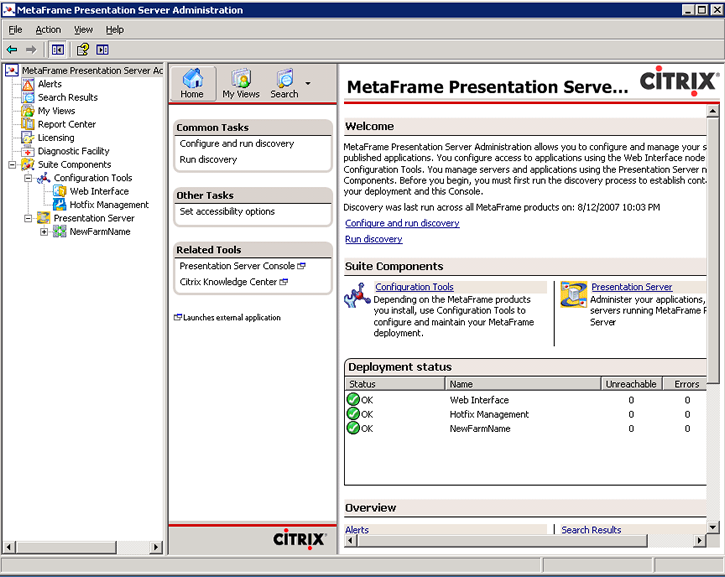
7. This is what a standard Access Suite Console should resemble
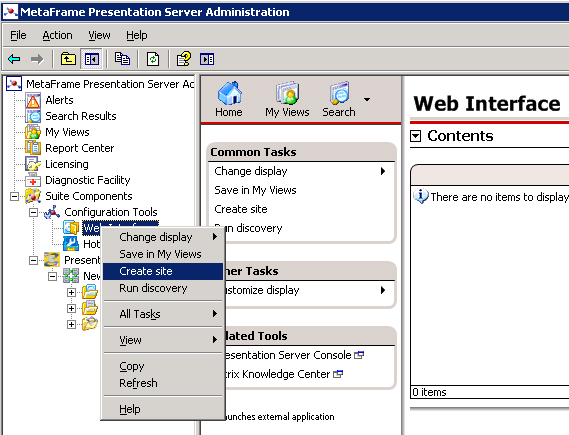
8. Right click on web interface and create site
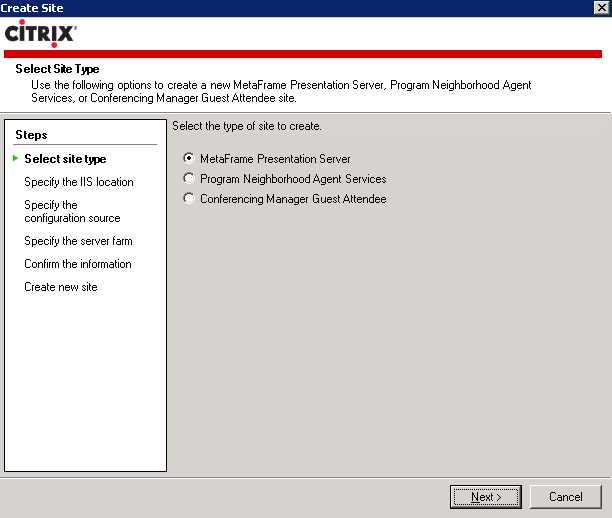
9. Select Metaframe presentation server and click Next
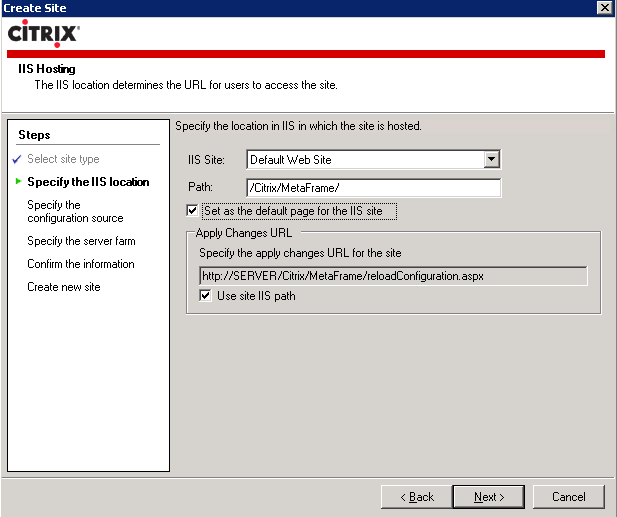
10. Specify the IIS location, whether it will be the default page and click Next
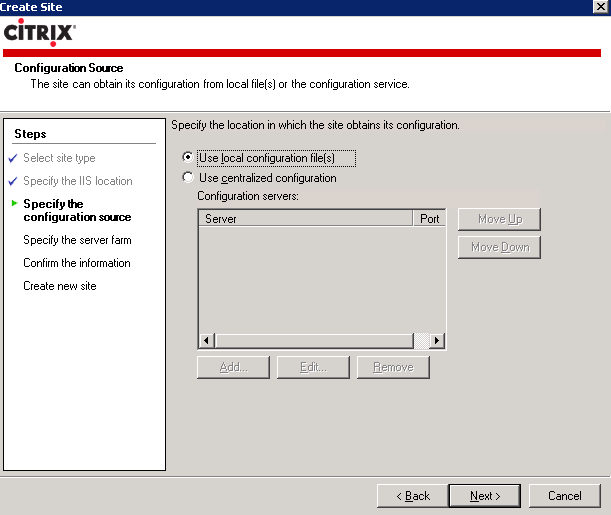
11. Specify the configuration source and click Next
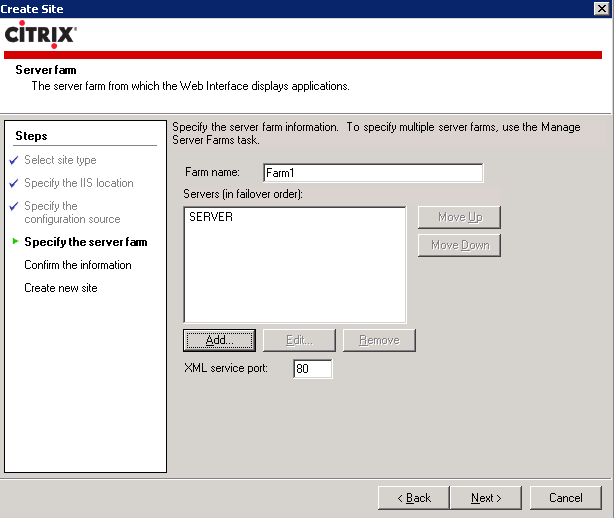
12. Enter the Citrix farm name and add a server running presentation server
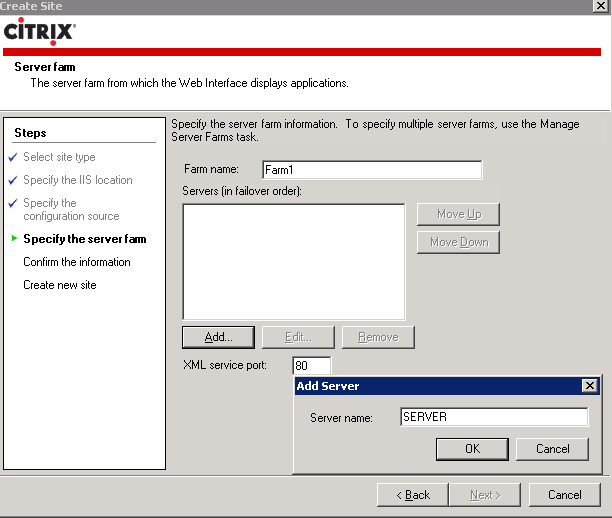
13. Specify the server port and click Next
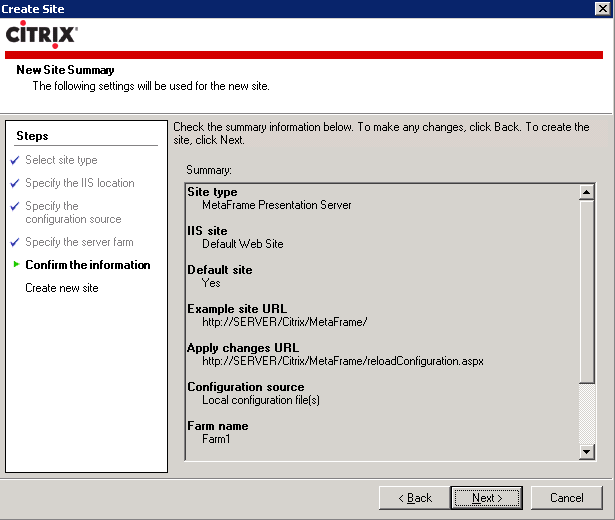
14. Confirm the settings and click Next
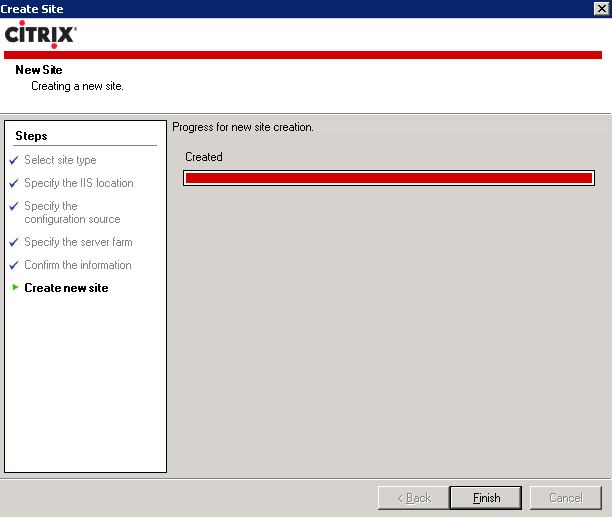
15. Click Finish when new site has been successfully created
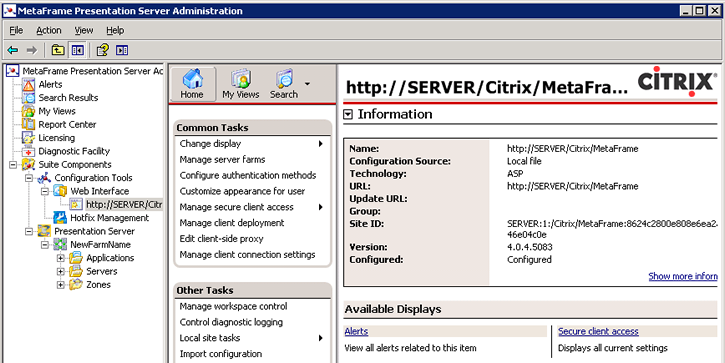
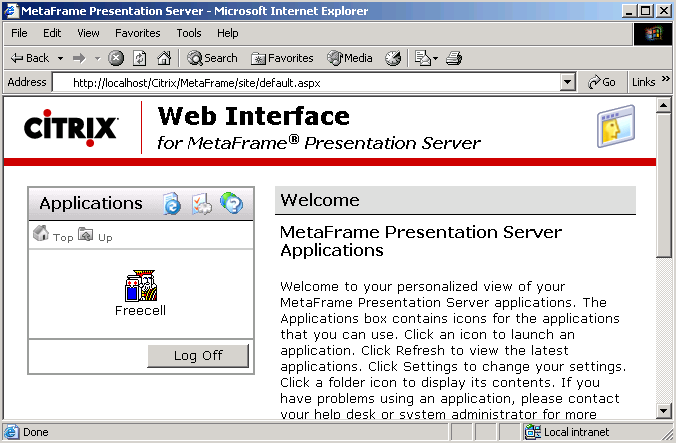
16. This is what a configured web interface should resemble
17. Enter the web interface URL in a browser window and login
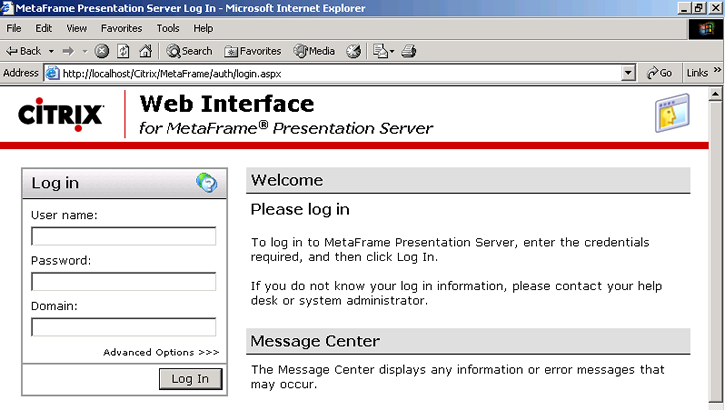
18. Click on the published application to launch it
|
|