| |
Installation Documentation
Citrix Server 4.0 - Advanced Access Control Configuration
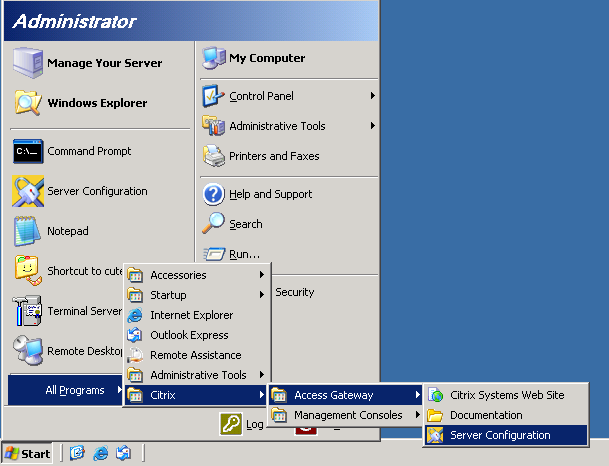
1. Start the Citrix Advanced Access Control server configuration by clicking Start, All Programs, Citrix, Access Gateway, Server Configuration
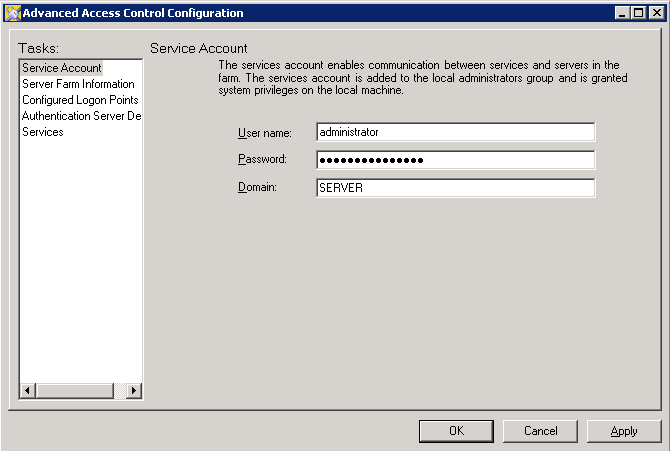
2. Confirm the service account credentials are properly set
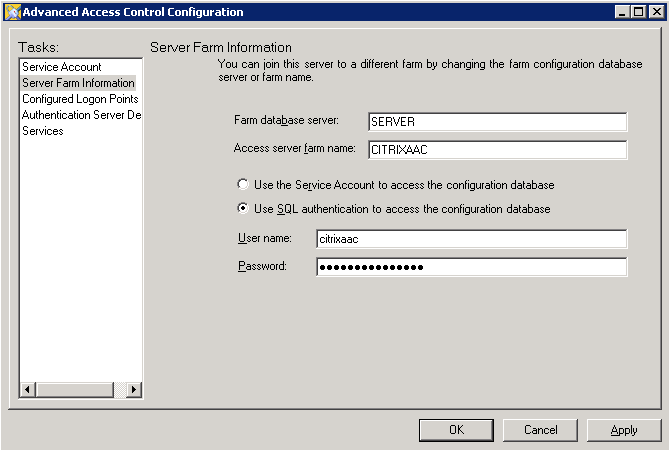
3. Confirm the database account credentials are properly set
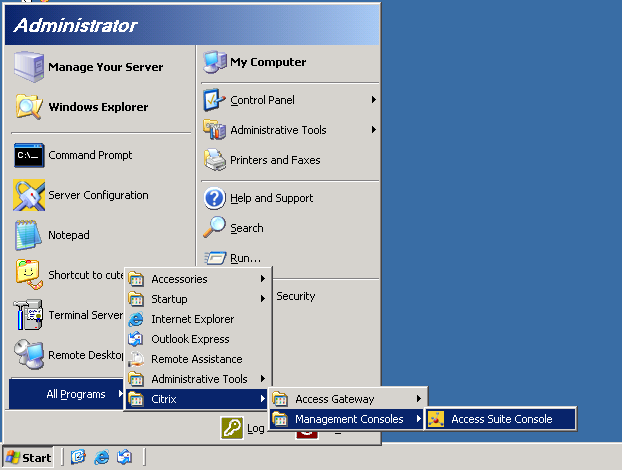
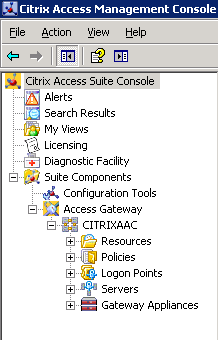
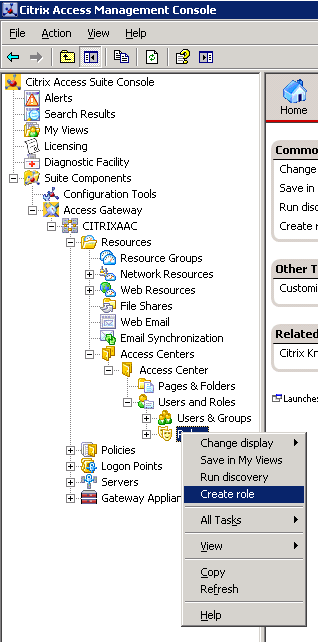
4. Start the Citrix Access Management Console by clicking Start, All Programs, Citrix, Management Consoles and Access Suite Console
5. View the default Access Management Console interface
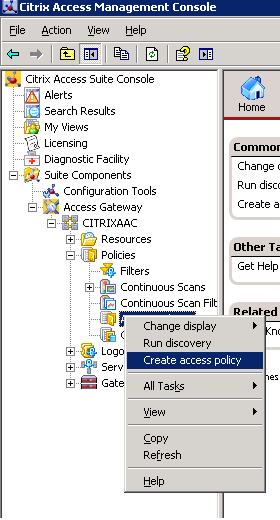
6. Create an Access Policy by expanding the Access Gateway folder, Farm folder, policies, right click on Access policies and select Create access policy
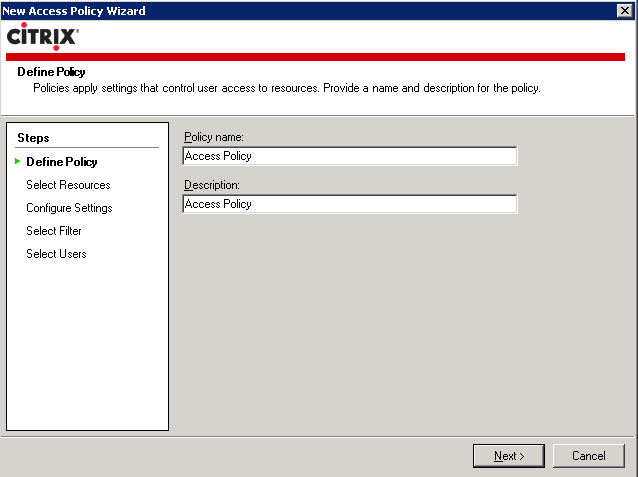
7. Enter the access policy name and click Next
8. Select Network Resources, Allow Logon and click Next

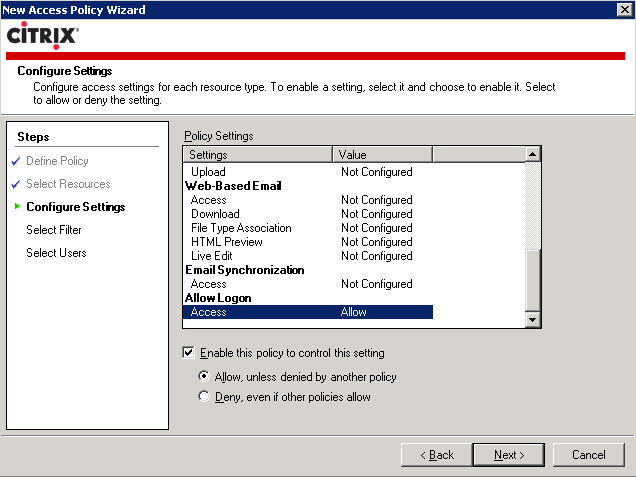
9. Enable Network Resources and allow access
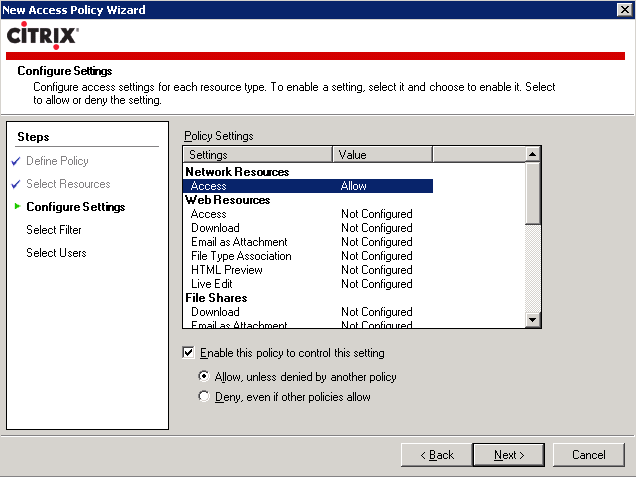
10. Enable Allow Logon and allow access and click Next
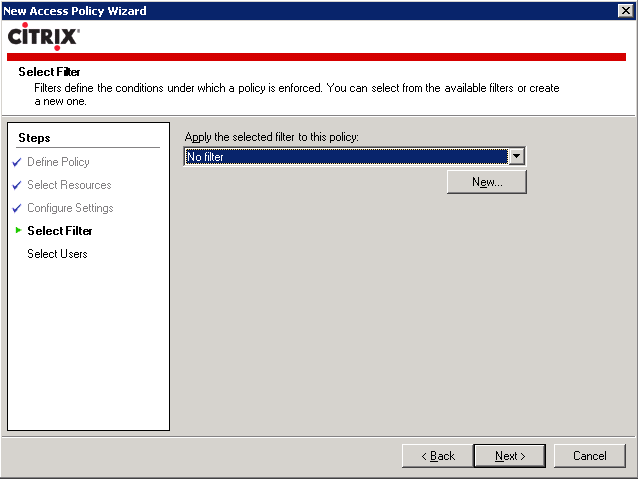
11. Select default filter and click Next
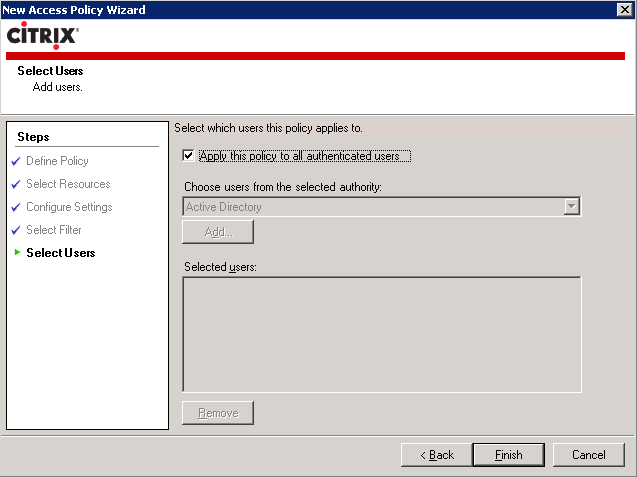
12. Check the box to apply this policy to all authenticated users and click Finish
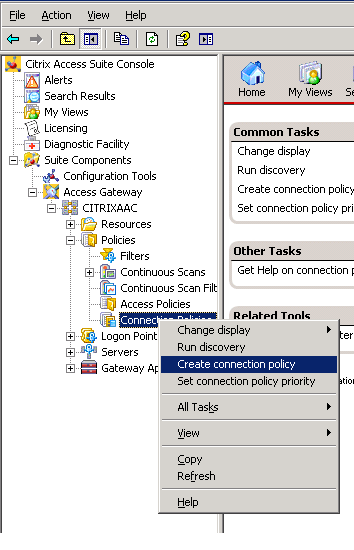
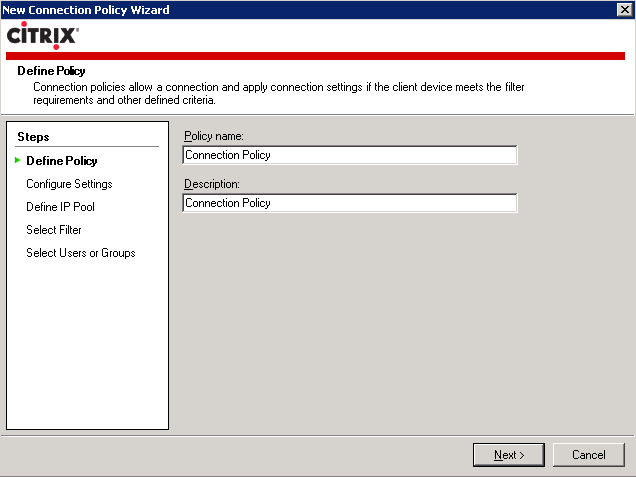
13. Create a Connection Policy by right clicking on Connection policies and select Create connection policy
14. Enter the connection policy name and click Next
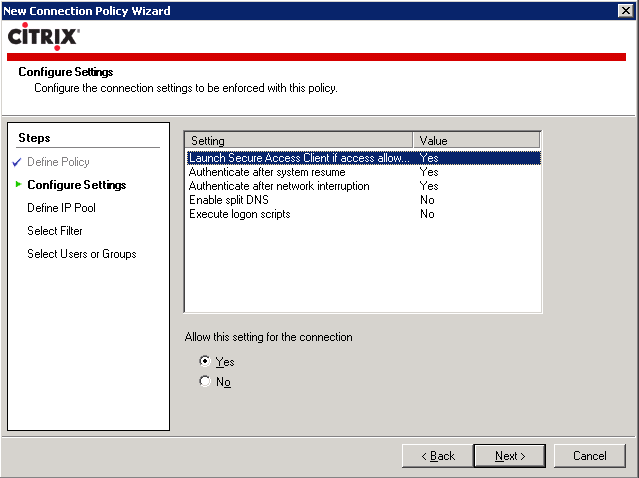
15. Enable Launch Secure Access client, Authenticate after system resume, Authenticate after network interruption and click Next
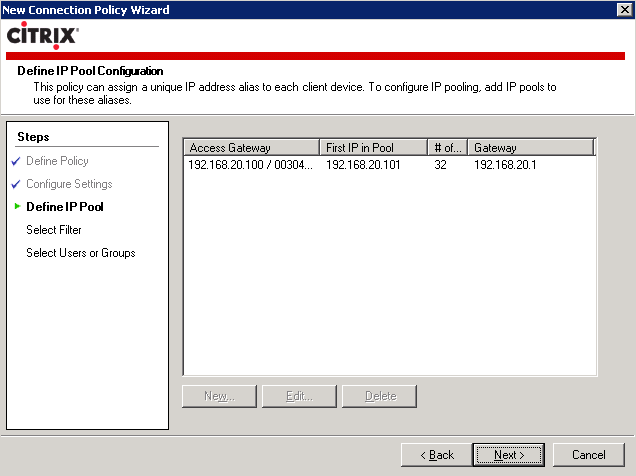
16. Define and IP pool for the Access Gateway to assign client IP addresses
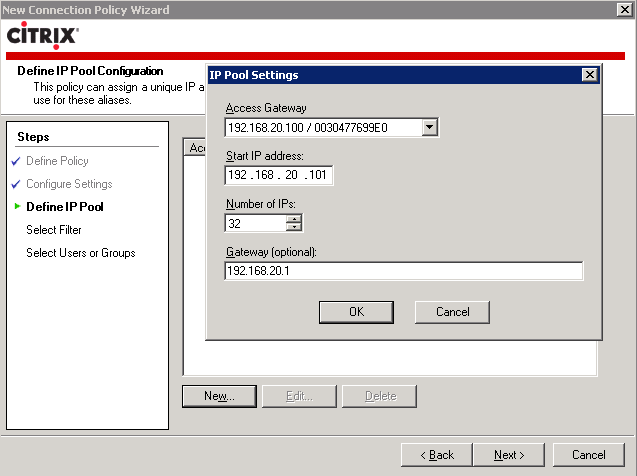
17. Click Next to continue
18. Select default filters and click Next
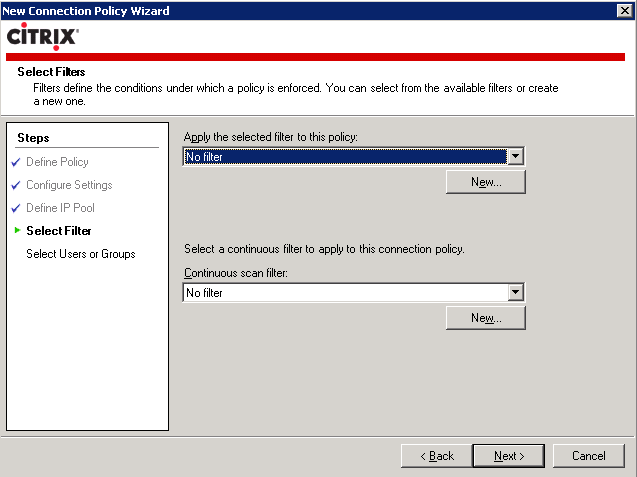
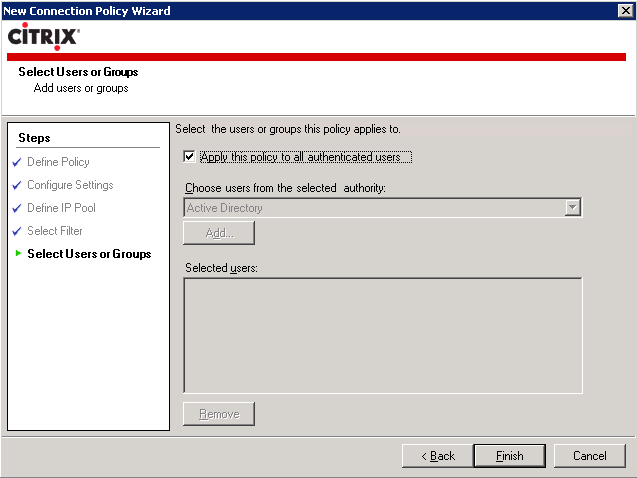
19. Check the box to apply this policy to all authenticated users and click Finish
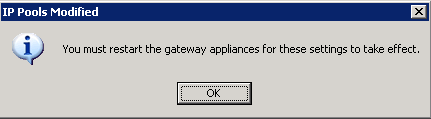
20. Click OK to acknowledge the prompt to restart the gateway appliances for the settings to take effect
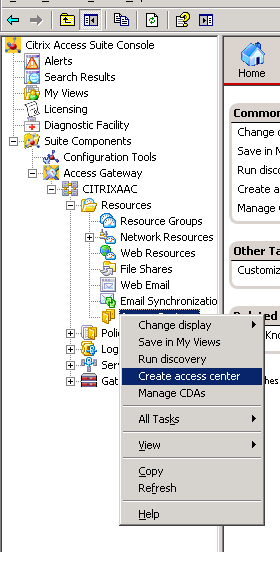
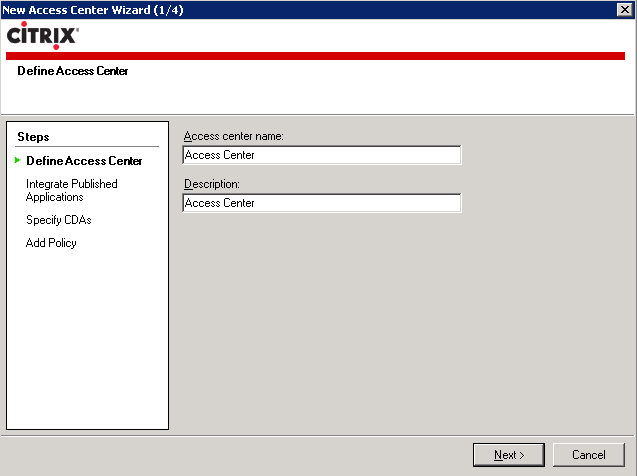
21. Create an Access Center by expanding the Access Gateway folder, Farm folder, Resources, right click on Access Centers and select Create access center
22. Enter the access center name and click Next
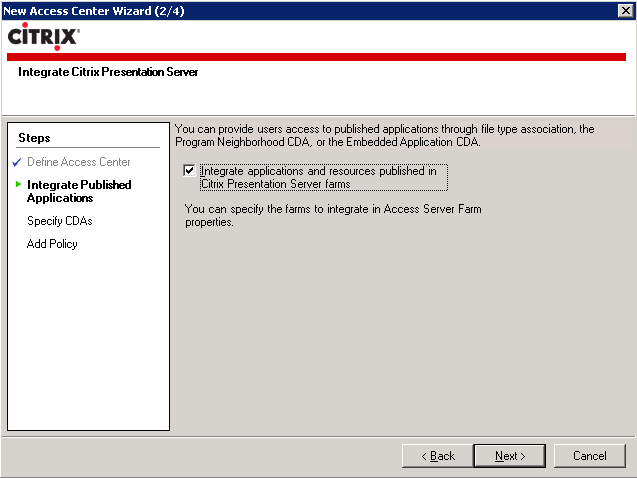
23. Check the box to Integrate applications and resources published in Citrix Presentation Server farms and click Next
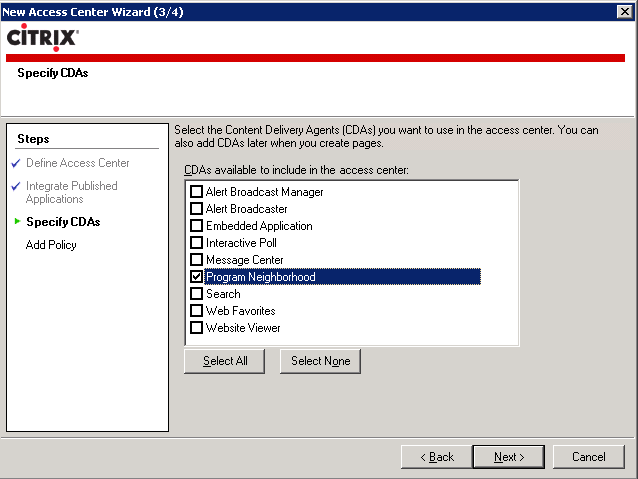
24. Select Program Neighborhood and click Next
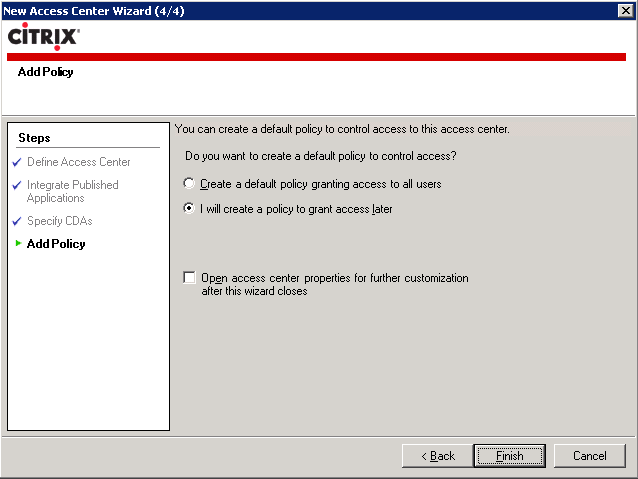
25. Leave the default setting to create a policy to grant access later and click Next
26. Expand the Access Center, Roles and Users, right click on Roles and select Create role
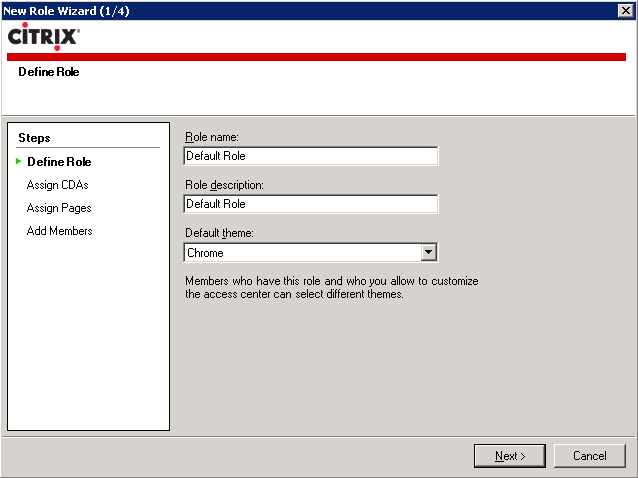
27. Enter the role name and click Next
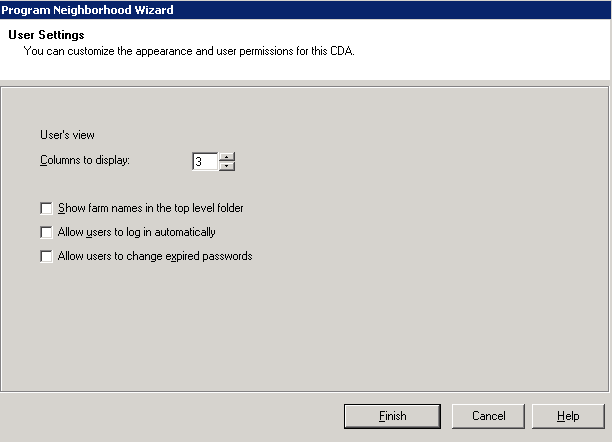
28. Select the Program Neighborhood CDA and click Yes to configure it now

29. Select the default user settings and click Finish
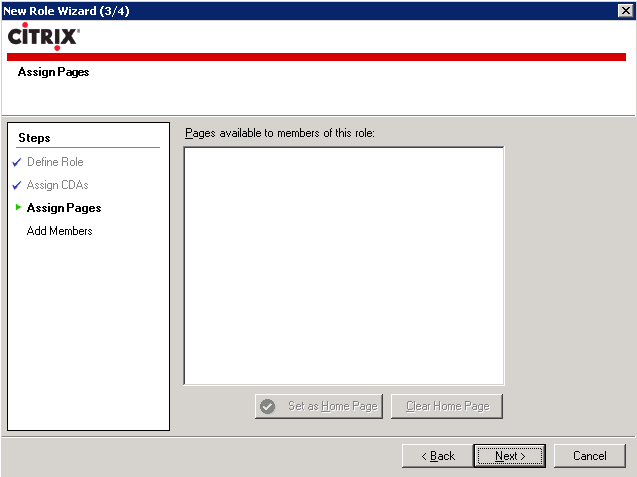
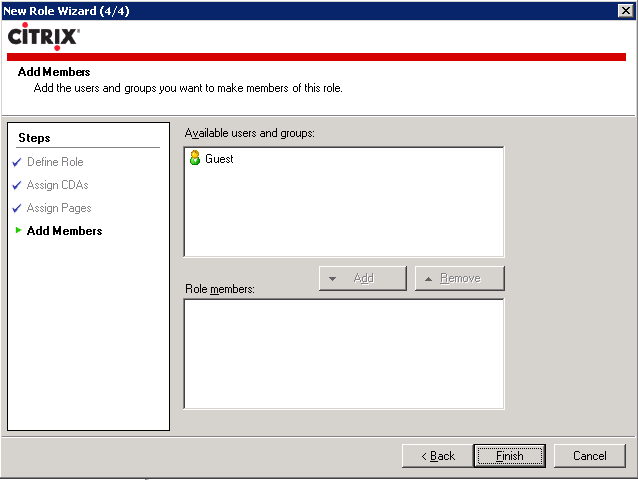
30. Assign pages available to members of this role and click Next
31. Add users and groups to make members of this role and click Finish
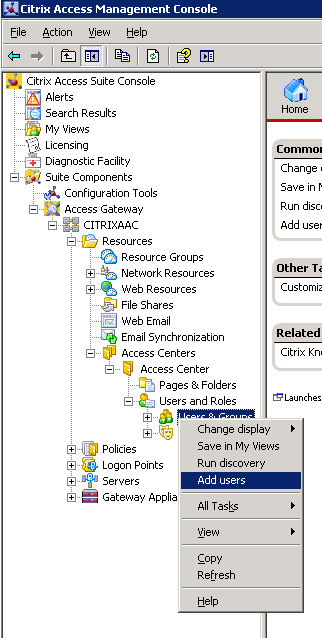
32. Expand the Access Center, Roles and Users, right click on Users and select Add users
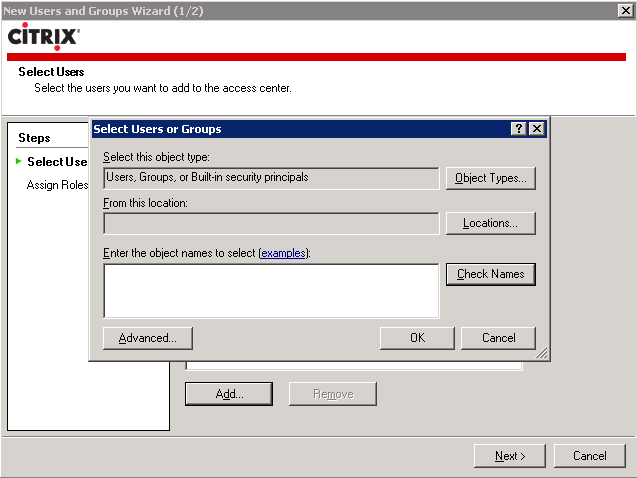
33. Add users or groups and click Next
34. Review users and groups and click Next

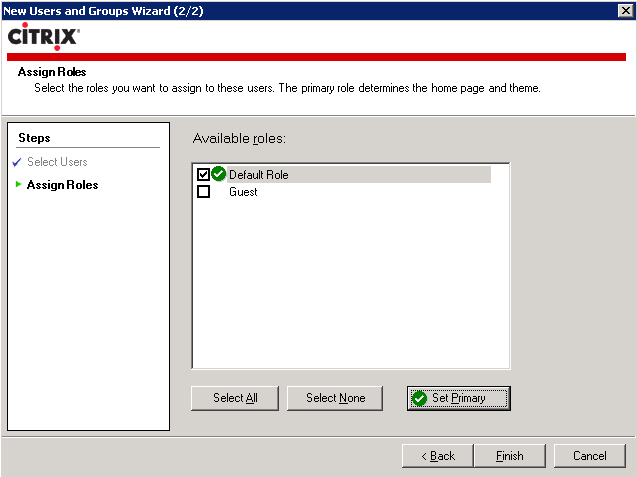
35. Assign a role to the users and groups, specify if the role is Primary and click Finish
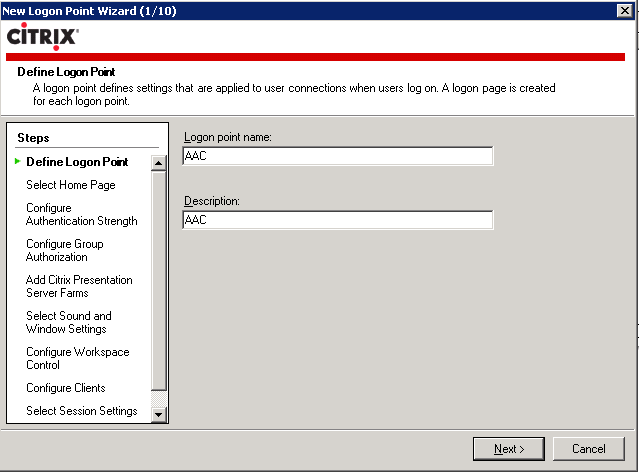
36. Create a Logon Point by right clicking on Logon Points and select Create logon point

37. Enter the logon point name and click Next
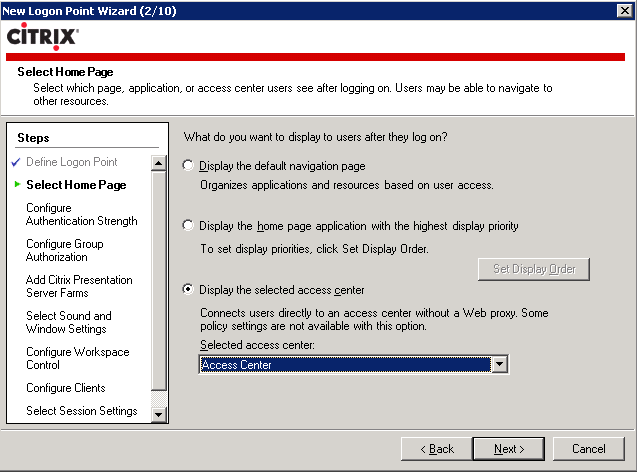
38. Select an Access Center from the drop down and click Next
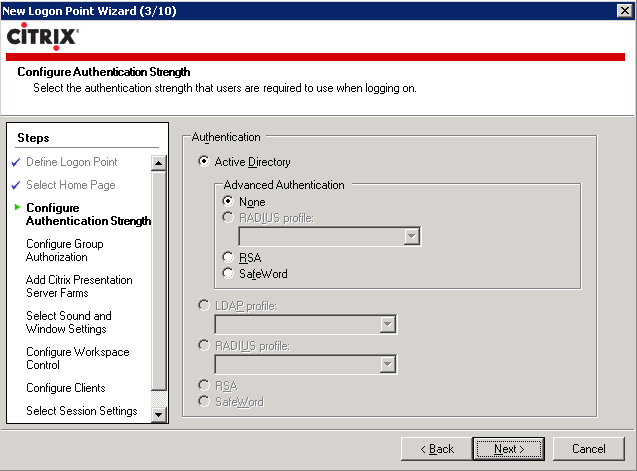
39. Select default authentication strength and click Next
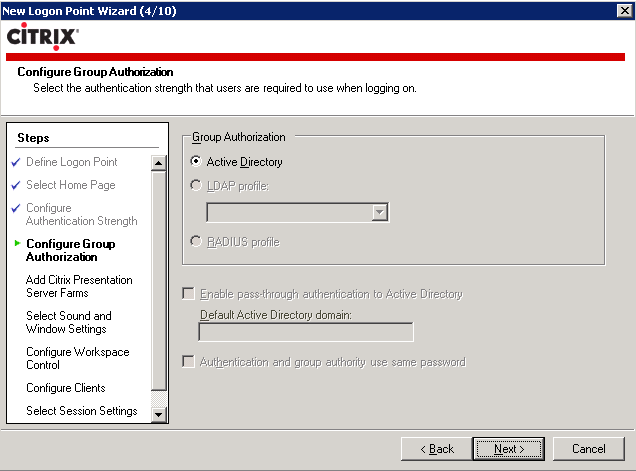
40. Select default group authorization and click Next
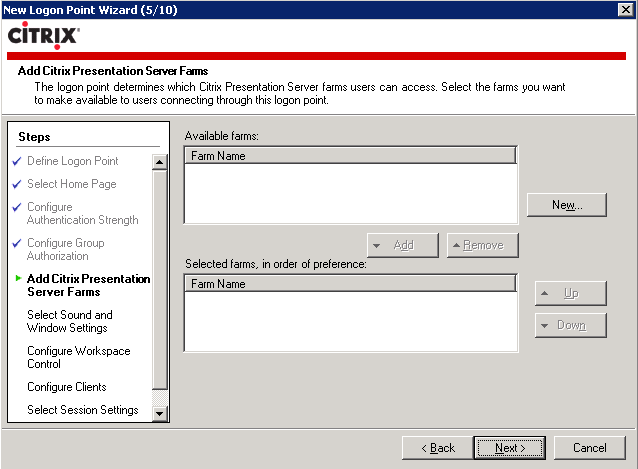
41. Click New to enter a Citrix presentation server farm name
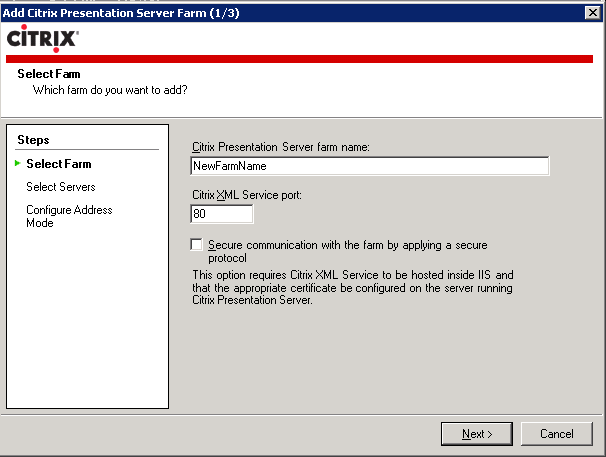
42. Enter the Citrix Presentation Server farm name and XML service port
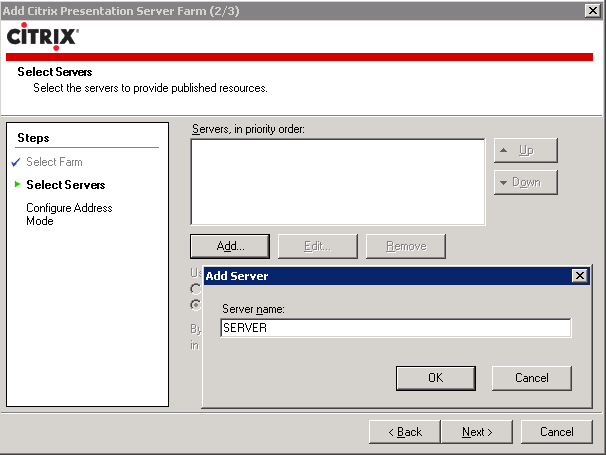
43. Add servers running Citrix Presentation Server and click Next
44. Select default address mode and click Next

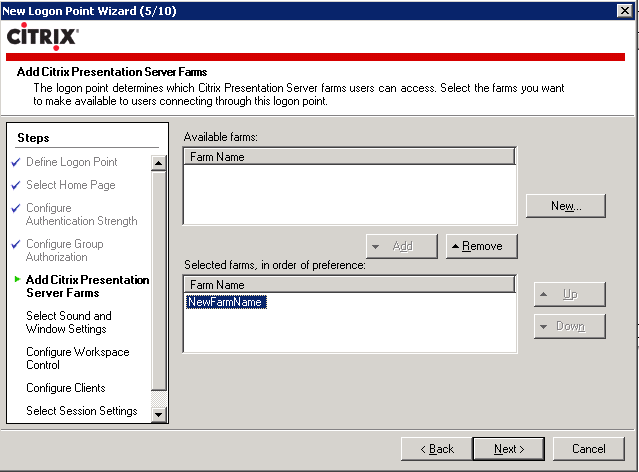
45. Select available Farm names to add
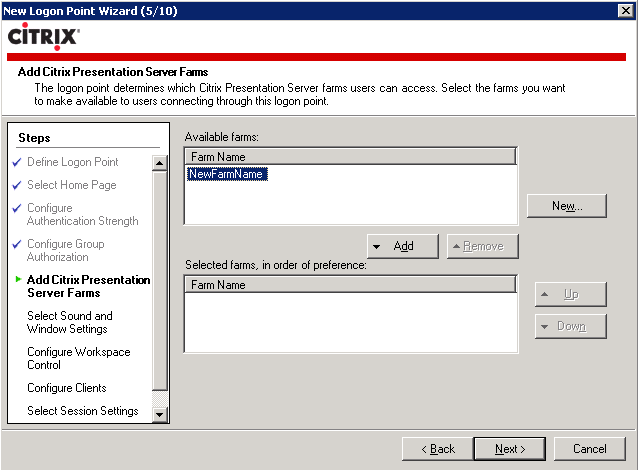
46. Click Next after setting order of preference
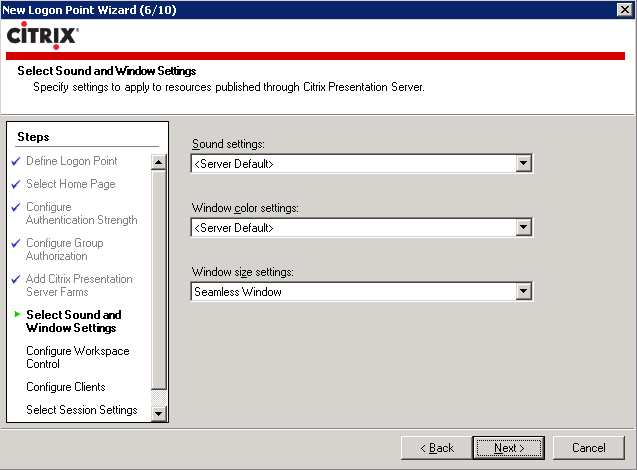
47. Select default Sound and Window settings and click Next
48. Configure Workspace Control to Enable users to configure display options when they logon, Enable users to reconnect
(reconnect active and disconnected sessions) and click Next

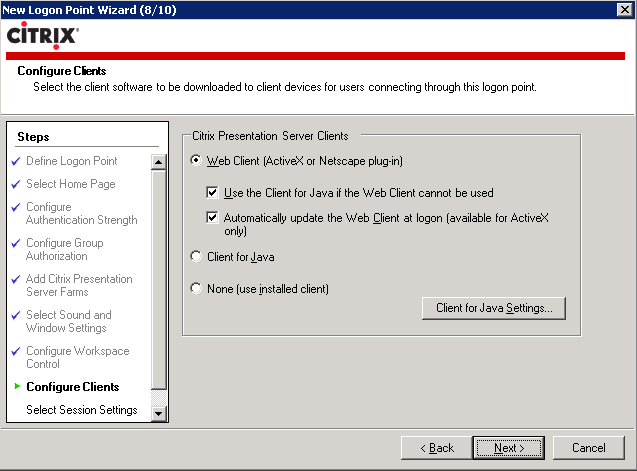
49. Select default client configuration settings and click Next
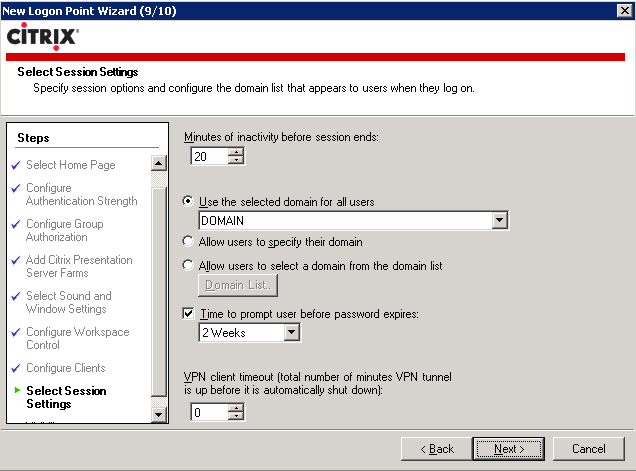
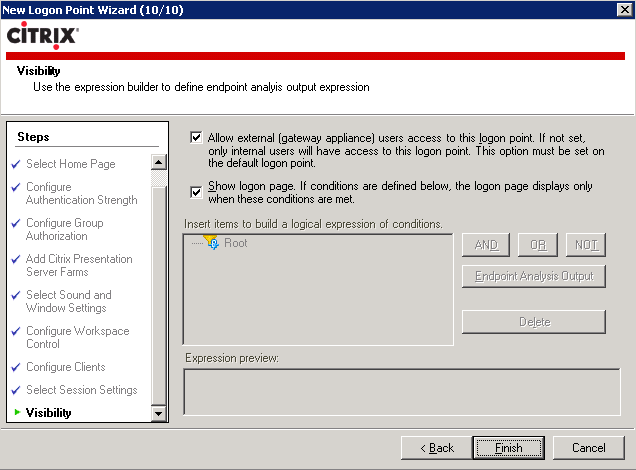
50. Select Use the selected domain for all users, leave VPN default settings and click Next
51. Select Allow external (gateway appliance) users access to this logon point and click Finish
52. Click OK to acknowledge the prompt to run server configuration

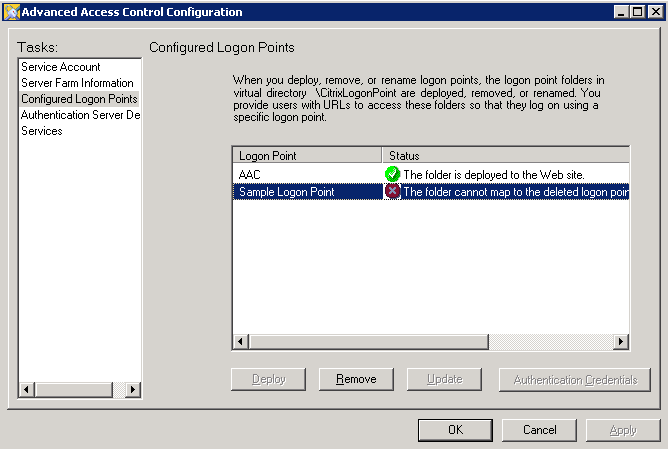
53. Review configured logon points
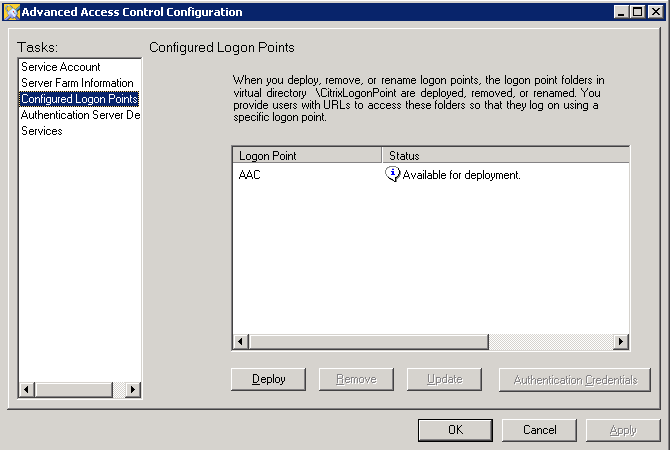
54. Deploy the appropriate logon point

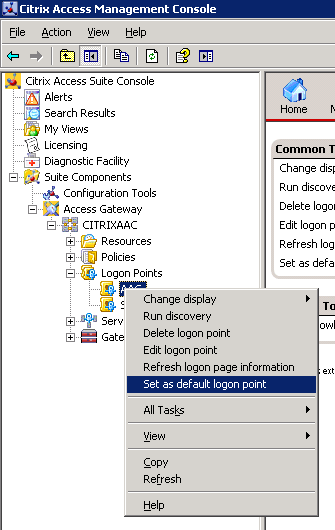
55. Set the appropriate logon point as the default by right clicking on it and setting it as the default
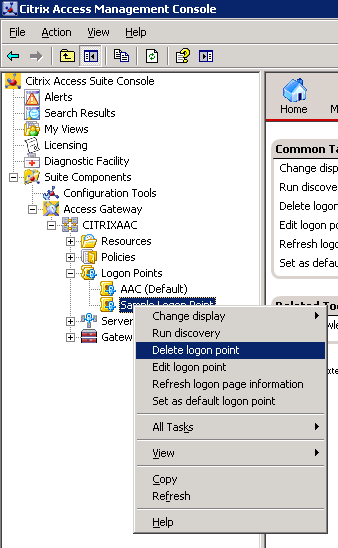
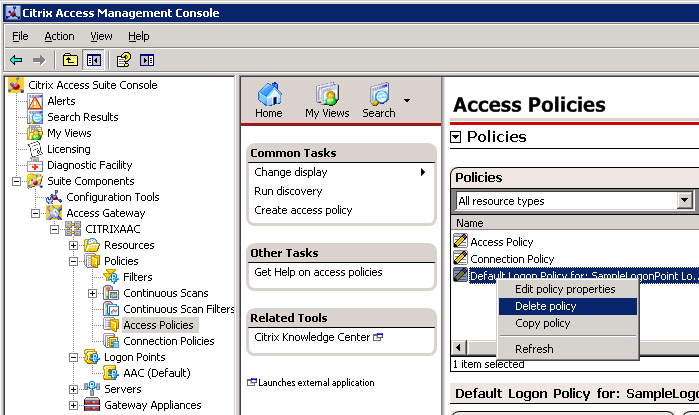
56. Delete the Sample Logon Point by right clicking on it and deleting it
57. Remove the Sample Logon Point from the server configuration
58. Delete the Sample Access policy by right clicking on it and deleting it
|
|