| |
Installation Documentation
Citrix Server 3.0 - Web Interface Installation
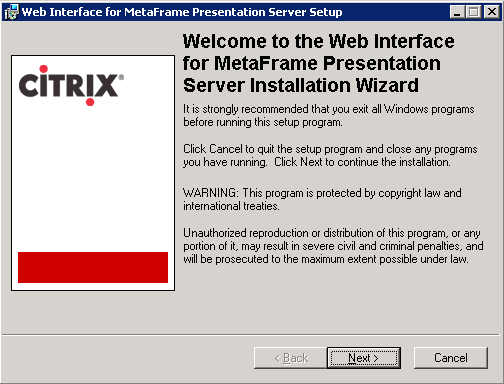
1. Install the Citrix Web Interface by double clicking on WebInterface-IIS.msi in the Web Interface installation directory, at the welcome screen click Next
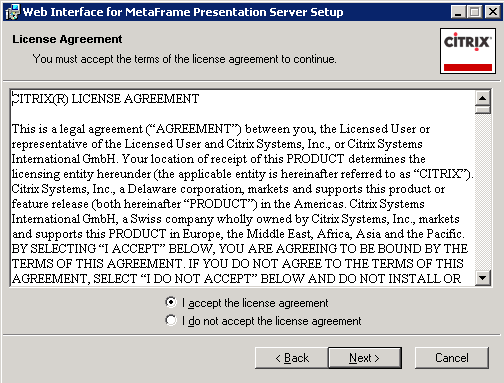
2. Accept the license agreement and click Next
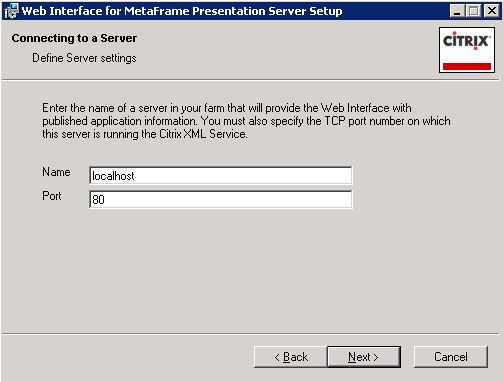
3. Define the server settings and click Next
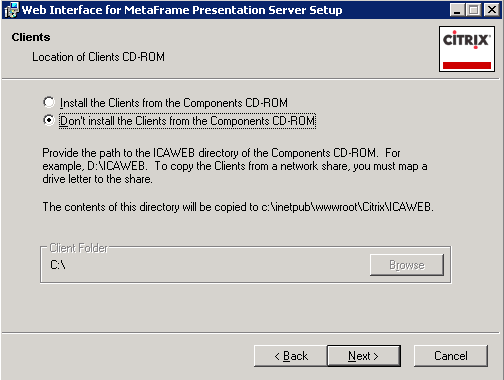
4. Select don't install the clients and click Next
5. Set the site's default page to the Web Interface and click Next

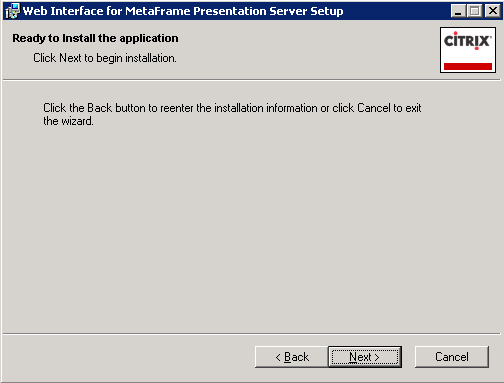
6. Click Next to begin web interface application installation
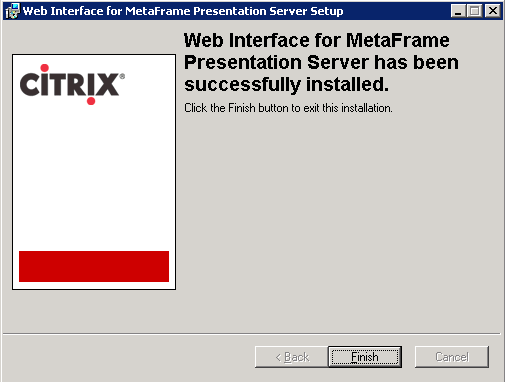
7. Click Finish when web interface installation has successfully installed
|
|